Gnome coloring pages

🍄 Gnome Coloring Pages

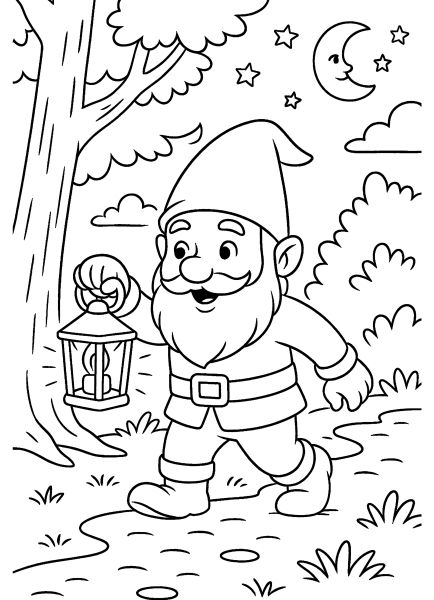
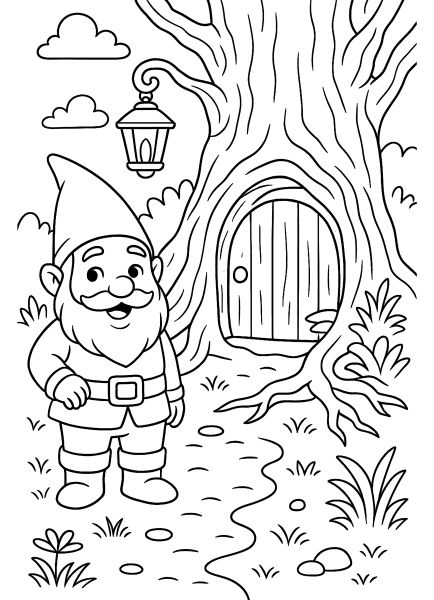
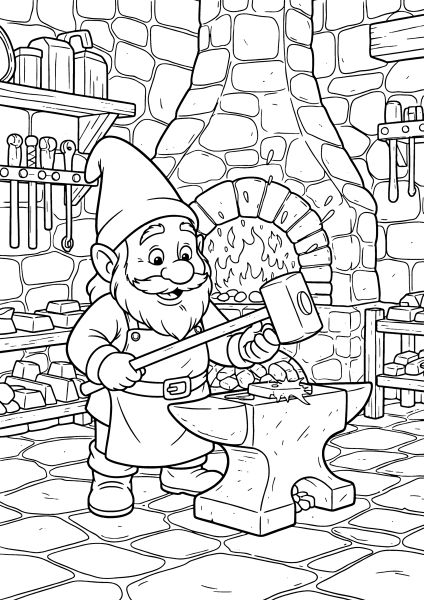
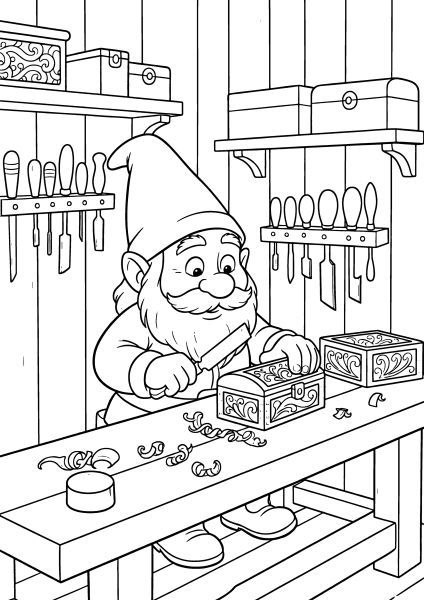
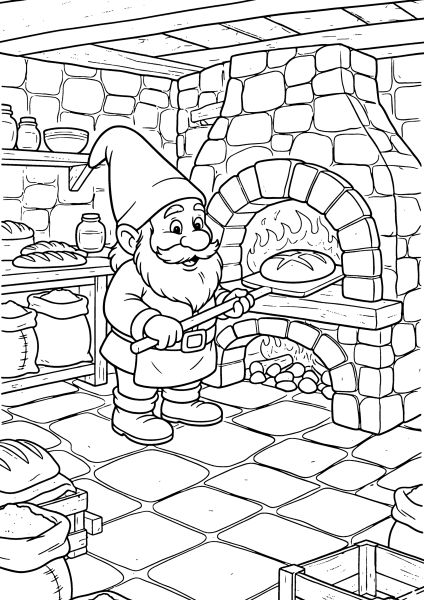
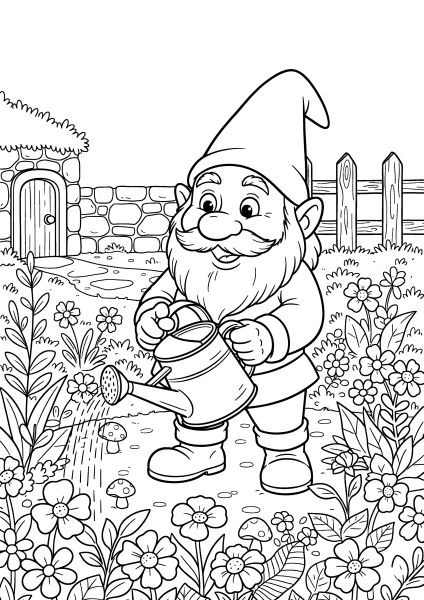
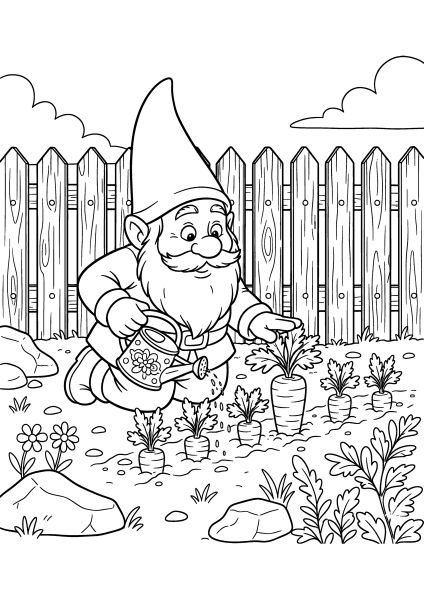
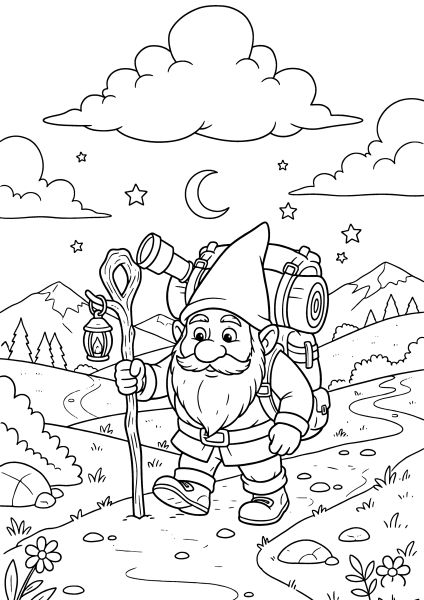
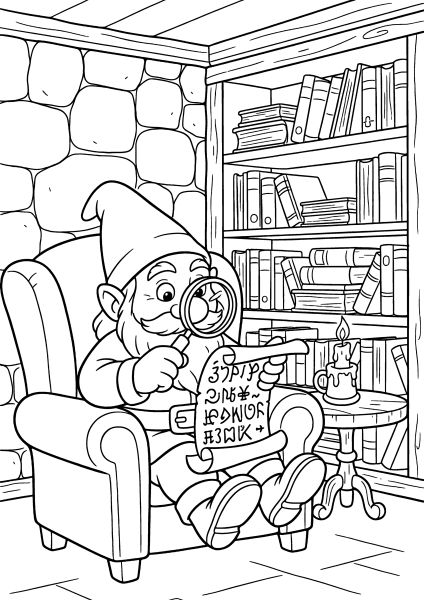
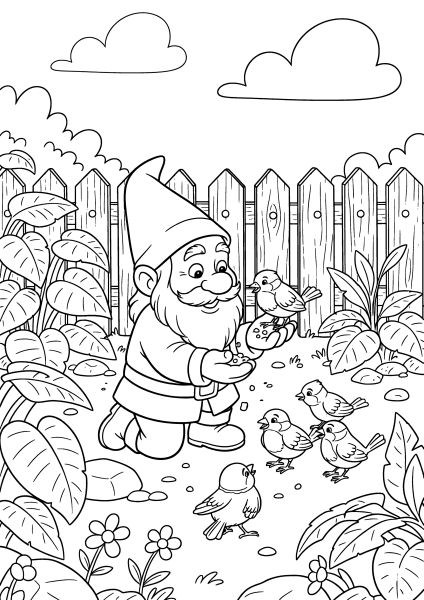
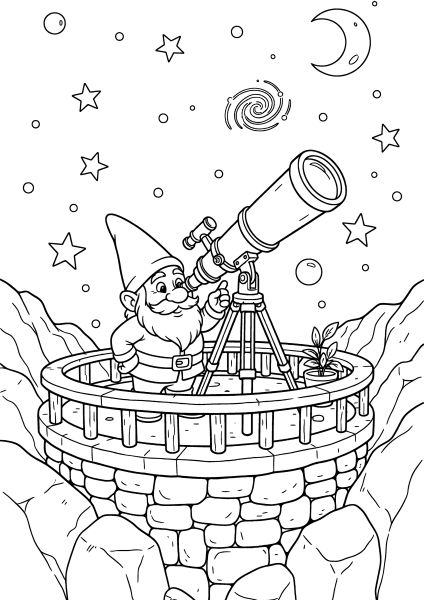
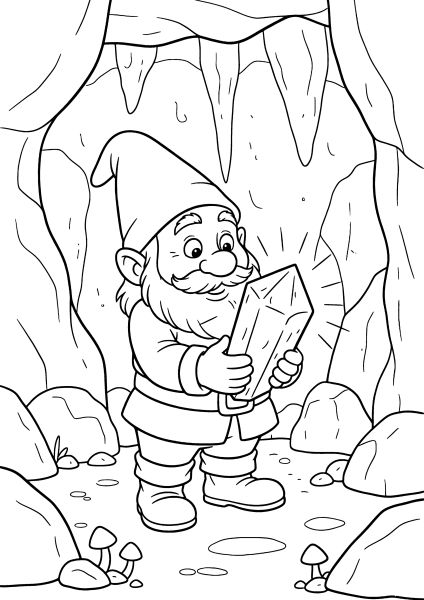
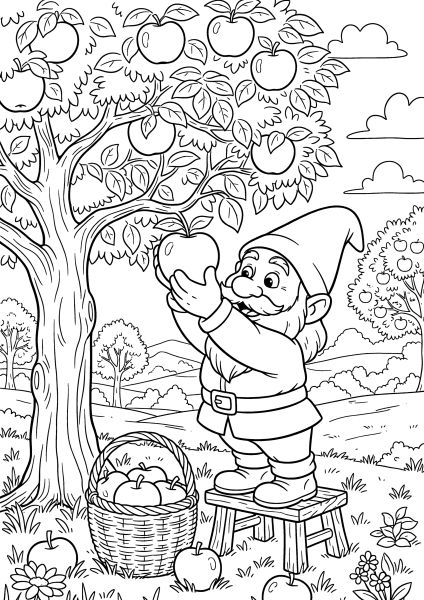
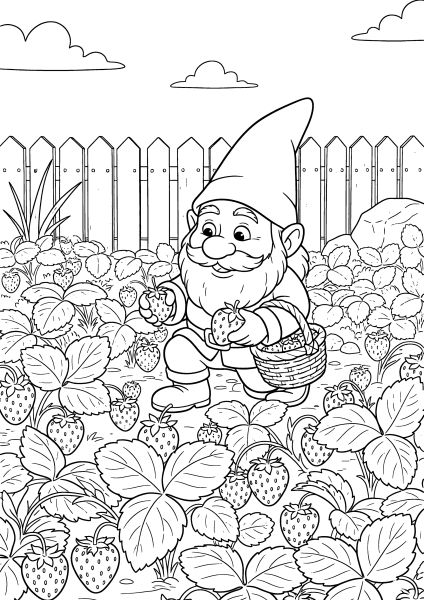
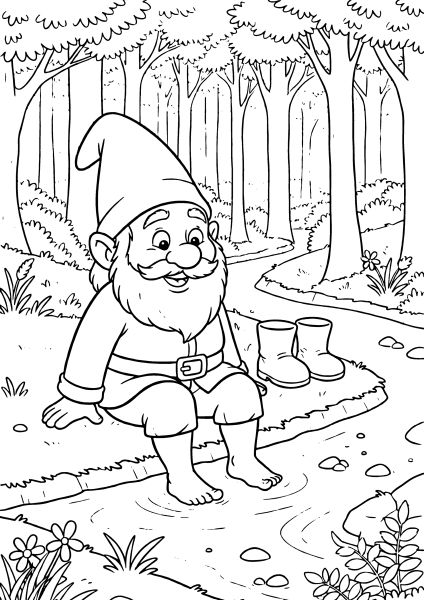
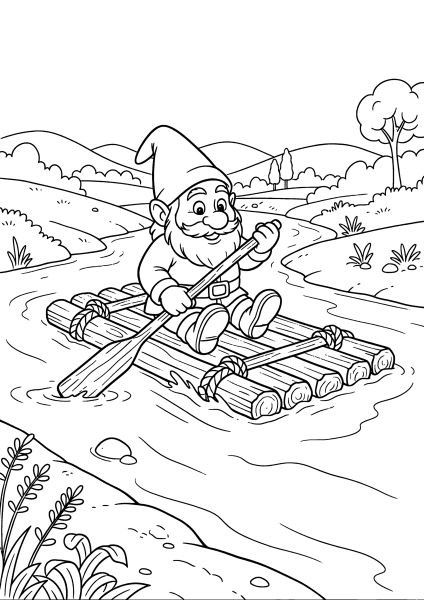
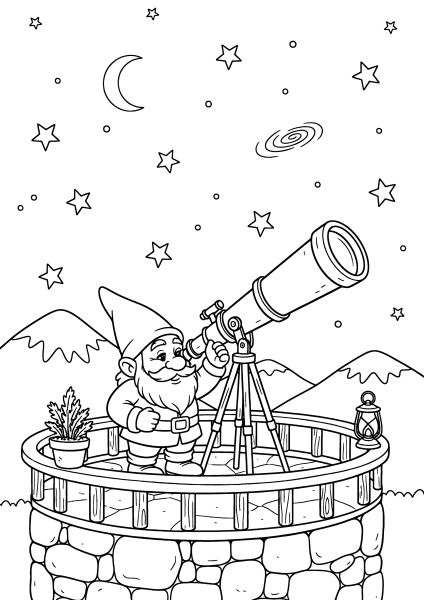
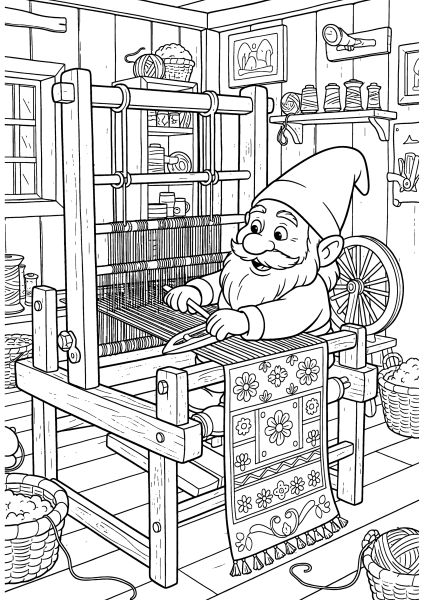
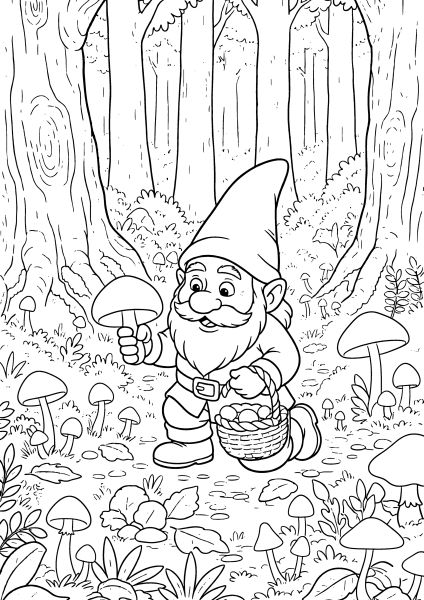
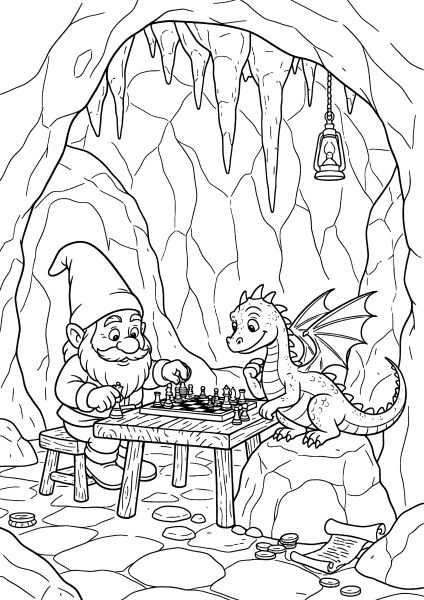
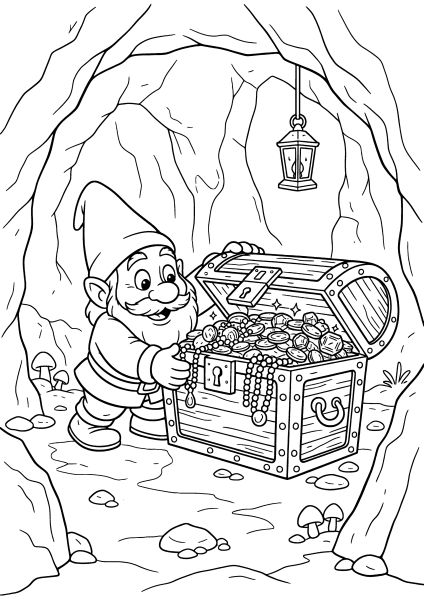
I’ve put together a selection of free printable gnome coloring pages focused on calm, story-driven scenes with clear, detailed linework. These A4 PDF illustrations are suitable for teens and adults who enjoy cozy, character-based designs.

The pages range from simple setups to more detailed scenes with tools, plants, and small interiors, giving space to work with color and shading. Below, you’ll find colored examples and two step-by-step tutorials for markers and pencils to help guide your coloring.

🎨 Coloring Tips & Inspiration

You do not need to color a gnome perfectly for the page to look beautiful. These drawings already have a cozy fairy-tale feeling, so even simple, neat coloring without complex shadows can look lovely. In reality, it is much easier than it seems, especially if you just begin with the colors you like.

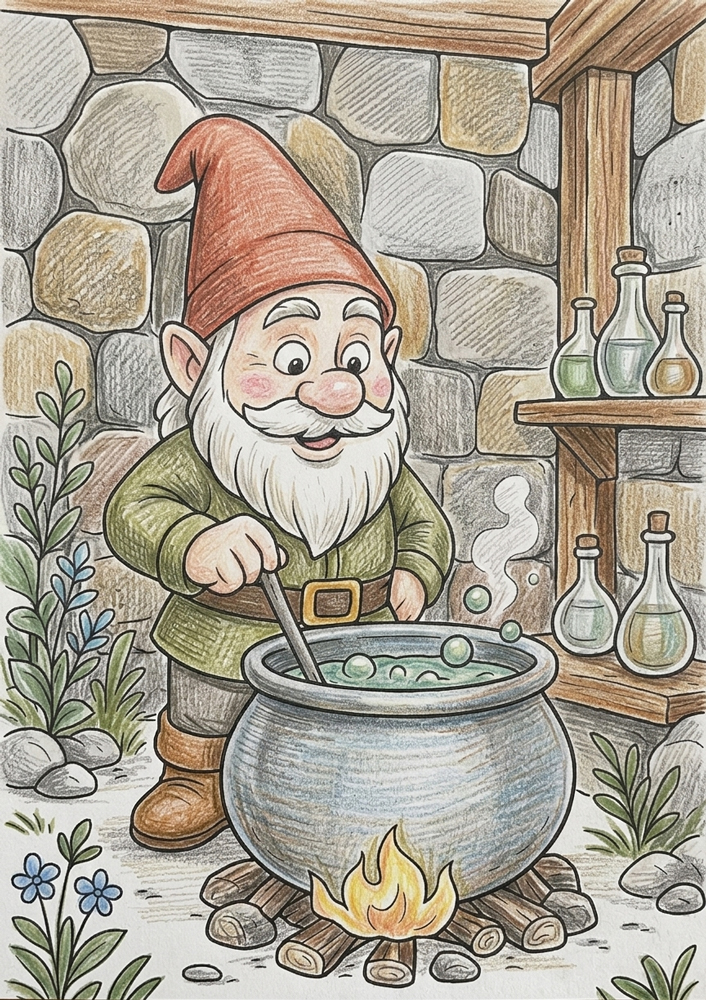
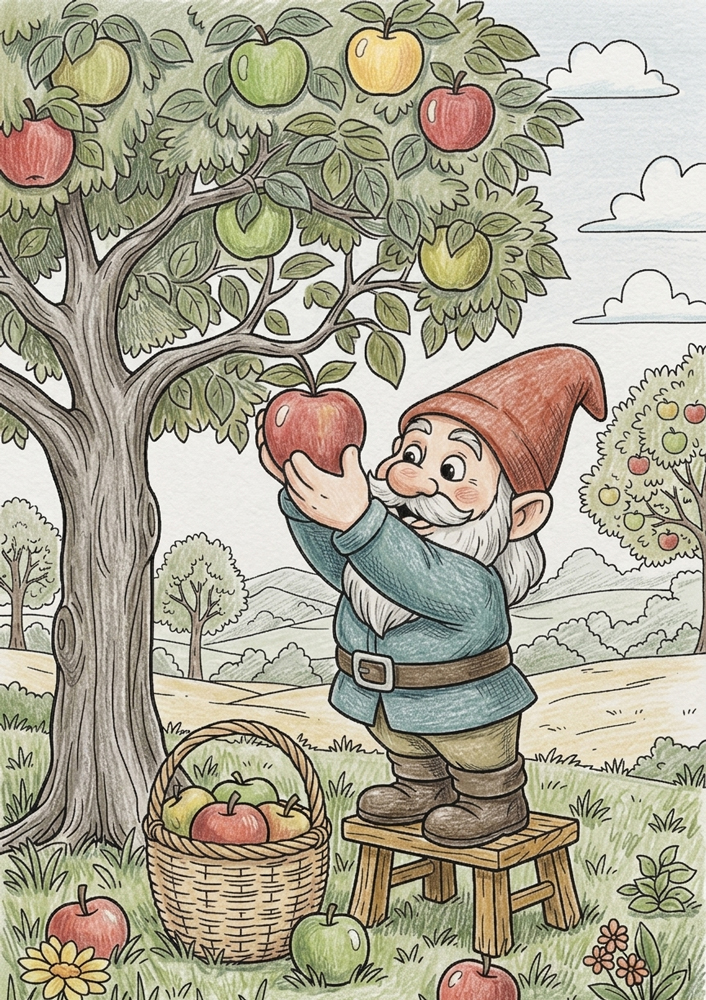
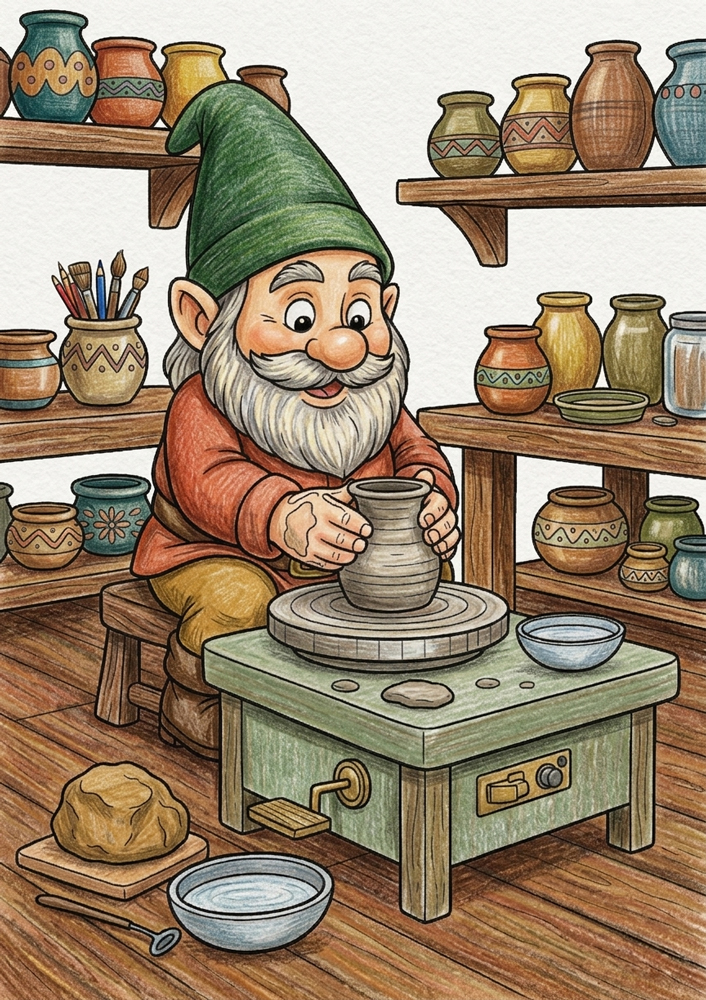
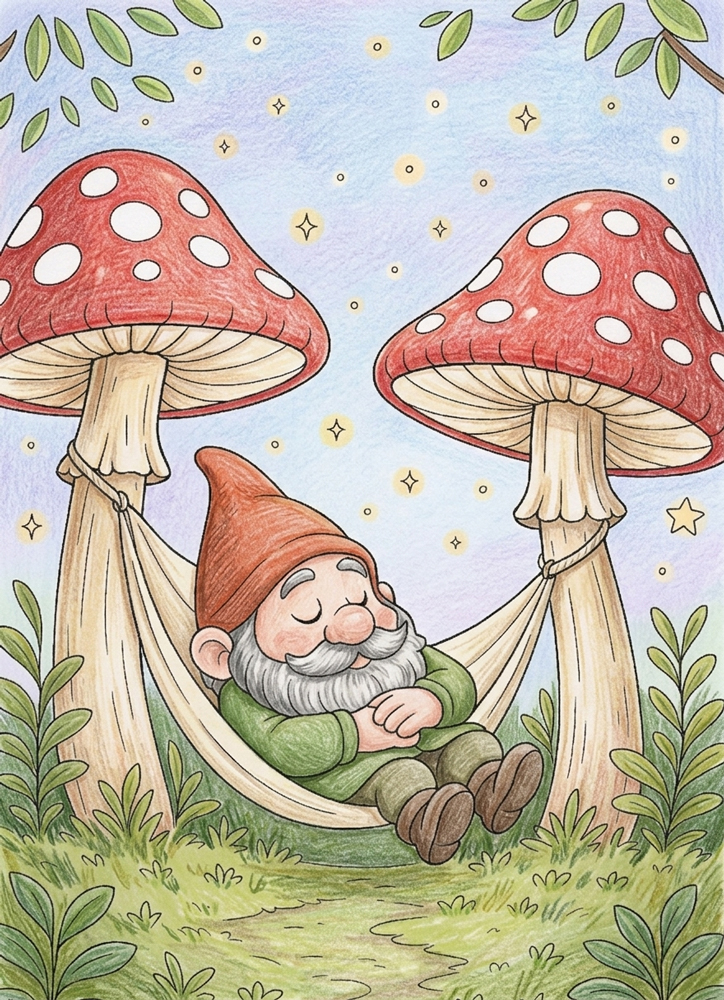
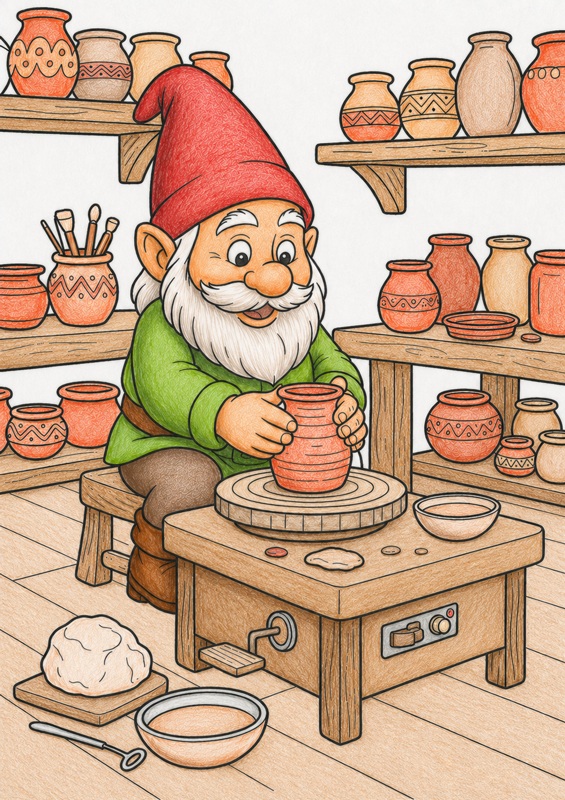
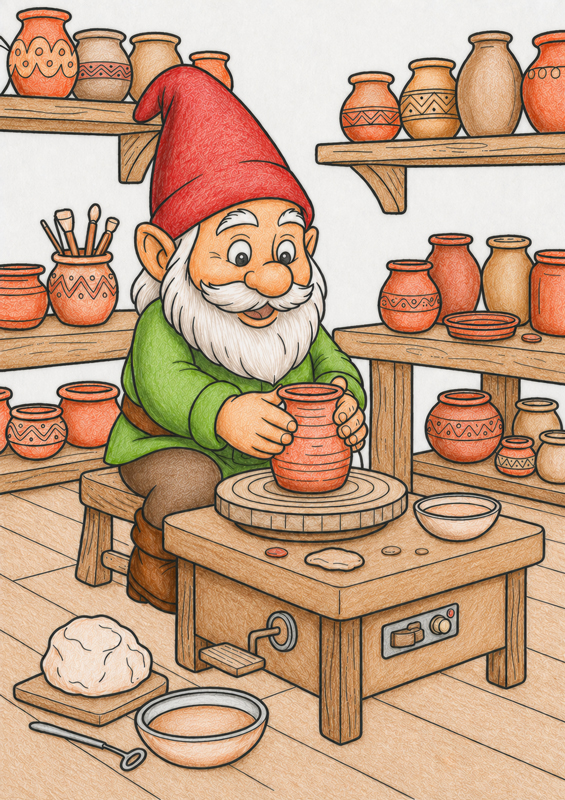
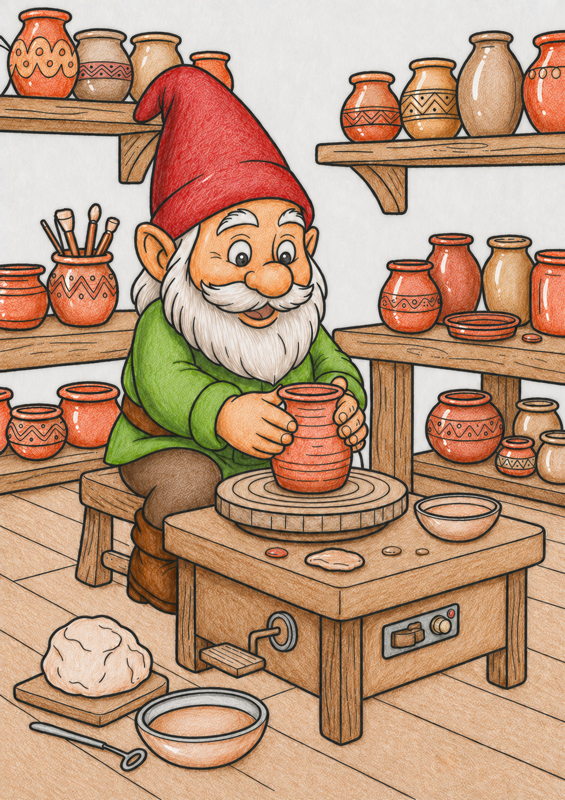
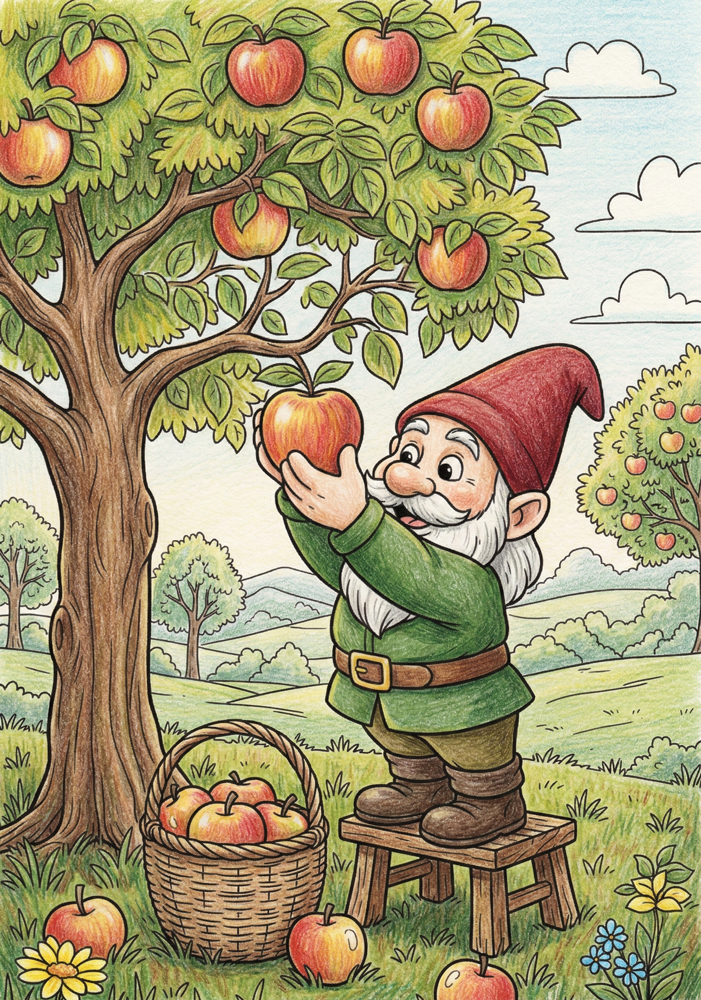
Below are a few colored examples from the gnome coloring pages collection. Use them as inspiration, not as something to compare yourself to. Click on any image to enlarge and explore the details up close. Scroll down, there is a step-by-step tutorial below.

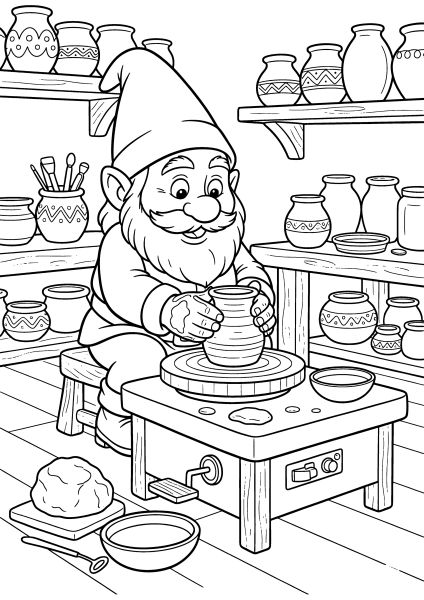
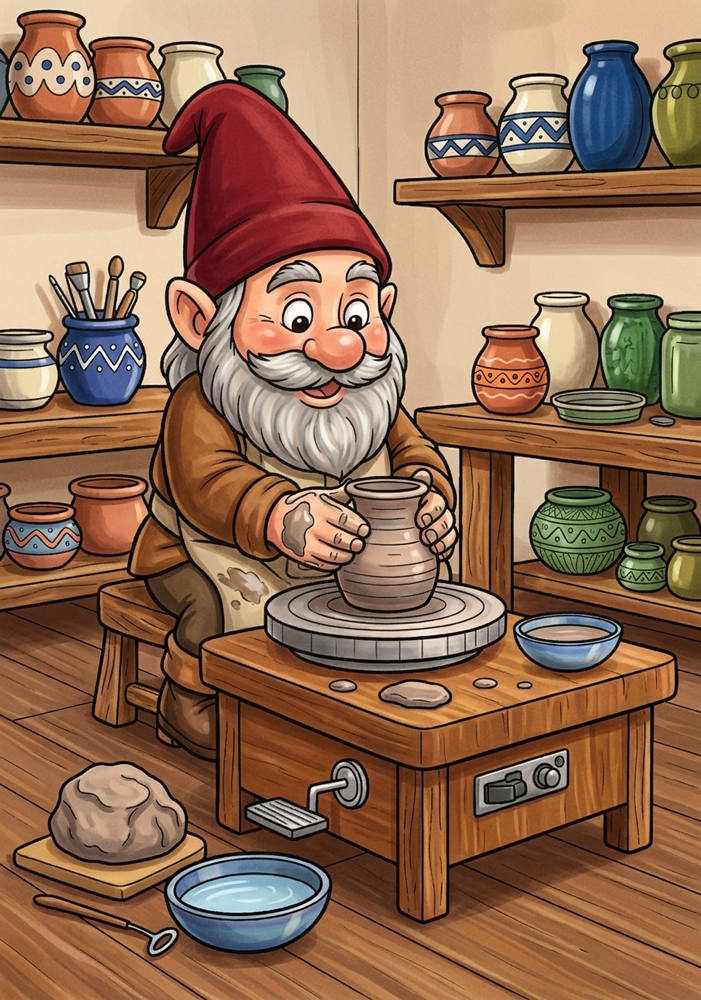
Step-by-Step Pottery Workshop Coloring

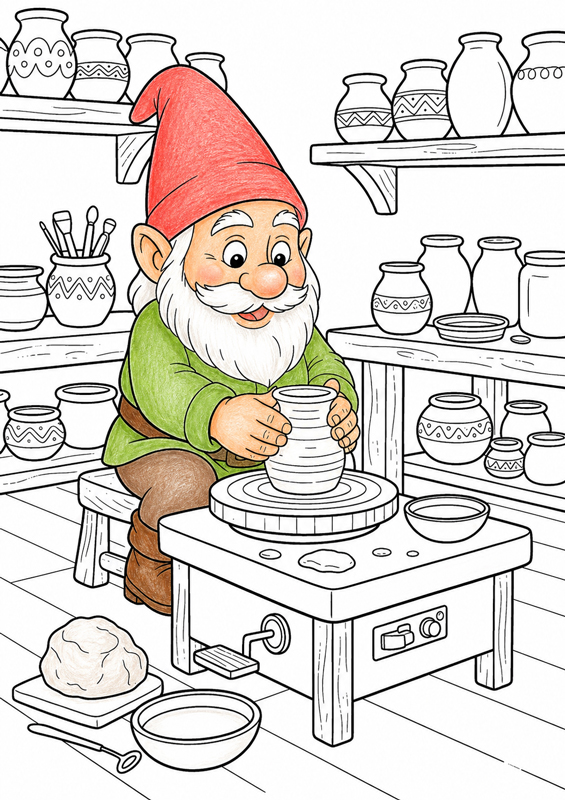
This little pottery workshop has many small details, so it helps to color it one part at a time.

We’ll start with the gnome, then move to the pottery, the workshop furniture, and finally add a few simple details to make everything feel more finished.

Take your time and keep the coloring light. The goal is not to make it perfect, but to build the picture slowly and enjoy each small step.

🧙 Step 1 — Color the Gnome

Let’s start with the gnome.

Take your colored pencils and gently fill in his face, nose, ears, beard, hat, clothes, hands, and shoes. Use light pressure so the color stays soft and natural.

Try to keep the color even, but don’t worry about making it perfectly smooth — a little pencil texture is completely fine.

For now, just add a simple base color. No shadows, no darker areas — keep everything nice and light.

Tip: Leave everything around the gnome white — the pottery and the workshop will come later.

🏺 Step 2 — Color the Pottery

Now let’s focus on the pottery.

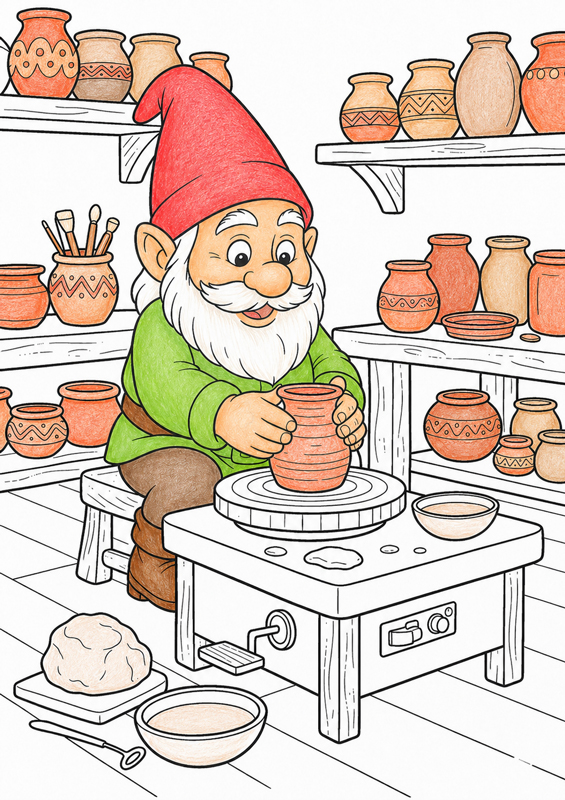
Take warm clay colors like terracotta, beige, or light brown and start filling in all the pots, jars, bowls, and vases. Don’t forget the cup on the pottery wheel.

Use just one simple color for each piece and keep your strokes light and even.

For now, we’re not adding any shadows — just a clean, smooth base.

Tip: Leave the gnome and the whole workshop around him untouched — we’ll come back to those later.

🪑 Step 3 — Finish the Workshop

Now let’s fill in the rest of the workshop.

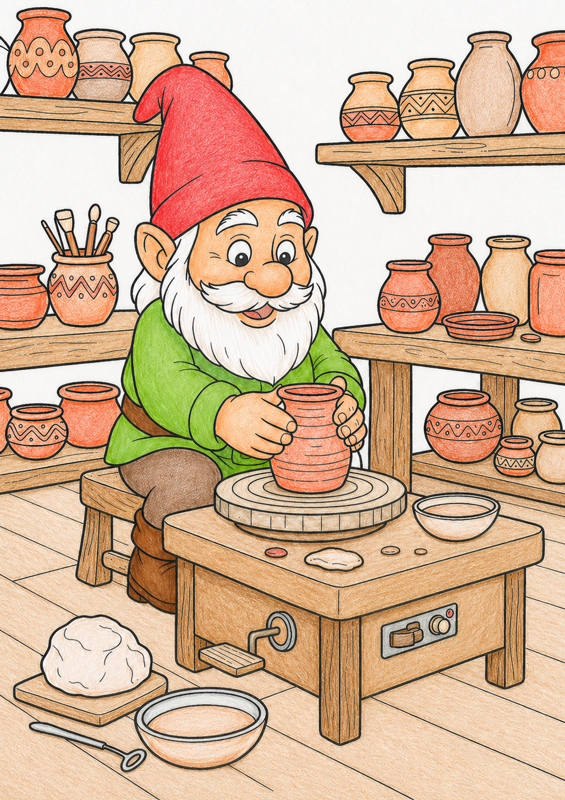
Color the shelves, table, stool, and floor using light brown or beige. Keep your strokes soft and even, without pressing too hard.

Then move to the smaller parts — the pottery wheel, pedal, bowl underneath, and all the little tools and details. Use simple, calm colors so everything looks neat and balanced.

Try to cover everything in this area so nothing is left white.

Tip: Leave the gnome and the pottery just as they are — this step is only for the workshop around them.

🧙 Step 4 — Add Shape to the Gnome

Now let’s make the gnome look a little more solid.

Use the same colors you already used, but press just a bit harder in a few places. Darken one side of the hat, the bottom of the shirt, and the small areas under the arms.

Then add a little more color to the lower part of the pants. For the beard, draw just a few darker strokes near the bottom, so it still looks soft.

Keep everything simple and a little uneven — that hand-colored look is part of the charm.

Tip: Don’t blend or cover the whole gnome. A few darker touches are enough to give him shape.

🪶 Step 5 — Add a Little Depth to the Pottery

Now let’s make the pots look a bit more round.

Take the same colors you already used, and on each pot gently darken just one side. Don’t overthink it — pick a side and softly go over it again.

You can also add a slightly darker touch along the bottom edge of some pieces. This helps them feel more grounded.

Keep it very simple — just a small change is enough to give them shape.

Tip: Don’t color the whole pot darker — only one side, so it still looks light and natural.

✨ Step 6 — Add Shiny Highlights

Now let’s add the final little sparkle to the pottery.

Take a white gel pen and draw a few curved white lines on some of the finished pots and vases. These lines will make them look smooth and shiny, like glazed pottery.

You can also add a few tiny white dots on the glossy parts. Don’t cover too much — just a small touch here and there is enough.

Tip: Leave the pot on the pottery wheel without highlights. It should look more matte, as if it is still unfinished.

Introduction: Theme Background & Inspiration

The idea behind gnome coloring pages comes from European folklore and its modern illustration interpretations, where gnomes represent connection to land, work, and small-scale living. They are often shown as caretakers of gardens, forests, and workshops, emphasizing stability rather than adventure.

The overall mood of the theme is calm and cozy. Scenes avoid tension or dramatic action and instead focus on quiet activity, warm surroundings, and a sense of routine. This makes the theme especially suitable for relaxed coloring experiences.

Understanding the Visual Language of the Theme

The visual language of gnome coloring pages is defined by rounded forms and solid proportions. Characters are designed to appear sturdy and grounded, often featuring oversized hats, beards, simple clothing, and clear silhouettes.

Linework is consistent and clean, helping separate characters from their surroundings. Background elements such as plants, tools, stones, wooden surfaces, and small buildings are used to support the scene without overwhelming the main subject. Detail density is moderate, allowing both clarity and visual interest.

Coloring Techniques / Approach for This Theme

Gnome illustrations combine character detail with rich environmental elements. To achieve a balanced and dimensional result, this theme works best with two distinct approaches:

Smooth marker blending is ideal for scenes with larger color areas and defined forms, such as workshop interiors or structured furniture. Alcohol markers provide even, saturated coverage. Begin with a light base layer, then introduce a slightly darker shade along folds, edges, and areas where objects overlap. While the ink is still fresh, gently pass over the transition zone with the lighter marker to soften the boundary.

Layered pencil shading is better suited for organic scenes like gardens, forests, and harvest settings. Colored pencils allow gradual value building through light pressure and repeated layering. Apply color in thin, directional strokes that follow the natural flow of fabric, wood grain, or foliage. Instead of pressing hard immediately, build depth slowly by stacking mid-tones and dark accents.

When coloring gnomes specifically:

  • Add shadow under the hat brim to frame the face.
  • Deepen tone beneath the beard and around sleeves for dimension.
  • Keep facial areas softer than clothing to maintain a friendly expression.

Balancing vibrant focal elements (such as a red hat or ripe apples) with slightly muted surroundings helps the character remain the visual center of the composition.

Gemini Generated Image dz77uvdz77uvdz77

Example Coloring Smooth Blending

This version is colored with alcohol markers, focusing on smooth, even coverage and soft gradients. Start with a light base tone, then add a darker shade along folds, edges, and areas under the table or hands. Blend while the ink is still wet to avoid harsh lines. Use two browns for the wooden furniture and a softer neutral tone for the clay. Keep transitions clean and controlled for a bright, polished look.

Gemini Generated Image 10q0up10q0up10q0

Example Coloring Layered Pencil Texture

This version uses colored pencils to build soft texture and depth. Begin with light base layers, then gradually add darker tones to create shadow and form. Leave small highlights on apples and build bark texture with directional strokes. Layer colors slowly rather than pressing hard. Visible pencil strokes enhance the natural, storybook feel of the scene.

Artistic Composition and Detail Balance

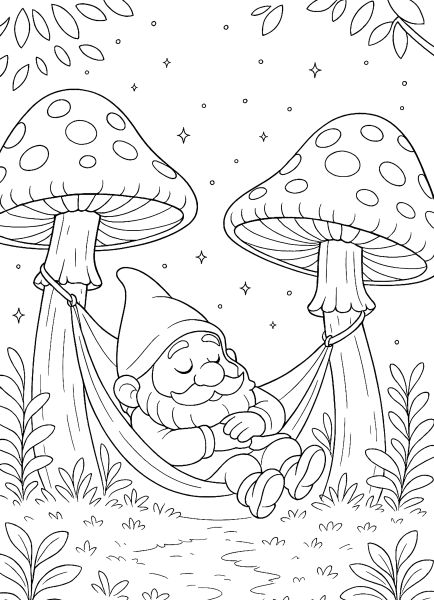
Each page is composed around a clear focal point, usually a single gnome or a small interaction within the scene. Background elements are arranged to frame the character rather than compete for attention.
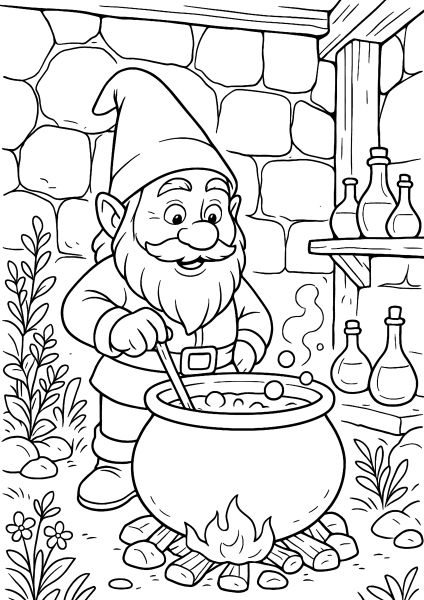
Open areas are balanced with detailed sections, creating a layout that feels complete but not crowded. This structure supports comfortable coloring and reduces visual fatigue.

Practical Application: How to Use

Gnome coloring pages can be used as standalone activities or grouped into a themed set. They work well for quiet creative time at home, classroom activities focused on calm concentration, or fantasy-themed learning units.

Because each page represents an independent scene, they can be used in any order without relying on a sequence or storyline.

Target Audience: Who These Pages Are Best For

These gnome coloring pages are best suited for children who enjoy fantasy characters and gentle, non-action-based scenes. The moderate level of detail makes them appropriate for early elementary ages and up.

They may also appeal to older users who prefer cozy illustration styles and relaxed coloring themes rather than highly dynamic or complex designs.

Technical Standards and Download Information

All gnome coloring pages are provided as high-quality free printable coloring pages. Files feature clean black outlines on a white background and are optimized for printing on standard A4 or US Letter paper.

Each page can be downloaded individually and printed for personal or educational use.

Enjoying these free coloring pages?
Your support helps keep this free printable library growing.
The support amount starts at $3, but you can change it before donating. You can also choose one-time or monthly support.
Need another payment option? Open the full Ko-fi page .

✨ Discover More Enchanted Inhabitants

After visiting the hidden world of gnomes, continue your magical journey through our other collections. You might enjoy the grace of our Unicorn coloring pages, the deep-sea wonders of our Mermaids, or the playful charm of our Cute monsters. If you love finding magic in small, unexpected places, don’t miss our Magical Cabinets, which are filled with tiny, whimsical secrets.

Let these legendary characters inspire your next creative session—from earthy, forest tones to bright, magical palettes.

Fantasy & Fairy Creatures Coloring Pages with magical unicorn scenes

Unicorn Coloring Pages

Unicorn coloring pages feature graceful, familiar animal forms combined with subtle magical elements. Flowing manes, gentle expressions, and balanced compositions create a sense of harmony and calm fantasy. These pages are well suited for expressive color choices and imaginative storytelling, especially for those who enjoy fantasy themes that feel elegant and comforting rather than dramatic.

Mermaid Coloring Pages

Mermaid Coloring Pages

Mermaid coloring pages explore underwater fantasy worlds through soft movement and layered details. Tails, waves, and aquatic elements are arranged to suggest motion while keeping the scene visually balanced. This subcategory supports relaxed, immersive coloring and works especially well for colorists drawn to fantasy settings inspired by nature and water.

Little dragon coloring pages with cute fantasy dragons and magical settings

Little Dragon Coloring Pages

Little dragon pages feature youthful, adventurous dragon characters placed in friendly fantasy settings. The designs emphasize curiosity and motion rather than power or scale. This subcategory supports imaginative storytelling and playful color experimentation while keeping forms clear and accessible.

pinit fg en rect red 28

Scroll to Top