Printable 3D Iris Floral Vase to Color and Build

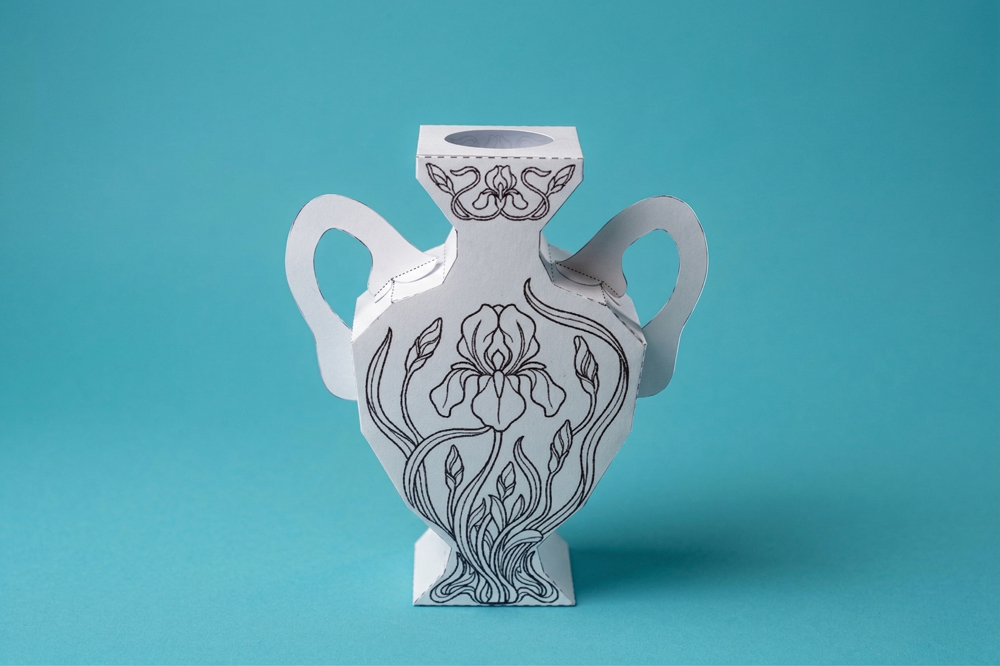
Experience the elegance of Art Nouveau with this Printable 3D Iris Floral Vase. This isn’t just a coloring page — it’s a creative journey that transforms a delicate flat template into a stunning, multi-dimensional piece of botanical art for your home.

The flowing lines and intricate petals are specifically designed to provide a meditative coloring experience. As you follow the natural curves of the iris flowers, the repetitive motion guides your focus, helping you relax and de-stress while building a beautiful, professional-looking decorative object.

Whether you’re a nature lover looking for an engaging botanical project or a paper-craft enthusiast seeking a rewarding “hands-on” creative escape, this project is designed to be accessible, satisfying, and truly unique.
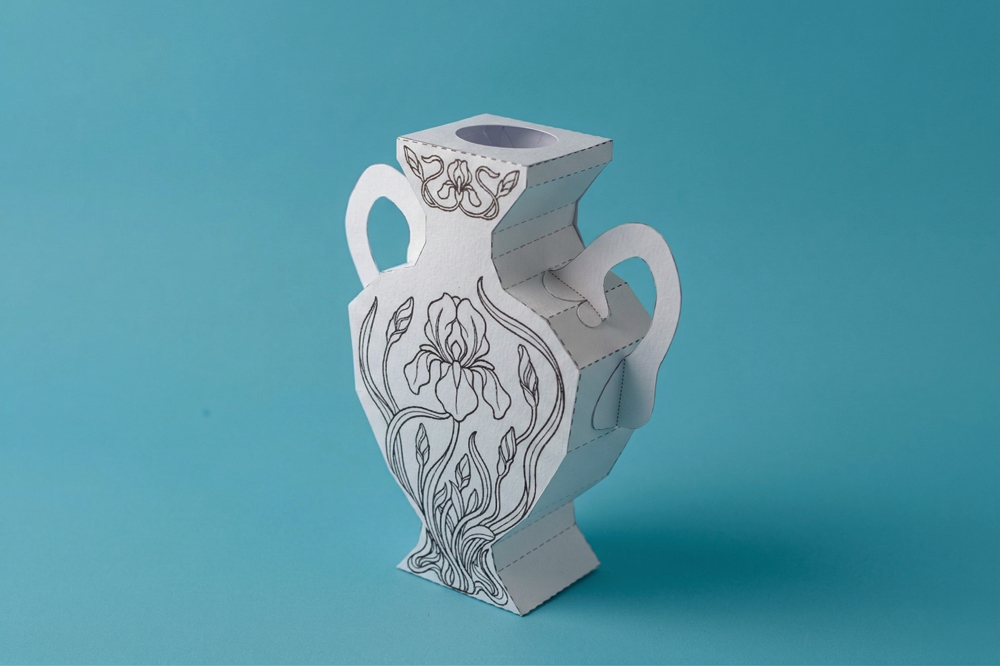
Printable 3D iris floral paper vase craft template for adults and kids.

Why You’ll Love This Printable 3D Iris Floral Vase

  • 🌿

    Elegant Botanical Design: The hand-drawn Iris patterns are inspired by the flowing lines of nature. It’s a perfect way to bring a touch of classic Art Nouveau elegance into your home decor.

  • 🎨

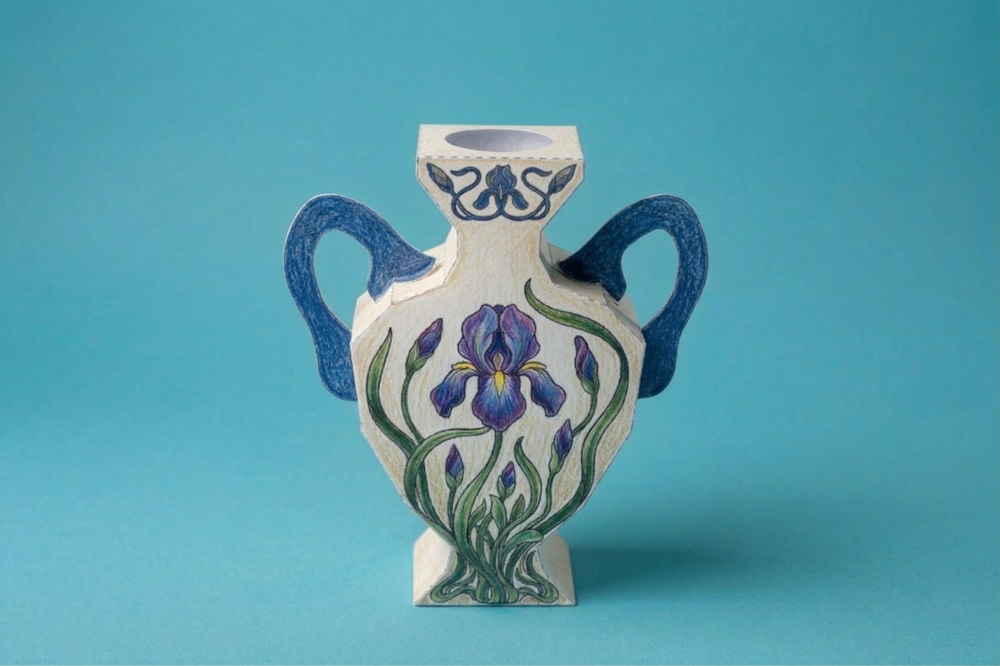
    Creative Artistic Freedom: The detailed petals and delicate curves offer a wonderful canvas for color blending. Use gradients or bold shades to make your iris bouquet truly come to life.

  • 🏗️

    Sophisticated 3D Structure: This model features elegant handles and a classical shape. Once assembled, it stands as a sturdy, multi-dimensional paper sculpture that looks professional on any shelf.

  • Mindful Crafting Escape: Focusing on the organic shapes of the flowers provides a deep sense of relaxation. It’s an ideal project to quiet the mind and enjoy a rewarding “hands-on” experience.

How to Build Your 3D Vase

  • 1

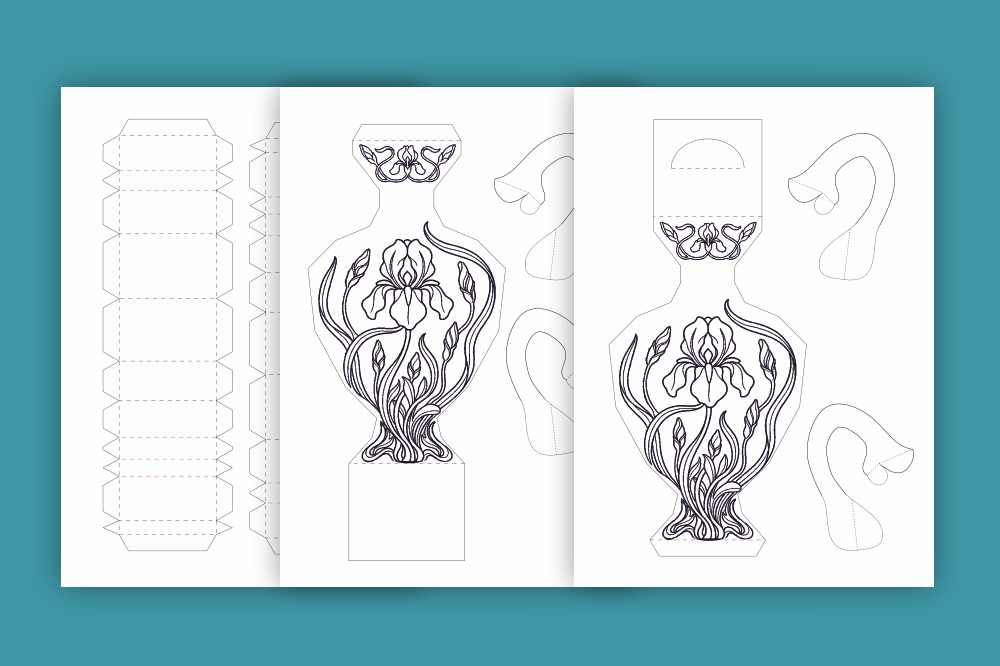
    Step 1: Start with Color. It is best to bring the iris blossoms to life while the template is still flat. Use your favorite coloring tools to shade the petals and leaves before moving to the next stage.

  • 2

    Step 2: Precision Cutting. Use sharp scissors to carefully cut along the solid outer outlines. Take extra care around the delicate handles and the small assembly tabs to ensure a clean finish.

  • 3

    Step 3: Prepare the Folds. For professional, crisp edges, run a scoring tool and a ruler along every dashed line. Once scored, pre-fold all the lines to help the vase take its botanical shape easily.

  • 4

    Step 4: Final Assembly. Apply a small amount of glue or double-sided tape to the tabs. Press each tab firmly to its matching edge and hold for a moment until secure, working your way around to complete your 3D floral sculpture.

Coloring Tips for a Stunning 3D Iris Vase

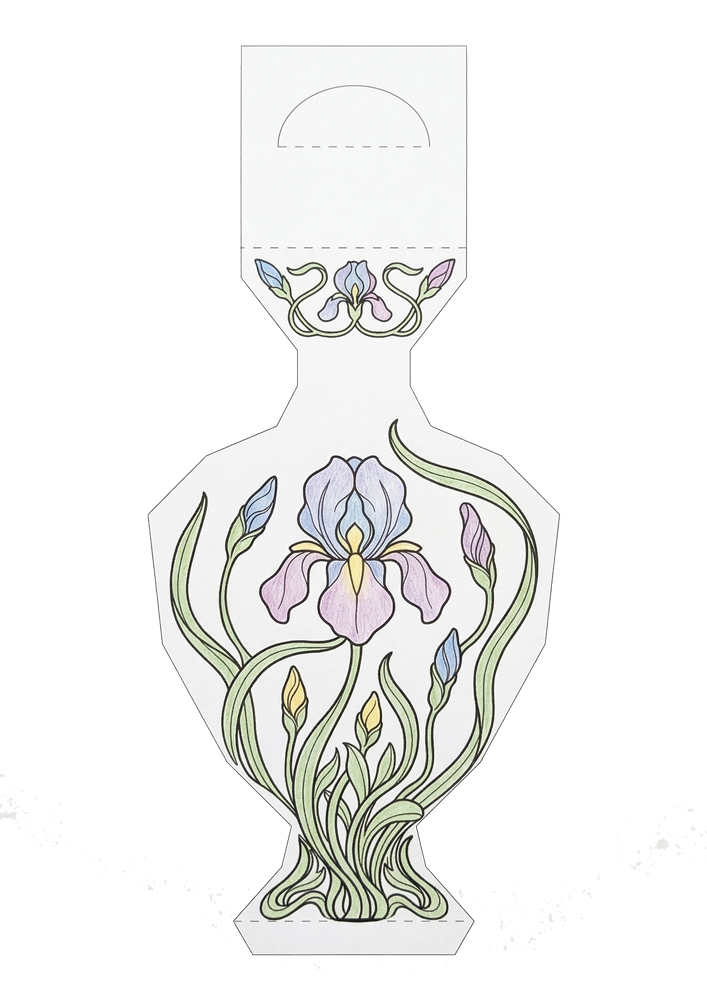
Step 1 of coloring a 3D iris vase printable: applying light base colors to the flower and leaves.

Step 1: Apply Light Base Colors

Start by coloring the delicate iris blossoms and foliage using your lightest shades. Use pale lavender, soft sky blue, or gentle yellow for the petals, and a minty green for the stems. Keeping your strokes light at this stage creates a smooth foundation, ensuring your colors will blend beautifully as you progress.
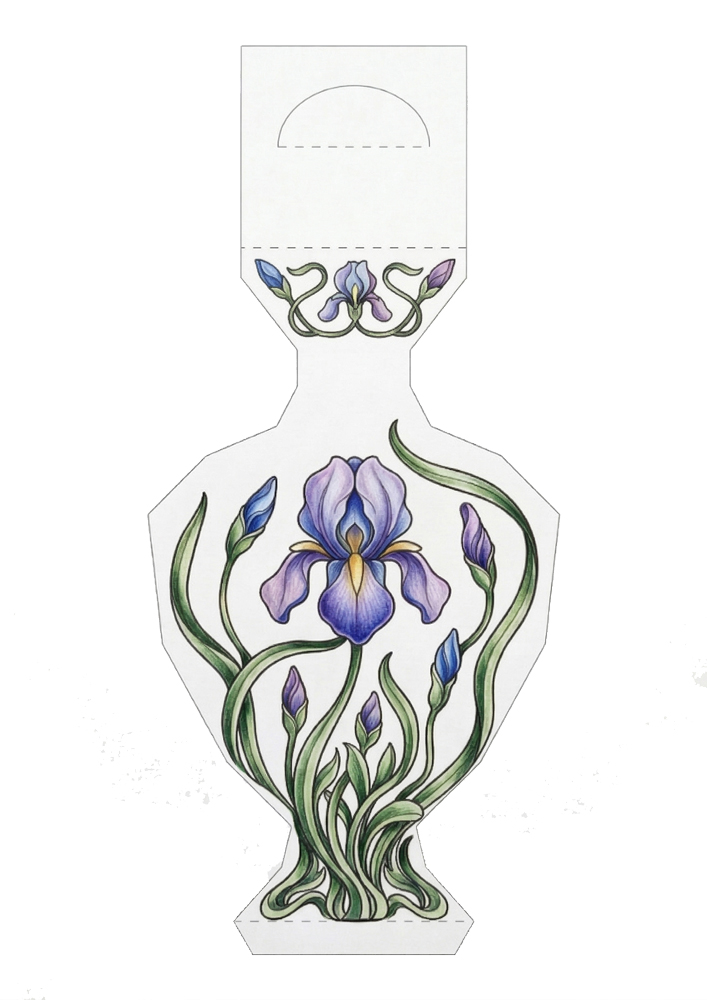
Step 2 of coloring a 3D iris vase craft: adding depth and shadows using darker purple and green shades.

Step 2: Add Depth with Shadows

Now, bring your creation to life by adding volume. Use deeper versions of your colors—like rich purple or forest green—to shade the areas where petals overlap, inside the flower centers, and along the stem joints. This simple technique creates a realistic 3D illusion on the flat paper template even before you start folding.
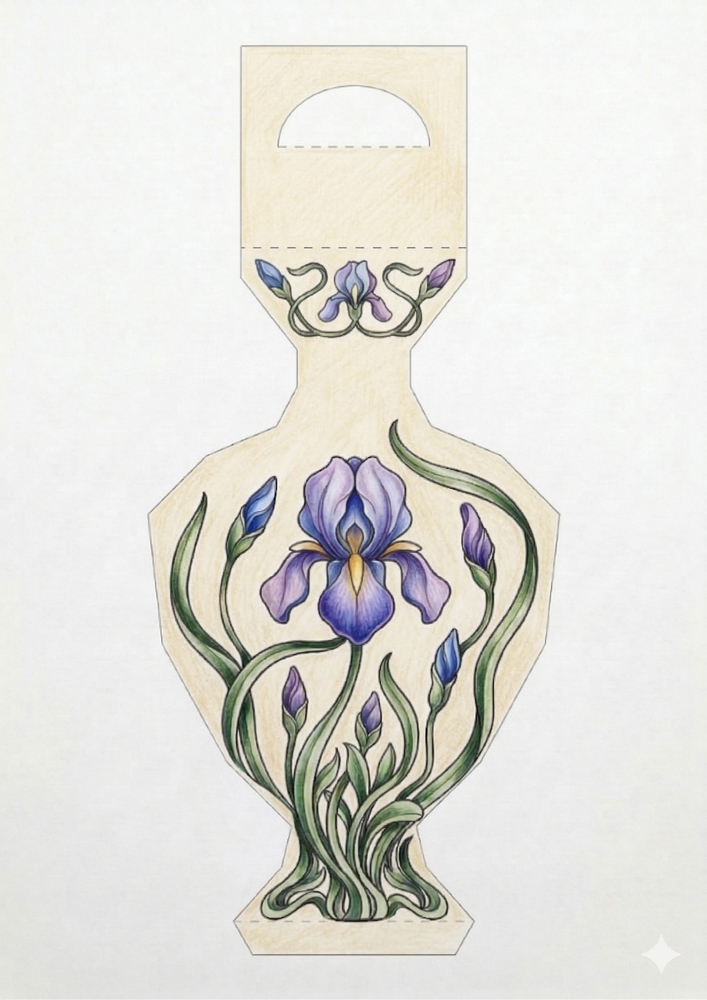
Step 3 of coloring a 3D iris vase template: filling the background space with a soft cream color.

Step 3: Color the Vase Body Background

Finally, fill the empty background space inside the vase panels with a solid, uniform color (the area between the flowers and leaves). Choosing a soft contrasting shade like antique cream or light teal will make your beautifully colored irises stand out dramatically against the body of the vase.
What You’ll Need for This Project:

  • 📄

    Premium Cardstock (160-200 gsm): For a professional result, avoid standard office paper. Using a heavier weight ensures your iris vase maintains its structural integrity and stands proudly as a piece of decor.

  • 🖍️

    Artistic Supplies: Whether you prefer the soft blending of colored pencils or the vibrant saturation of alcohol markers, choose the mediums that best bring these floral patterns to life.

  • ✂️

    Precision Tools: A pair of sharp craft scissors or a craft blade is essential for following the solid outer contours of the template accurately.

  • 🍴

    Scoring Setup: This is the secret to a flawless finish! Use a ruler and a dull edge—like a standard kitchen fork—to press along the dashed lines. This “fork hack” creates perfectly crisp folds. Check out my video tutorial below to see this simple trick in action!

  • 💧

    Joining Materials: A high-quality glue stick or double-sided tape provides a clean, warp-free bond. If using liquid glue, apply it sparingly to keep the paper smooth and flat.

Follow along with the assembly tutorial below to master the techniques for scoring, folding, and gluing your iris vase. Seeing the process in motion is the perfect way to ensure your handcrafted 3D project looks flawless and professional!

What to Do With Your Finished Vase

  • Elevate Your Home Decor: This 3D iris vase is a sophisticated addition to any shelf or mantelpiece. Its flowing Art Nouveau lines and hand-colored details bring a refined, artistic touch to your living space.

  • 🌸

    Showcase Paper or Dried Blooms: Since it’s made of paper, this vase is the perfect partner for handcrafted paper flowers or delicate dried lavender. It’s a beautiful way to enjoy a “blooming” display that never fades.

  • 🎁

    A Thoughtful Floral Gift: Surprise a flower lover with a version you’ve colored specifically for them. A hand-assembled 3D iris vase is a unique, personalized present that carries much more meaning than a store-bought card.

  • 📸

    Start Your Botanical Collection: Don’t stop at just one! Create a series of these vases using different color schemes—from deep purples to soft yellows. They look stunning when grouped together as a curated paper art gallery.

Ready to build your own paper town?

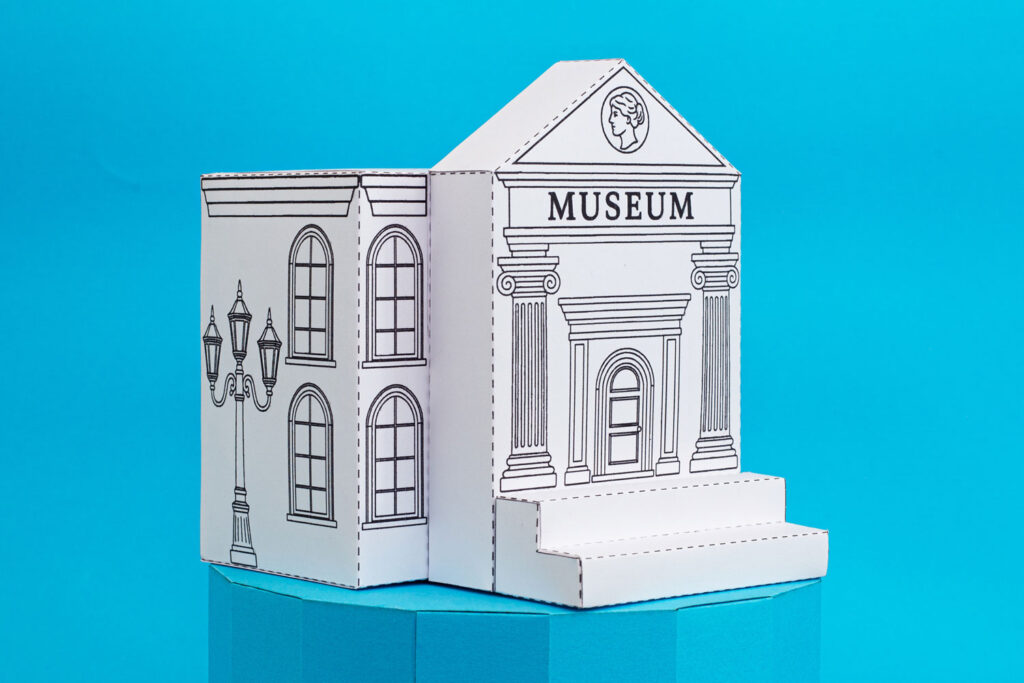
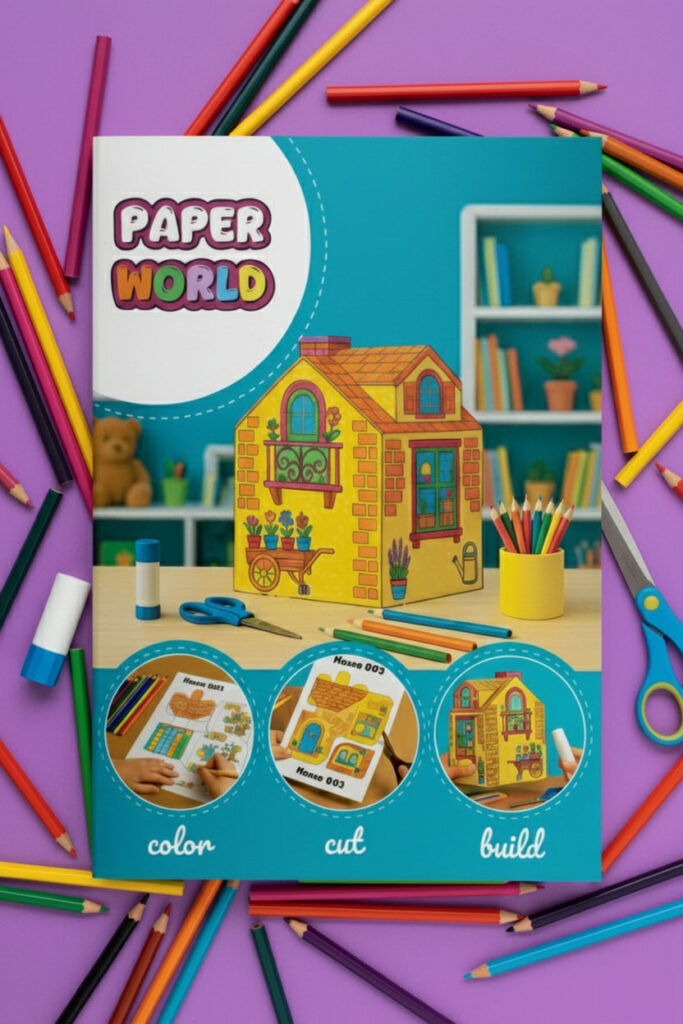
If you enjoyed this project, you’ll love the full Paper World collection! I designed this book with 9 unique 3D buildings — from cozy family homes to busy shops and grand public museums.

Each model is crafted in the same satisfying style, allowing you to color, cut, and construct an entire miniature neighborhood. It’s the ultimate project for anyone who loves seeing their art come to life in 3D!

Enjoying these free coloring pages?
Your support helps keep this free printable library growing.
The support amount starts at $3, but you can change it before donating. You can also choose one-time or monthly support.
Need another payment option? Open the full Ko-fi page .

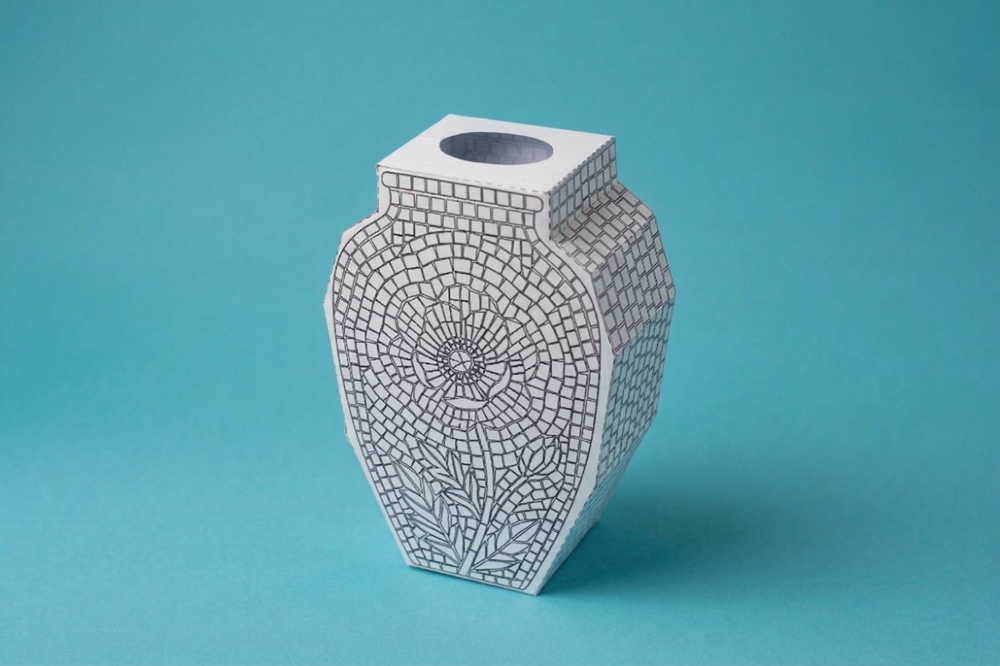
Build an intricate mosaic-style vase with stunning geometric details! This model is a wonderful way to practice color blending while creating a modern, artistic accent for your home.

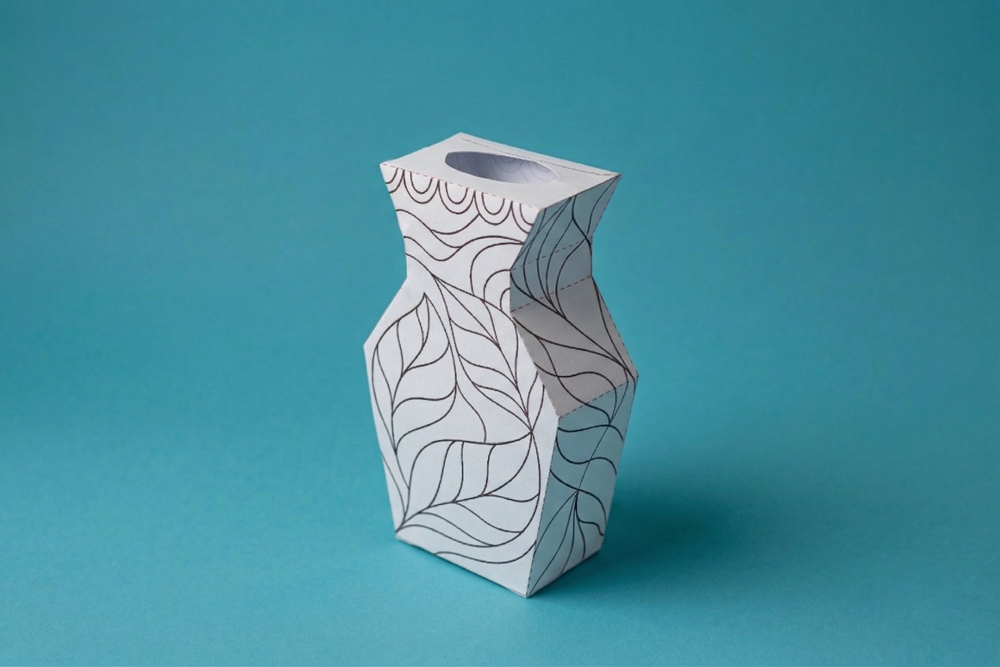
Bring a touch of nature indoors with this flowing foliage design! This elegant model is perfect for those who love organic shapes and want to create a calming piece of botanical art.

Build a grand museum with classic columns! This model is a great way to learn about architecture while creating a centerpiece for your paper town.

pinit fg en rect red 28

Scroll to Top