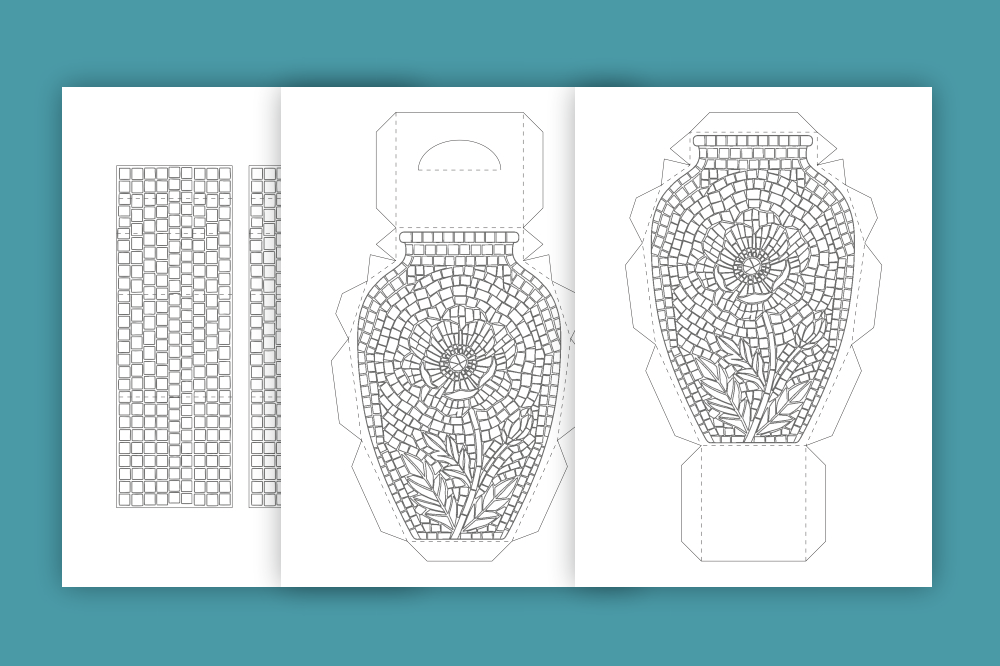
Printable 3D Mosaic Vase to Color and Build
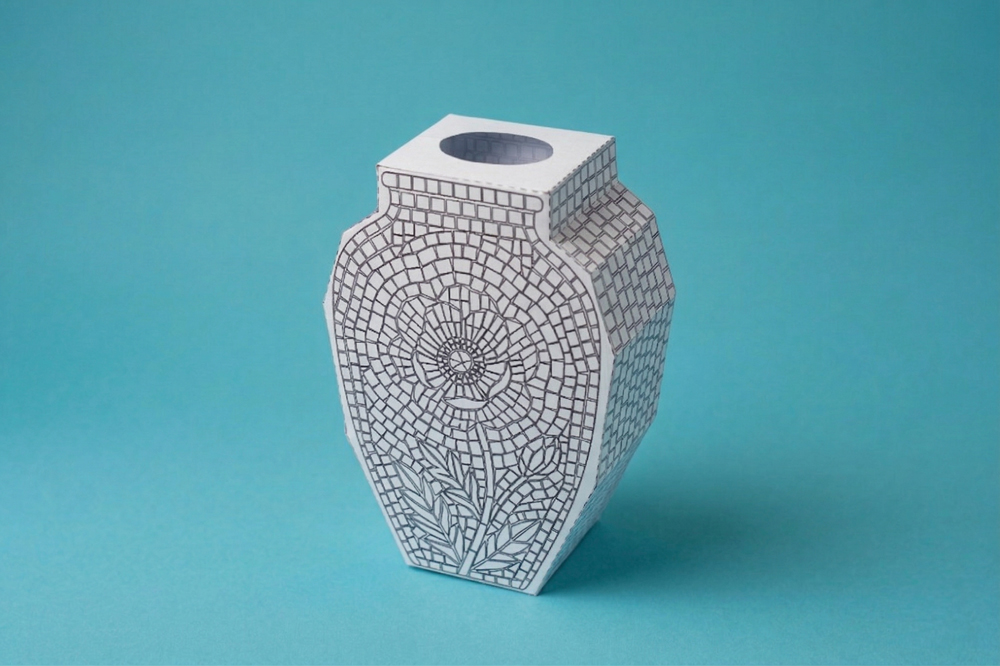
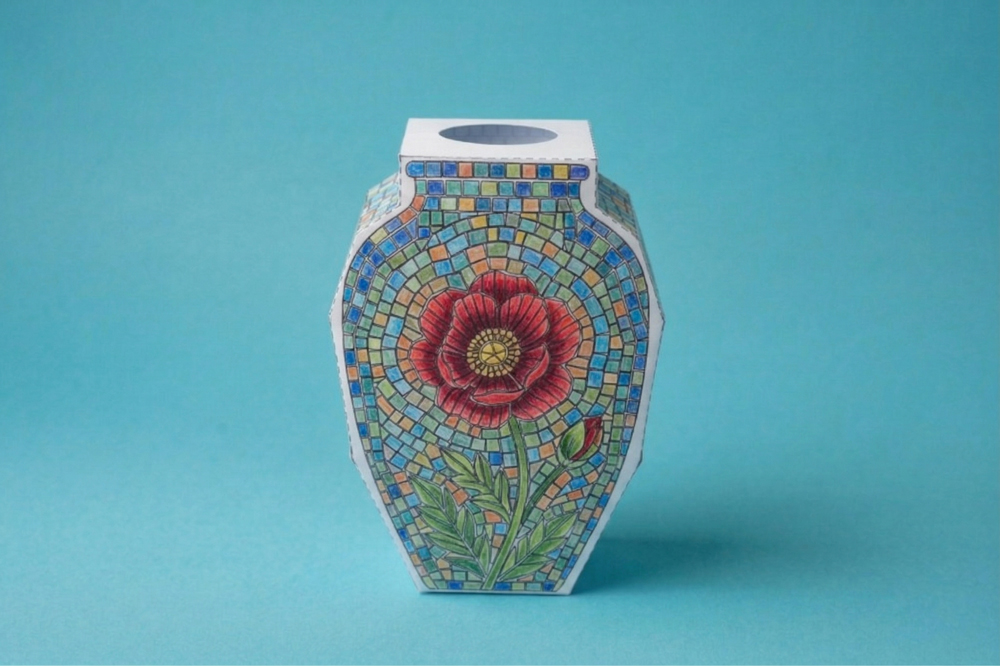
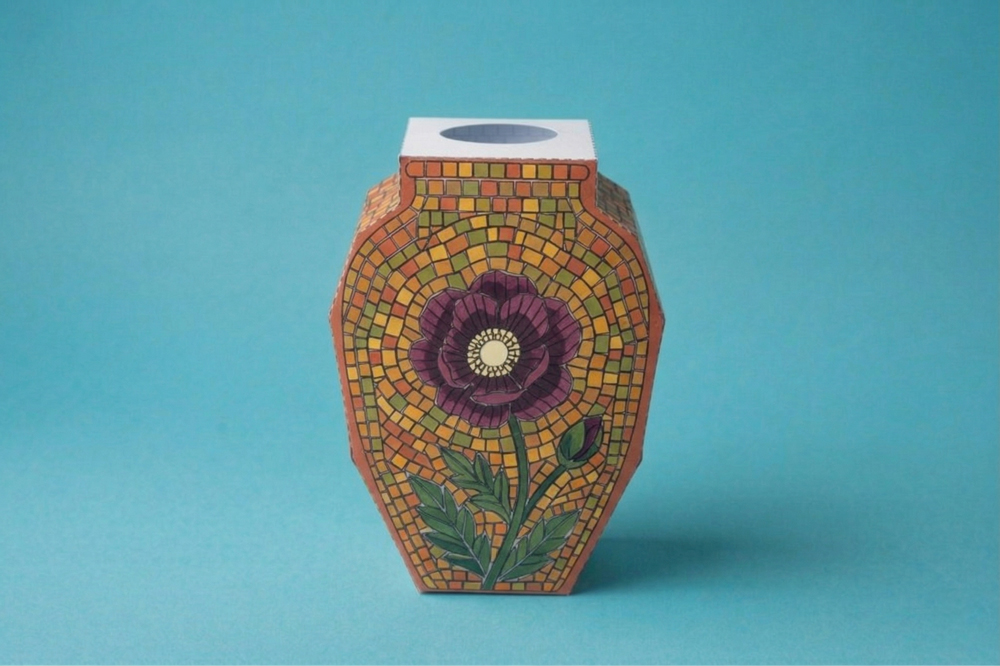
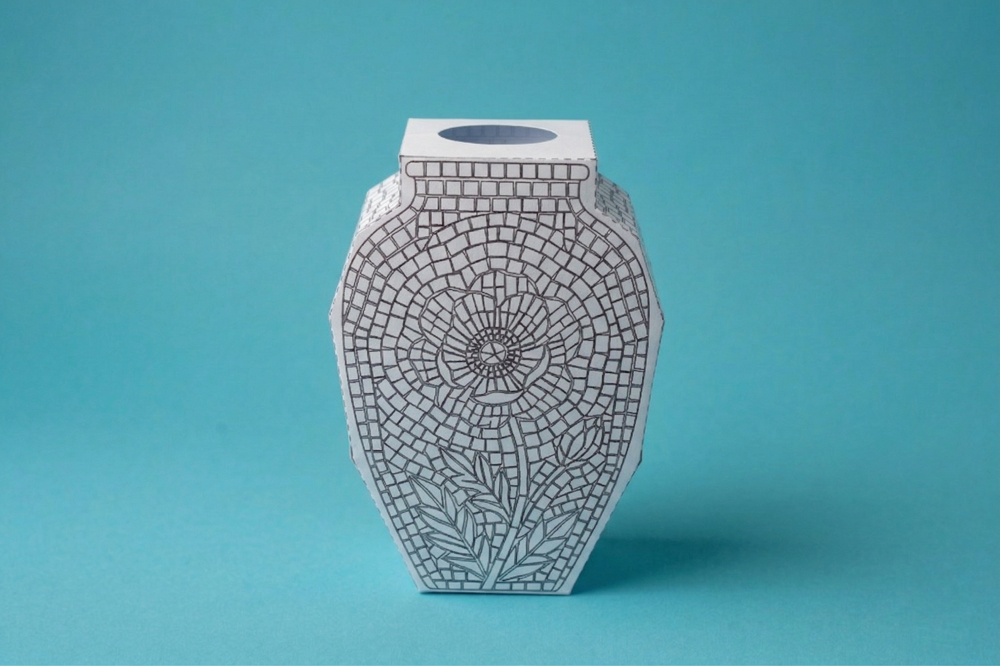
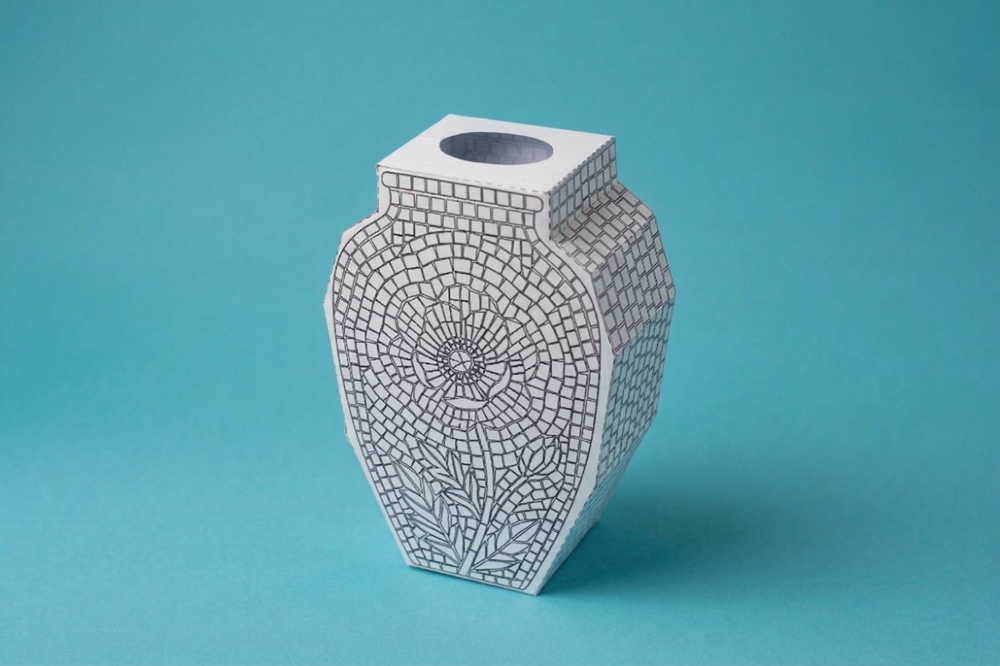
Discover the perfect blend of art and geometry with this Printable 3D Mosaic Vase. This isn’t just a coloring page — it’s a creative journey that transforms a flat template into a stunning, multi-dimensional decorative object for your home.
The intricate mosaic pattern is specifically designed to provide a meditative coloring experience. As you fill each small segment, the repetitive process naturally guides your focus, helping you relax and de-stress while building a beautiful, professional-looking result.
Whether you’re a parent looking for an engaging motor-skills project for kids or an adult seeking a rewarding “hands-on” creative escape, this project is designed to be accessible, satisfying, and truly unique.
Why You’ll Love This Printable 3D Mosaic Vase
- 🧘
Meditative Coloring Experience: The mosaic-style pattern is designed to be deeply satisfying. Coloring each tiny tile helps you stay focused and calm, making it a perfect mindful activity to unwind.
- 🎨
Double the Creativity: Why stop at coloring? This project gives you two hobbies in one—the relaxation of art and the satisfaction of building a 3D structure with your own hands.
- 💪
Sturdy & Simple Design: We’ve engineered the template to be incredibly easy to assemble. Once folded, the vase is surprisingly strong and stands perfectly on its own as a piece of shelf art.
- 👨👩👧
Fun for All Skill Levels: Whether you are a parent looking for a motor-skills activity for kids or an adult seeking a complex artistic challenge, this model adapts to your creative style.


How to Build Your 3D Vase
-
1
Step 1: Color First. Always color your mosaic pattern before cutting anything out. It’s much easier to color on a flat surface!
-
2
Step 2: Cut Carefully. Follow the solid outer lines to cut out the template. Take your time, especially around the tabs.
-
3
Step 3: Score and Fold. To get crisp, clean edges for your vase, score all the dashed lines first using a ruler and your scoring tool. Then, fold along every line.
-
4
Step 4: Assemble. Apply glue or double-sided tape to the tabs one by one. Carefully press them to the corresponding edges, holding for a few seconds until secure, working your way around to close the vase shape.
Coloring Tips for a Mosaic Effect

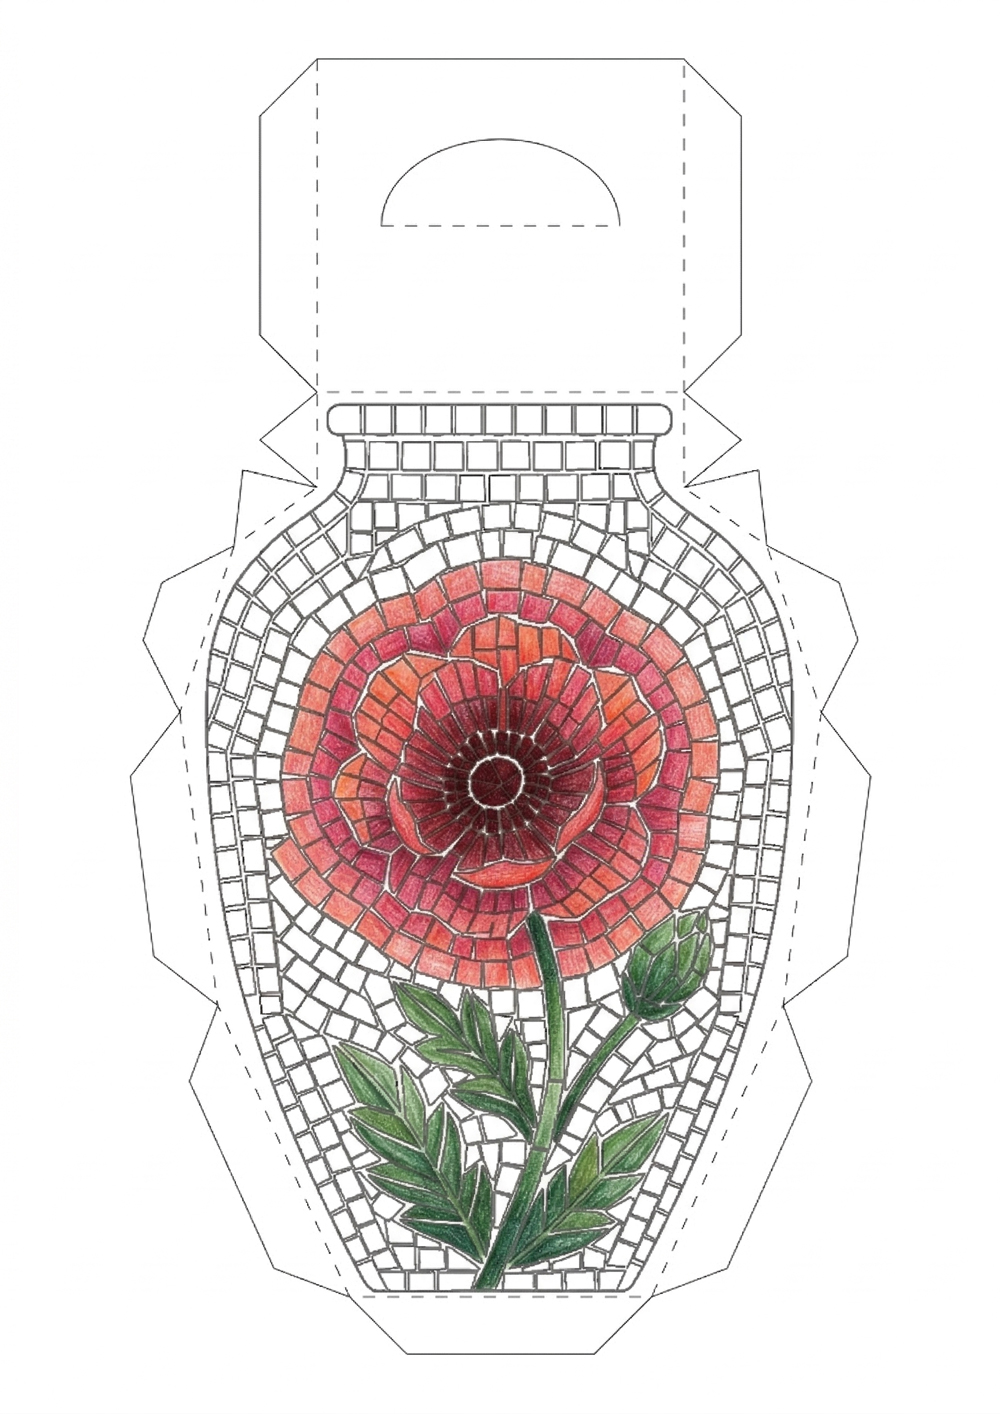
Step 1: Color the Centerpiece Poppy
Begin with the main organic element—the large poppy flower. Use vibrant colors like red, orange, or deep pink for the petals. Color the stem and leaves green. Focus on coloring within the smooth, rounded lines of the flower first, ignoring the surrounding mosaic squares for now.
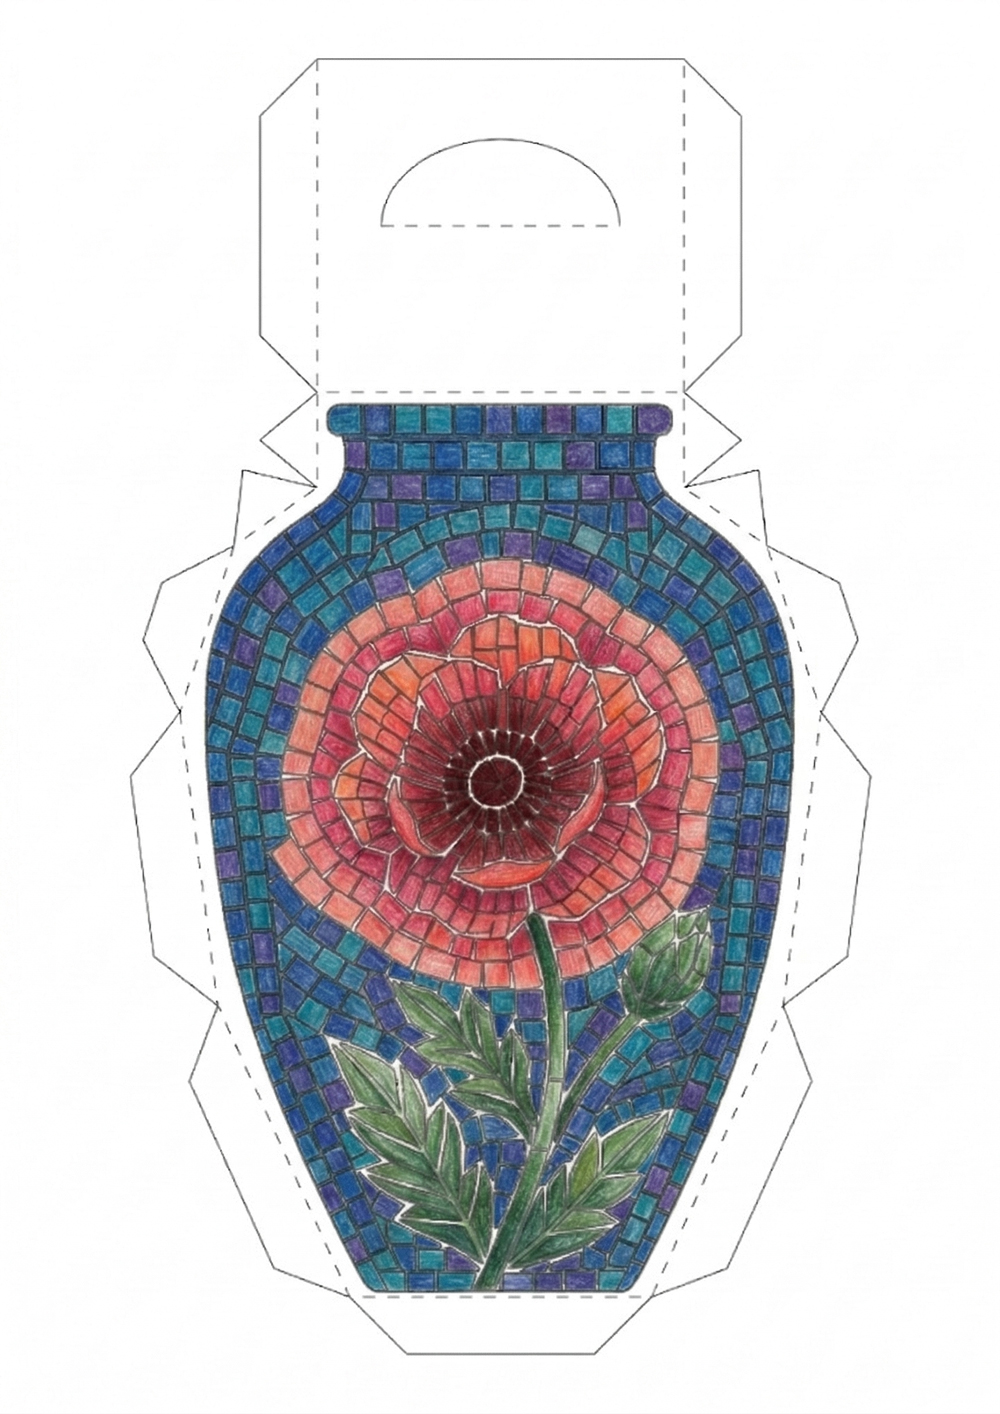
Step 2: Start the Mosaic Background.
Now, tackle the geometric tiles. Choose a background color that contrasts with your poppy (for example, blues, teals, or deep purples). Begin coloring the individual squares, working your way around the flower. It is crucial to color each square individually and stay within the lines; do not just sweep your marker across the whole area. This keeps the tiles sharp and distinct.
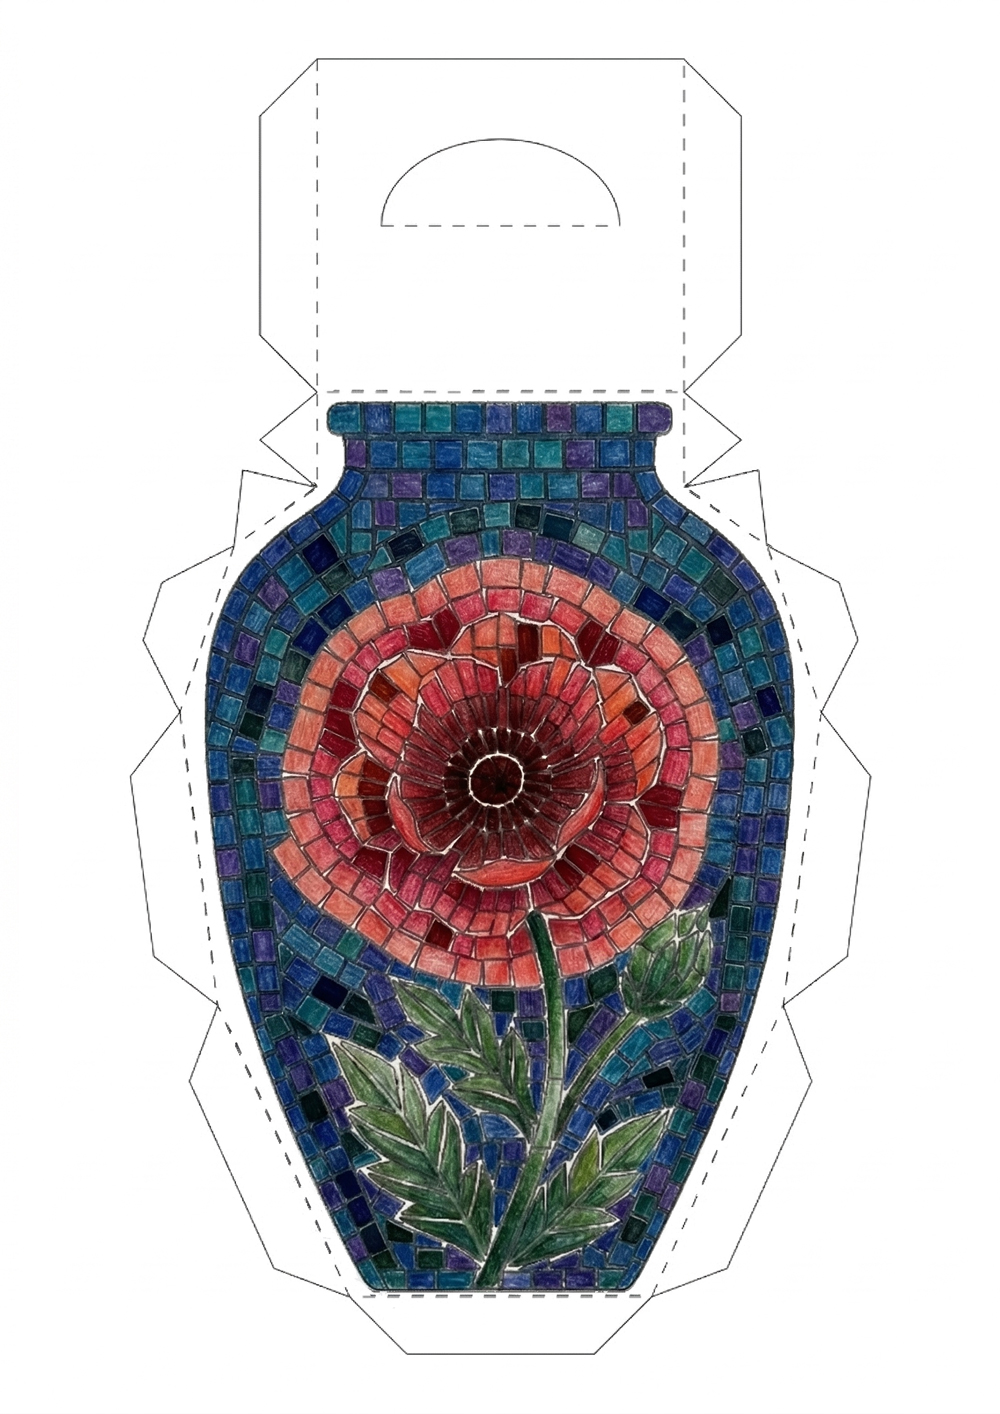
Step 3: Add Shading for 3D Depth.
To create a realistic mosaic effect, avoid smooth blending. Instead, color some tiles fully in a slightly darker shade than your main colors. For example, use a darker red on specific poppy petals and a darker blue on some background squares. This creates a "random tile" texture that gives the vase visual depth.
Pro Tip: After coloring and cutting, use a matching marker to color the white edges of the paper tabs. This small detail hides the paper’s “core” and makes your 3D vase look like it’s made of real ceramic mosaic!
What You’ll Need for This Project:
-
📄
Heavyweight Paper or Cardstock (160-200 gsm): Regular printer paper is too thin and won’t hold the 3D shape of the vase well. Cardstock ensures your final piece is sturdy and stands beautifully.
-
🖍️
Coloring Supplies: Colored pencils, markers, or gel pens. Choose your favorite medium to bring the mosaic pattern to life!
-
✂️
Scissors or a Craft Knife: For precise cutting along the solid outer edges of the template.
-
🍴
A Scoring Tool: This is the absolute secret to perfect 3D crafts! You don’t need fancy equipment — my personal favorite is a simple household fork. Just use a ruler along with a fork to gently score all the dashed fold lines before bending them. This simple trick guarantees crisp, clean edges for your vase. You can see exactly how I use the fork trick in the video tutorial below!
-
💧
Adhesive: A good quality glue stick or double-sided tape works best. Liquid glue can sometimes warp the paper, so use it sparingly if that’s all you have.
Watch the assembly tutorial below to see exactly how to score, fold, and glue your 3D vase. It’s the best way to ensure your final project looks perfect!
What to Do With Your Finished Vase
-
✨
Brighten Your Workspace: This 3D mosaic vase is a perfect desktop accessory. Its unique geometric shape and vibrant colors add a creative touch to any office or study area.
-
🌸
Display Artificial Flowers: Pair your vase with paper flowers, dried botanicals, or silk blooms. It’s a wonderful way to bring a everlasting “floral” feel to your room without any maintenance.
-
🎁
A Unique Handmade Gift: Personalize your vase with unique color combinations and give it to a friend or family member. A handmade 3D craft is a thoughtful gesture that shows you care.
-
📸
Build Your Paper Gallery: Create a whole set of these vases in different color palettes. They look incredible when displayed together on a bookshelf or as a centerpiece for your next photo shoot.
✨ Expand Your Creative Collection
Ready to build your own paper town?
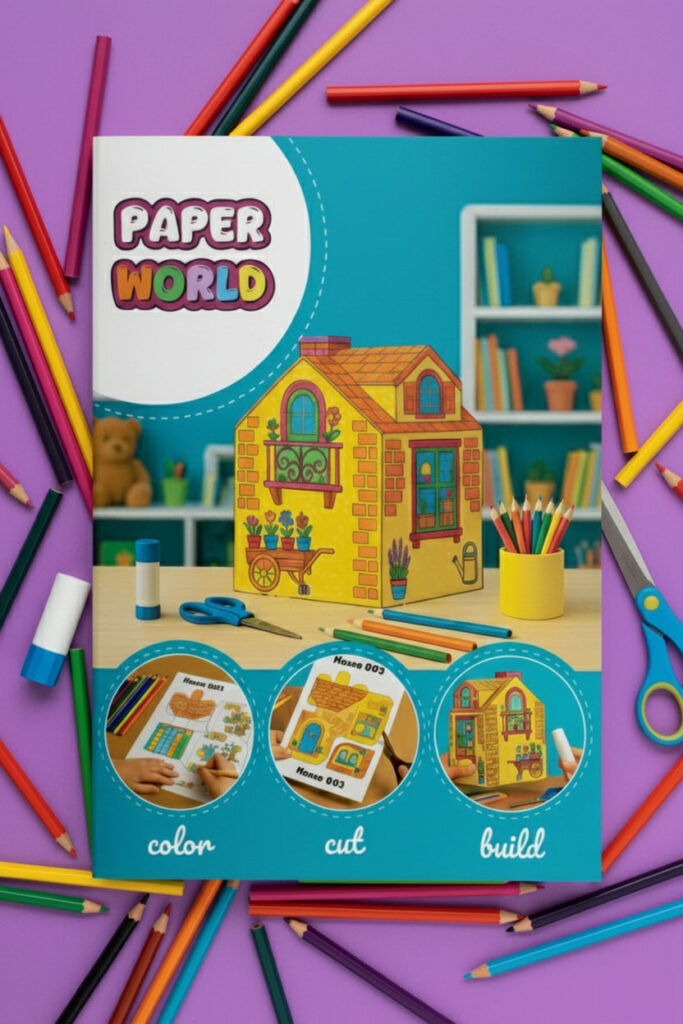
If you enjoyed this project, you’ll love the full Paper World collection! I designed this book with 9 unique 3D buildings — from cozy family homes to busy shops and grand public museums.
Each model is crafted in the same satisfying style, allowing you to color, cut, and construct an entire miniature neighborhood. It’s the ultimate project for anyone who loves seeing their art come to life in 3D!
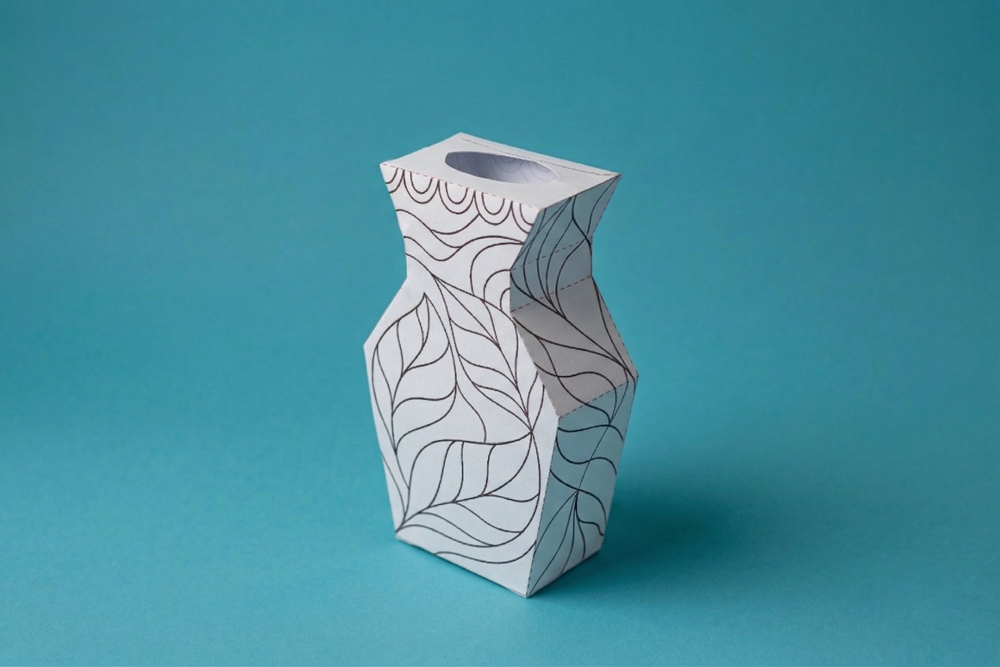
Bring a touch of nature indoors with this flowing foliage design! This elegant model is perfect for those who love organic shapes and want to create a calming piece of botanical art.
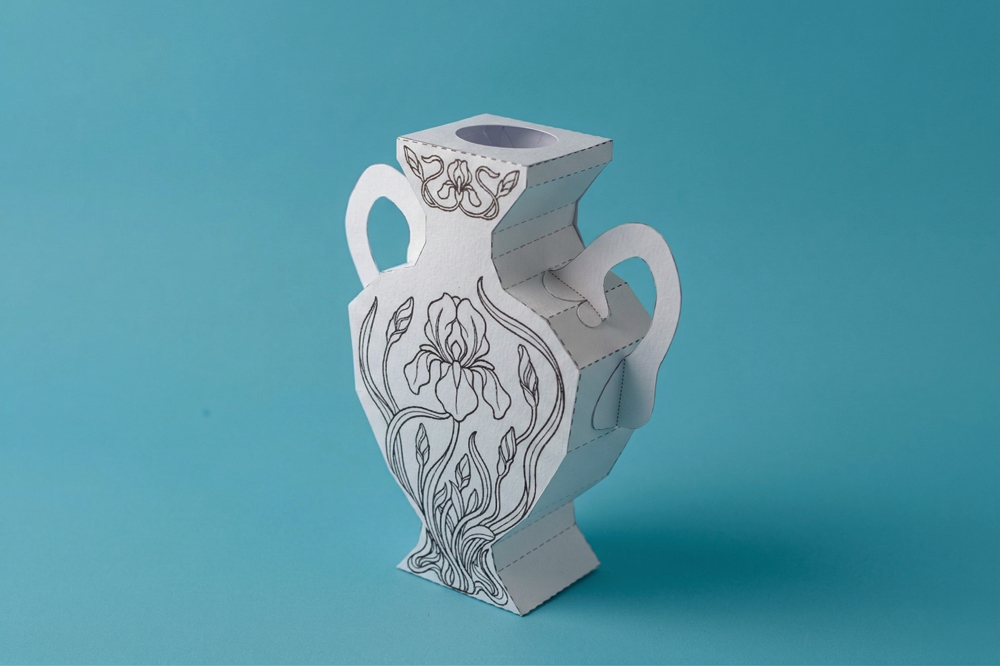
Create a sophisticated Art Nouveau masterpiece with intricate iris blossoms! This detailed design features classic handles and is ideal for making a refined and unique piece of paper decor.
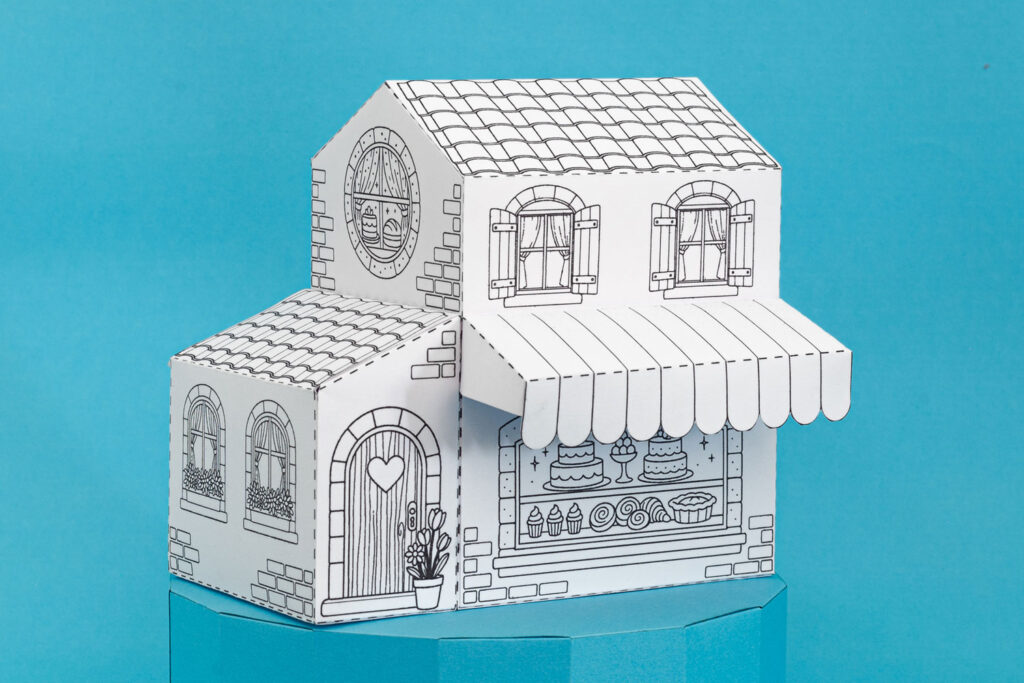
Add a sweet touch to your town with this detailed bakery. It is fun to color and even more fun to build, featuring a classic striped awning.