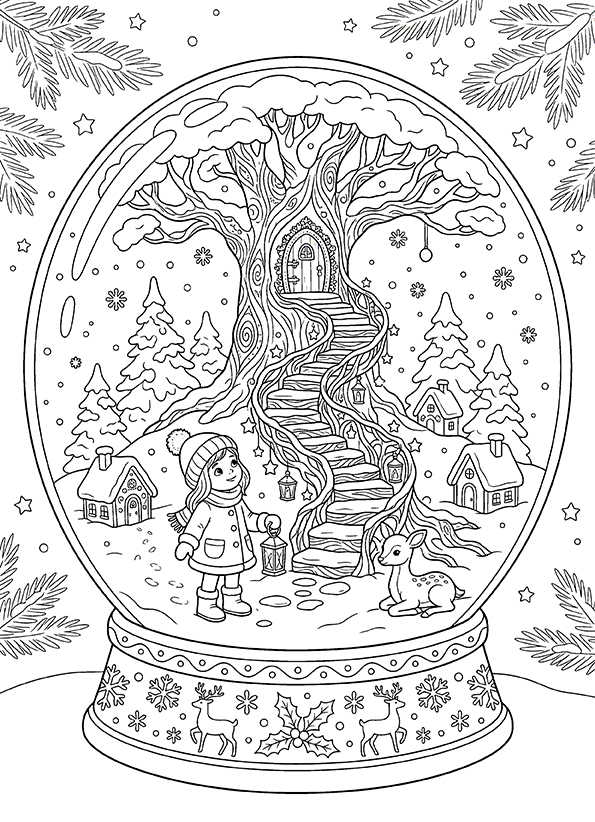
Snow Globe Coloring Pages
❄️ Snow Globe Coloring Pages
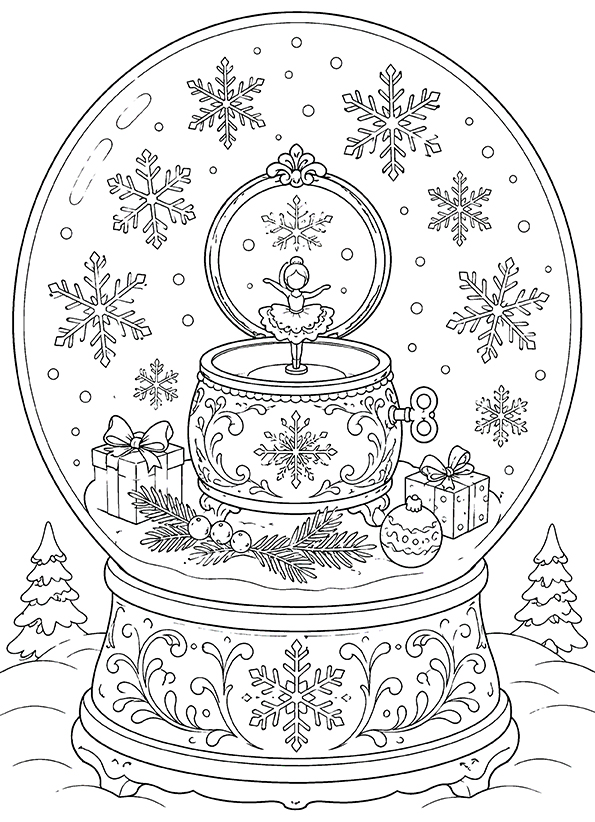
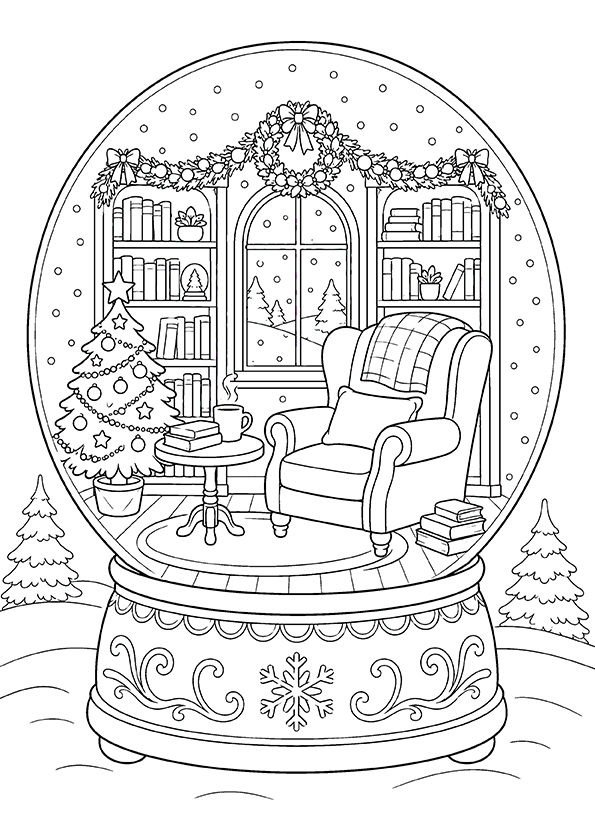
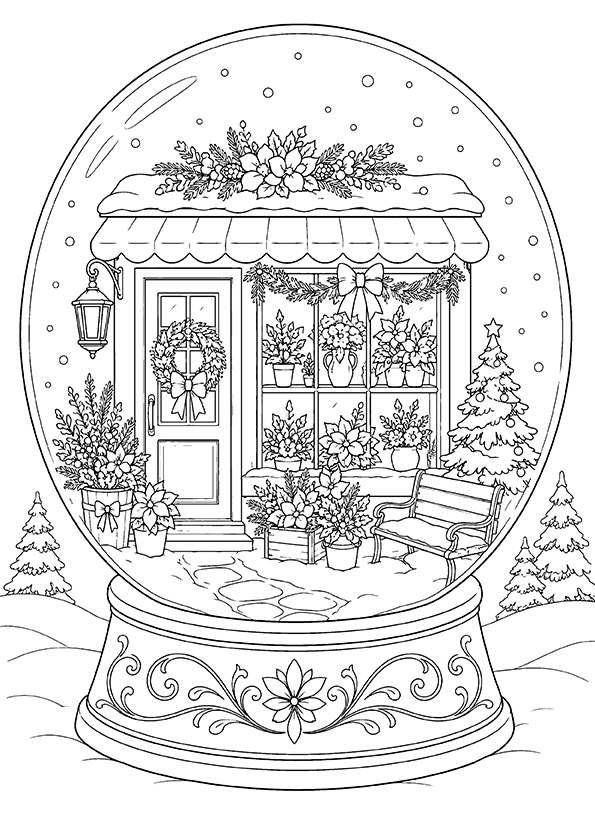
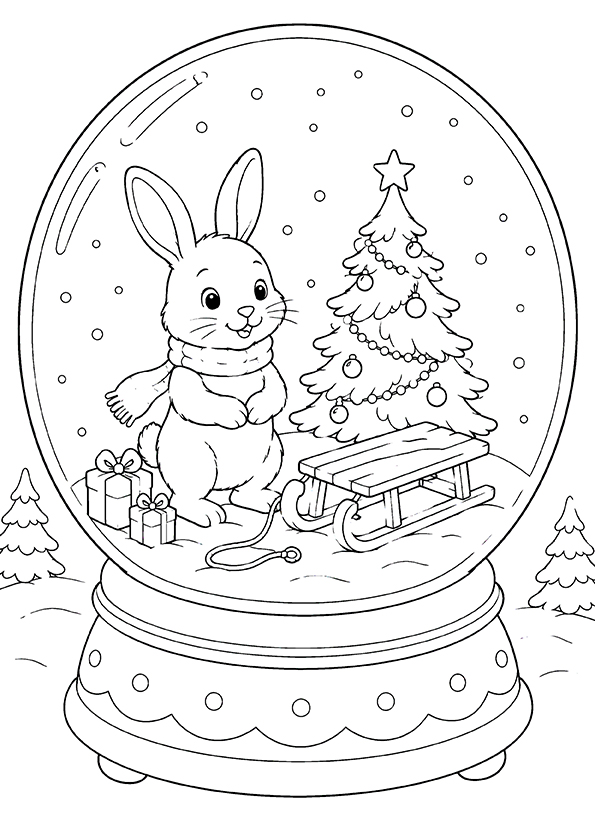
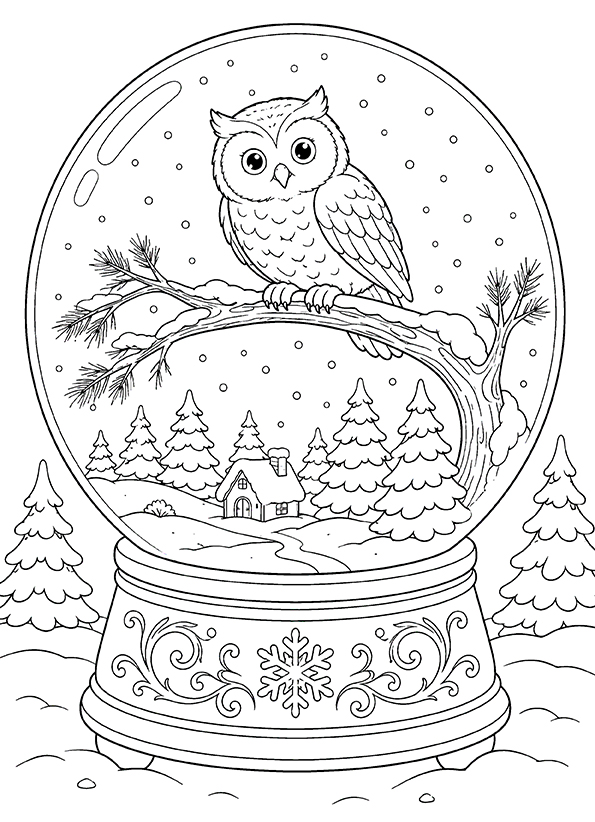
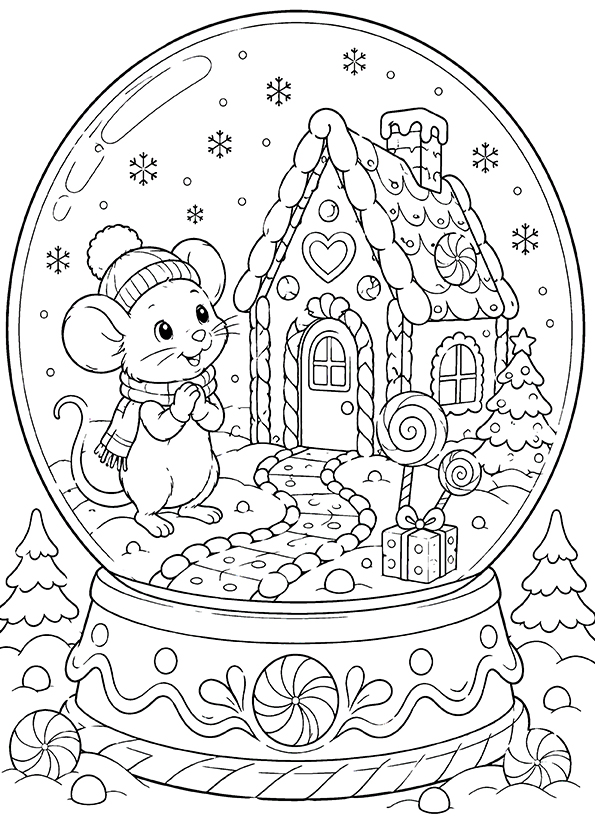
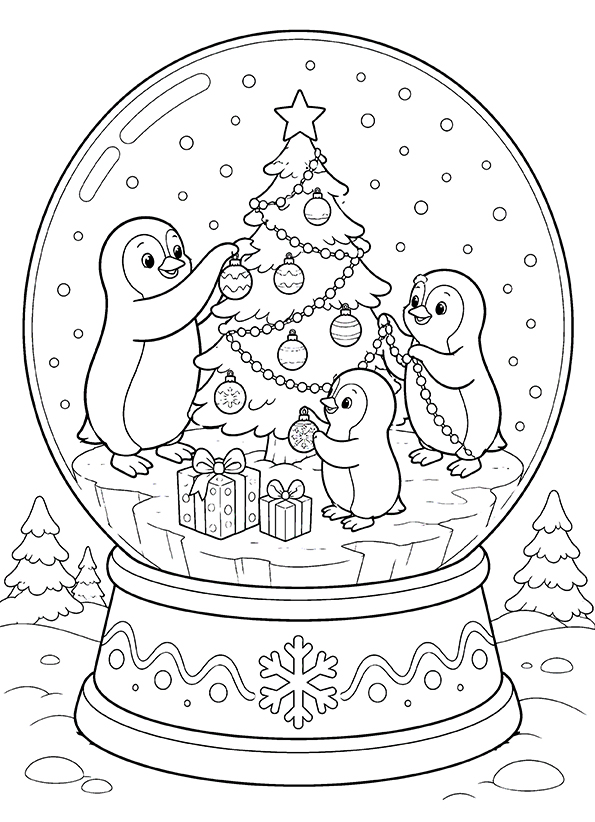
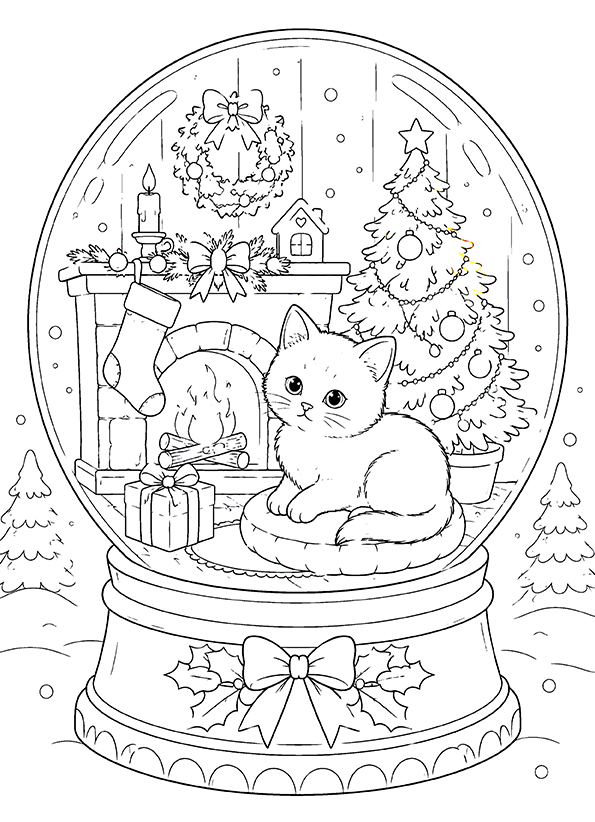
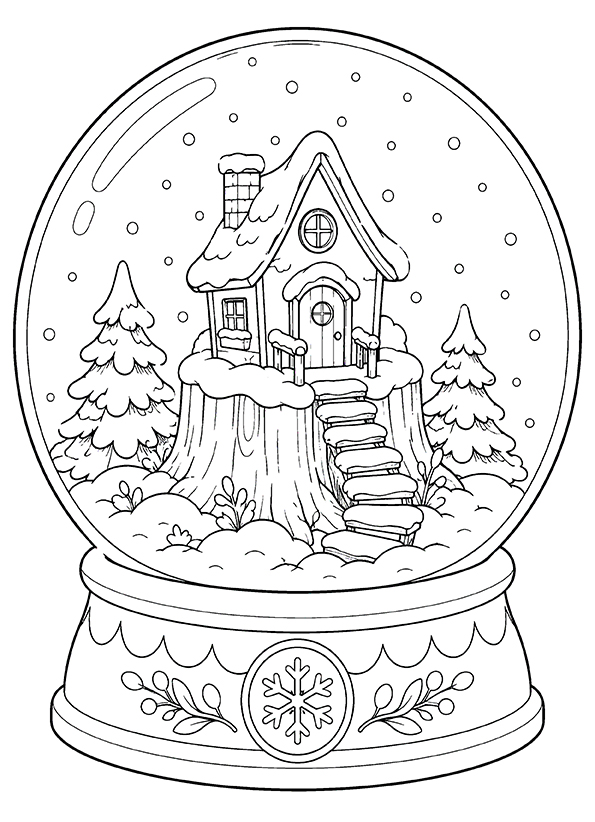
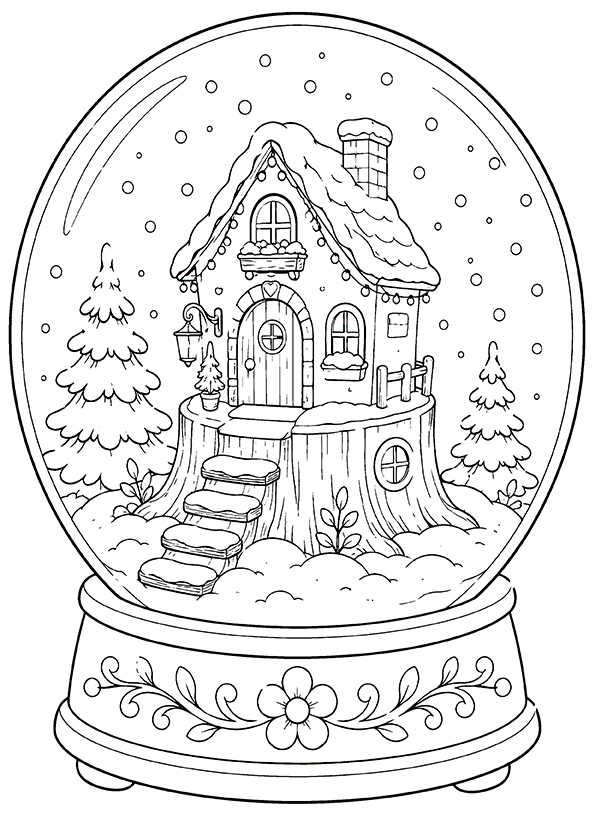
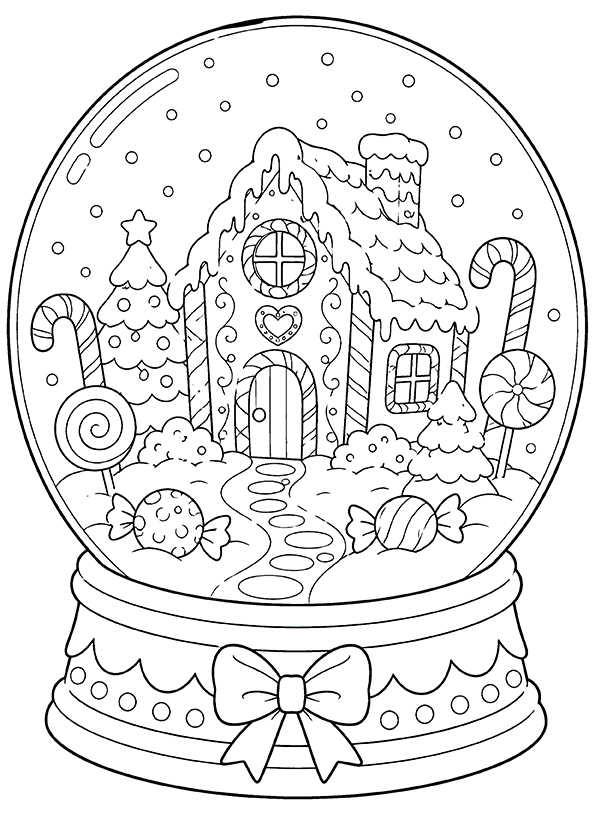
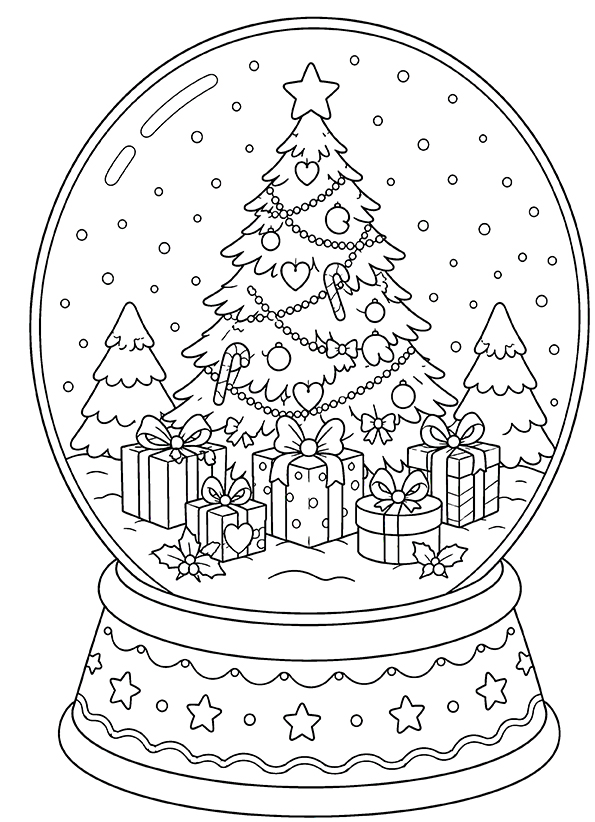
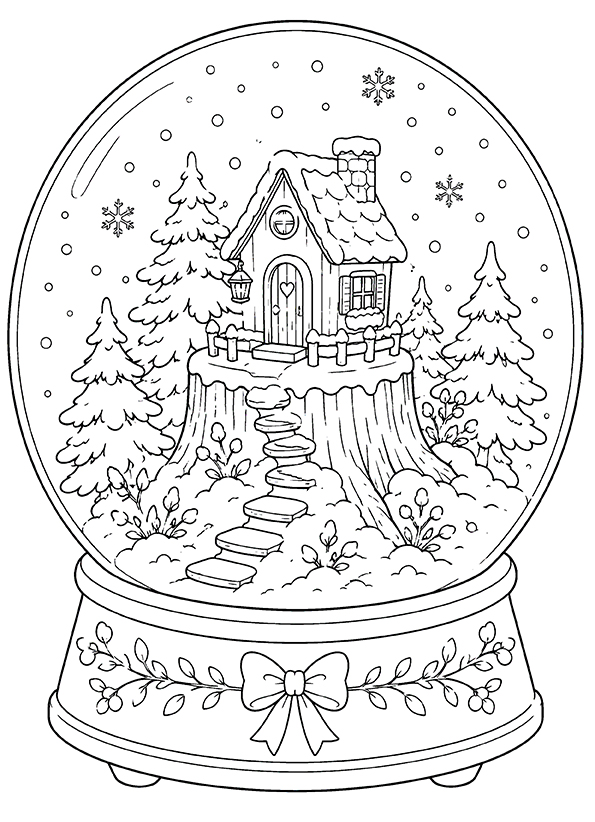
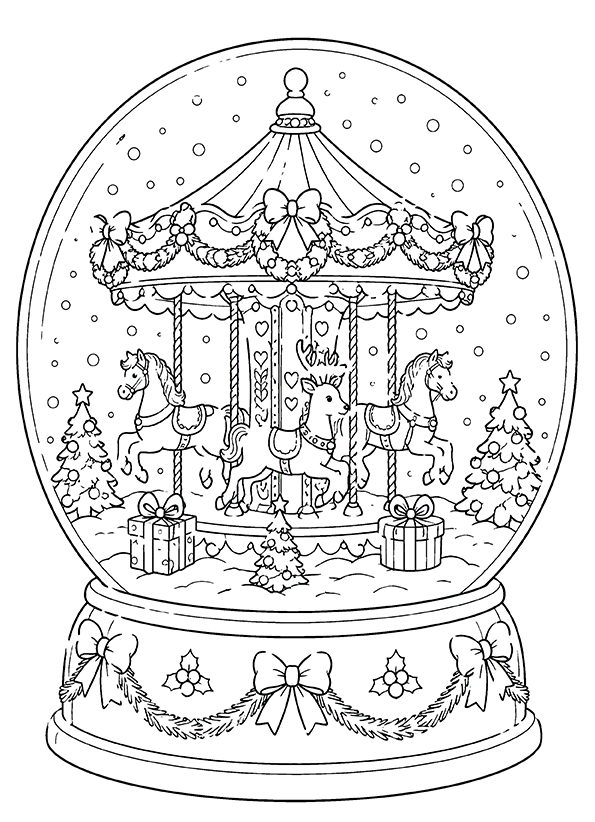
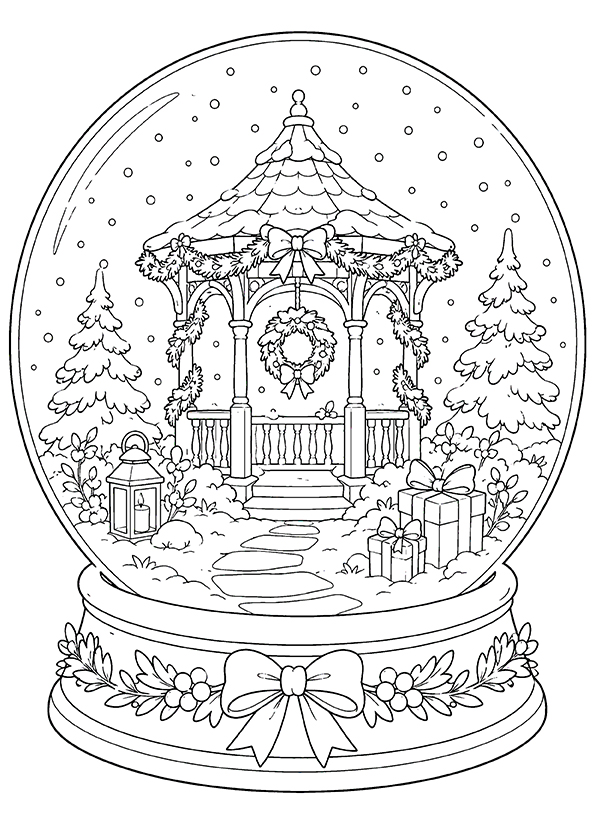
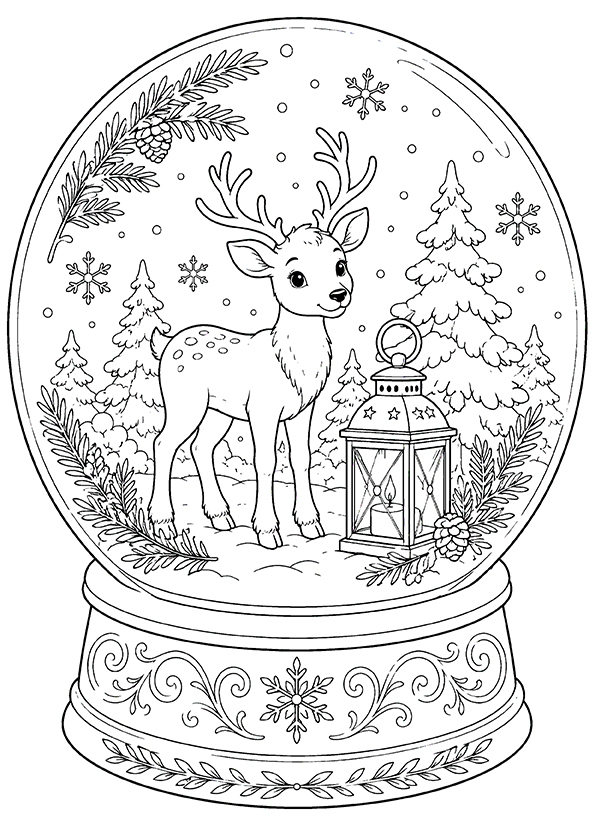
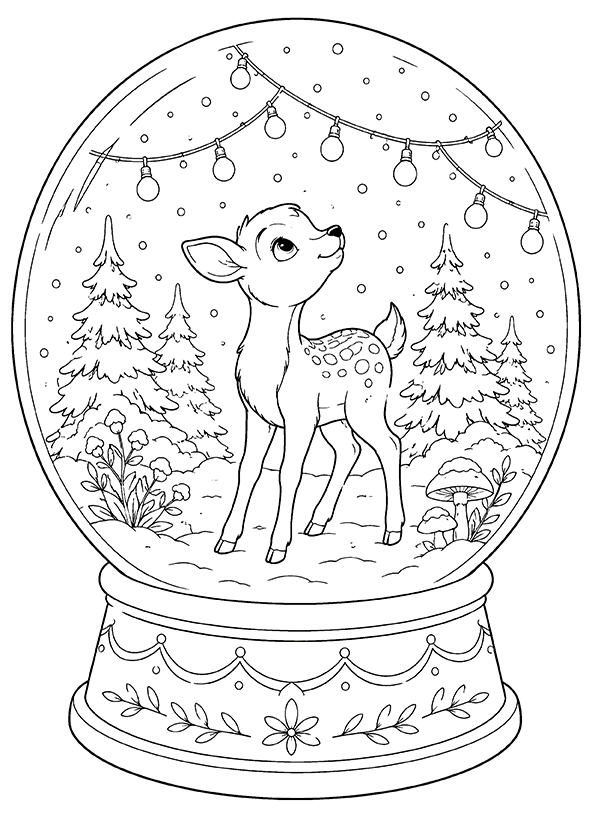
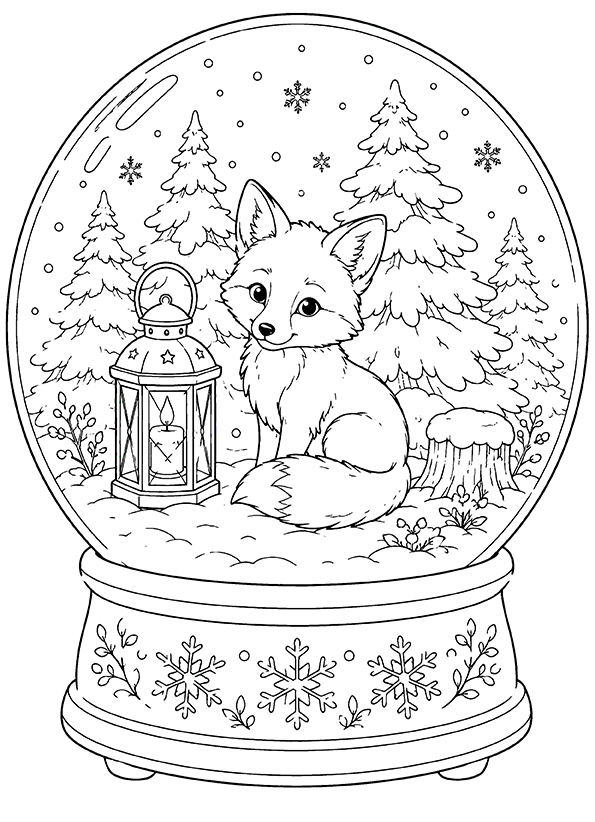
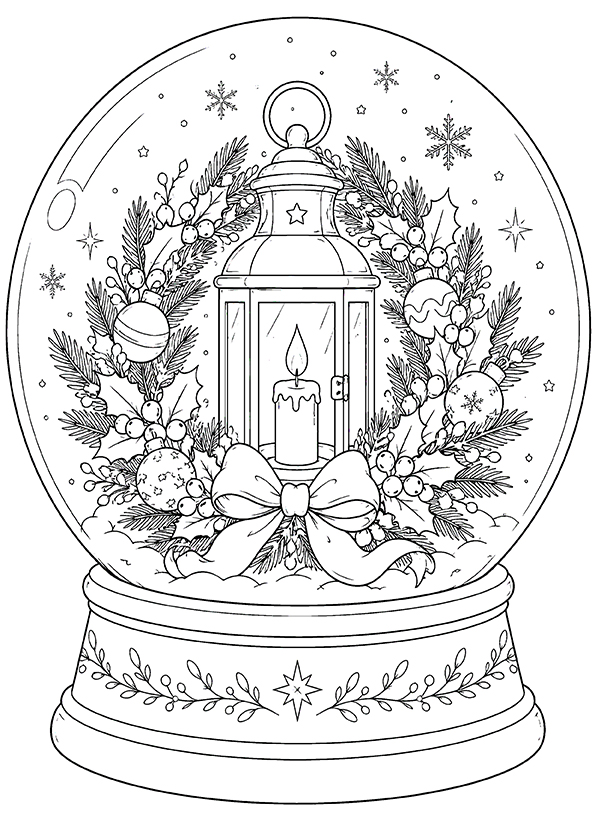
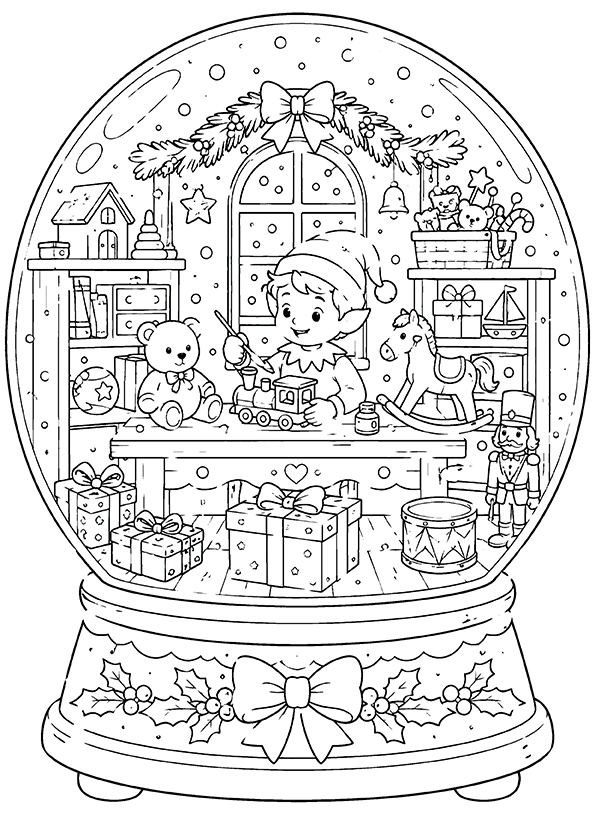
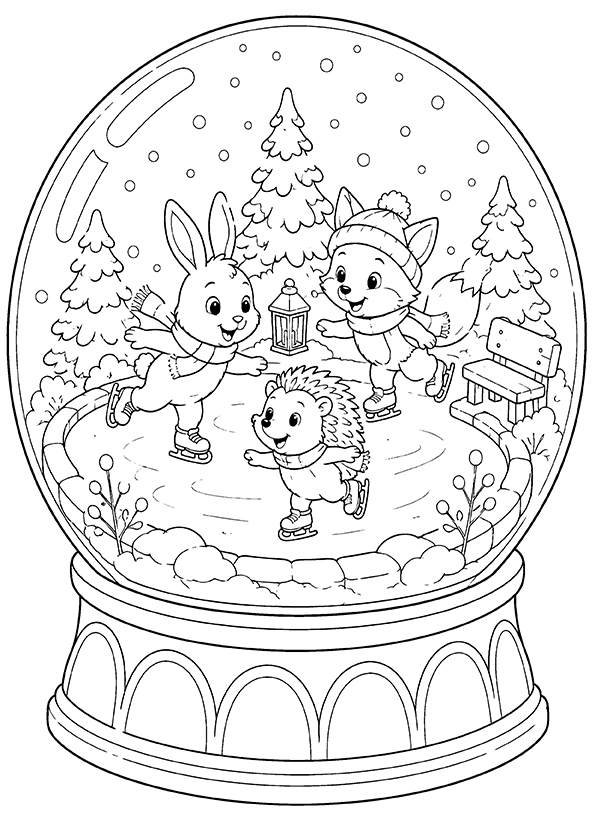
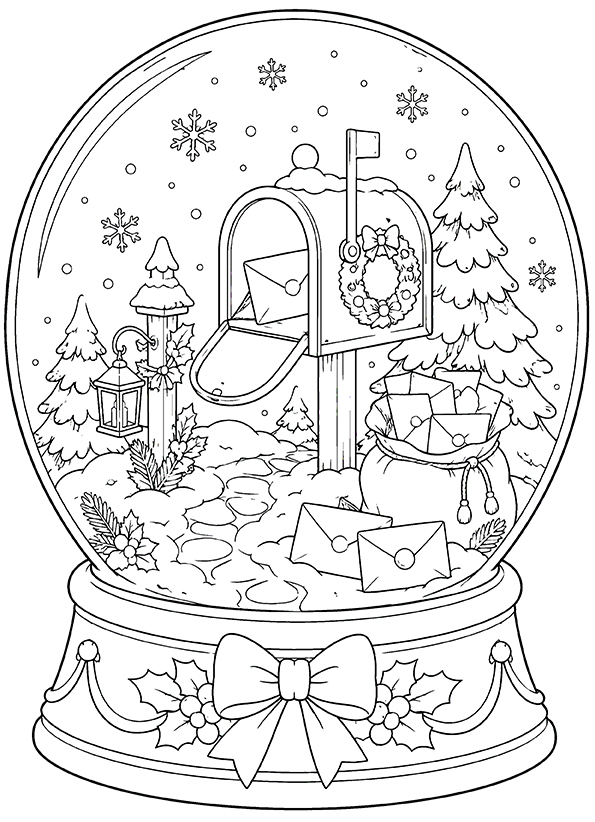
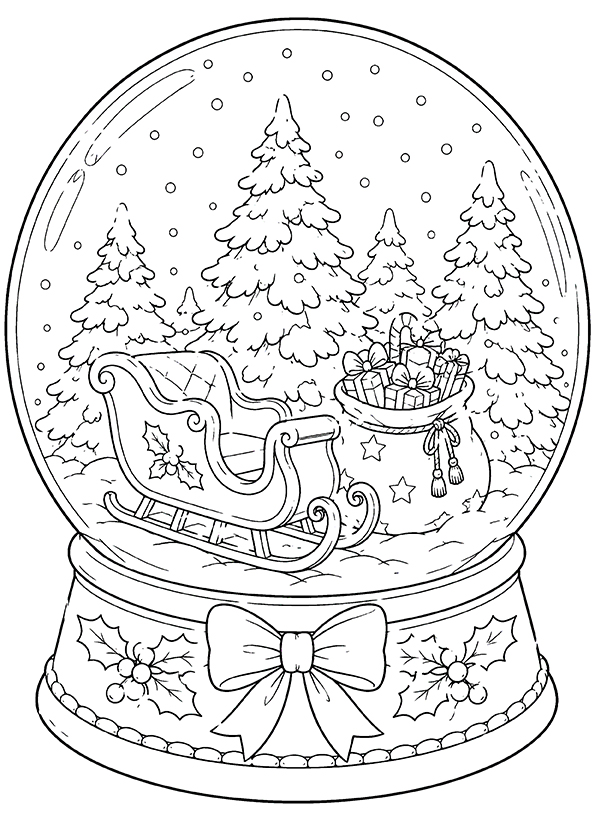
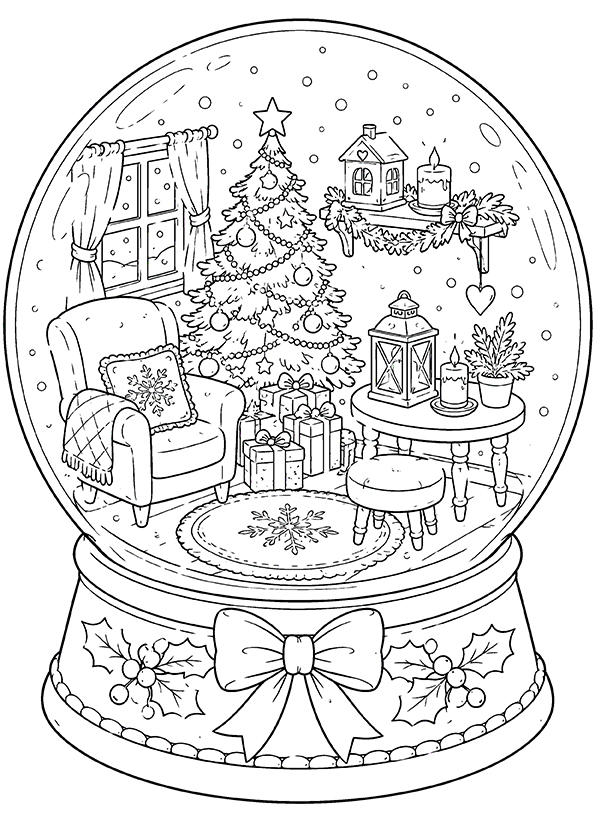
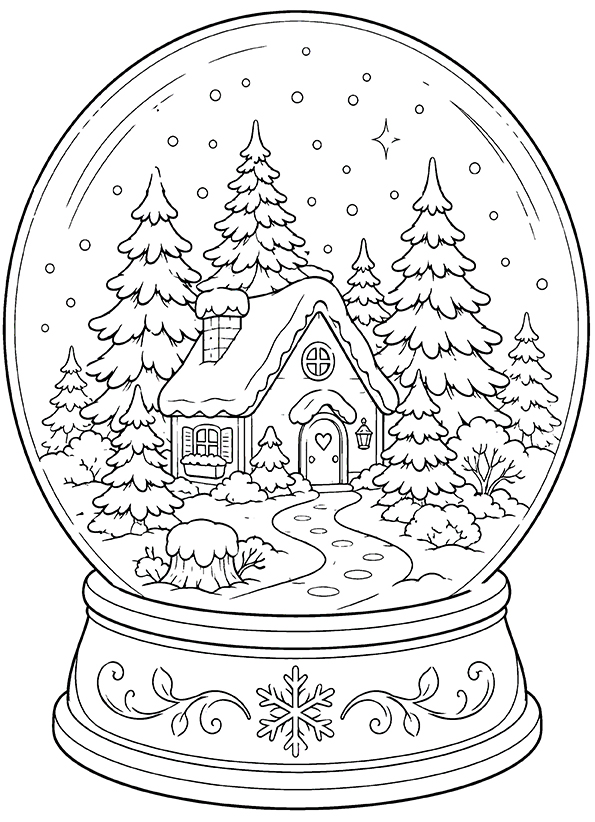
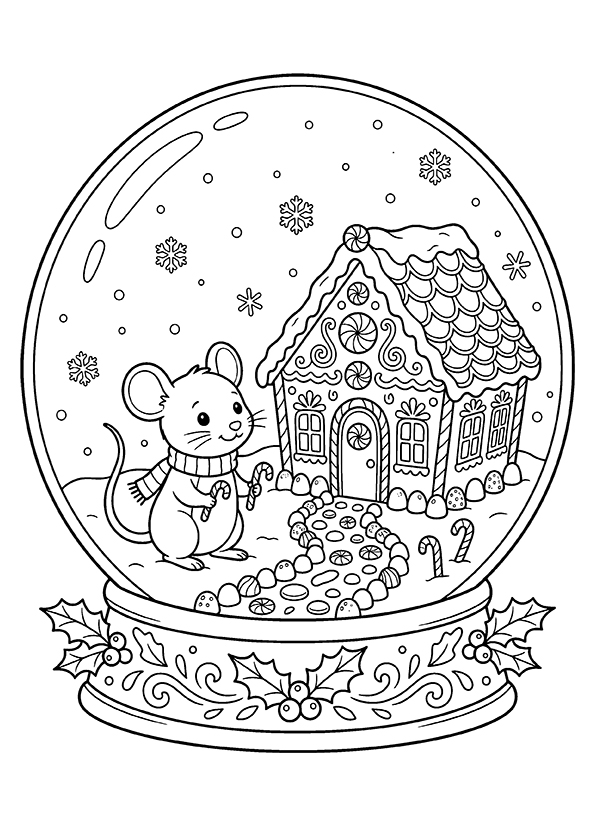
Explore a collection of free printable snow globe coloring pages filled with miniature winter worlds. These A4 PDF pages feature snowy cottages, Christmas trees, snowmen, animals, and festive scenes captured inside decorative snow globes.
Each design offers a different little story under the glass, making the collection varied and fun to color. Below, you’ll find finished examples, winter color inspiration, and a simple step-by-step process to help bring these snow globe scenes to life.
❄️ Snow Globe Coloring Ideas
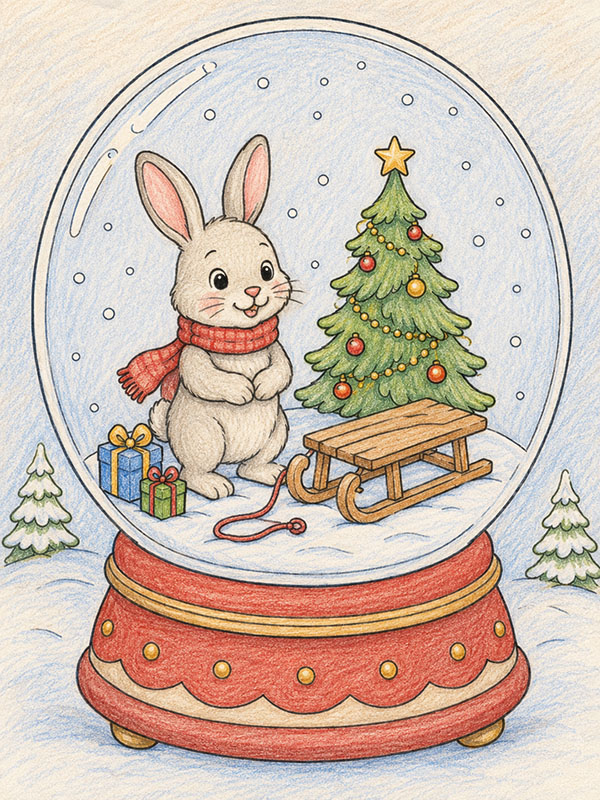
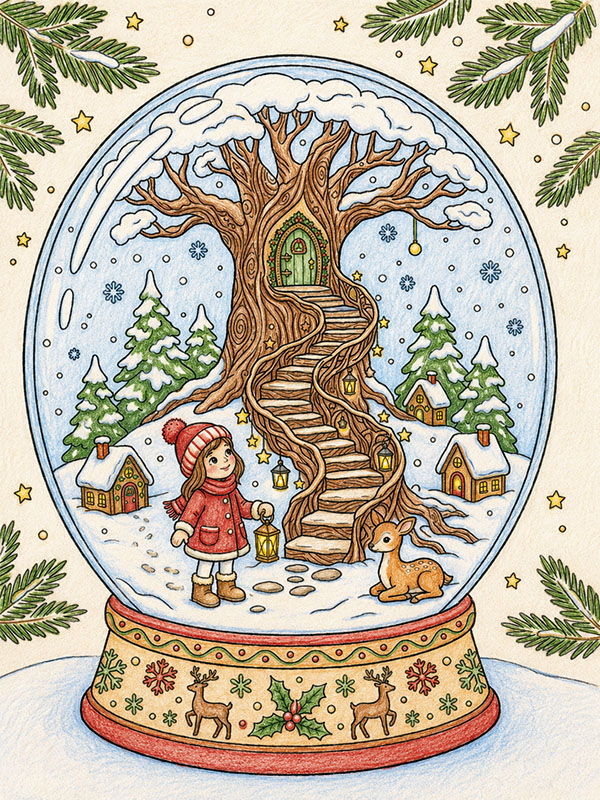
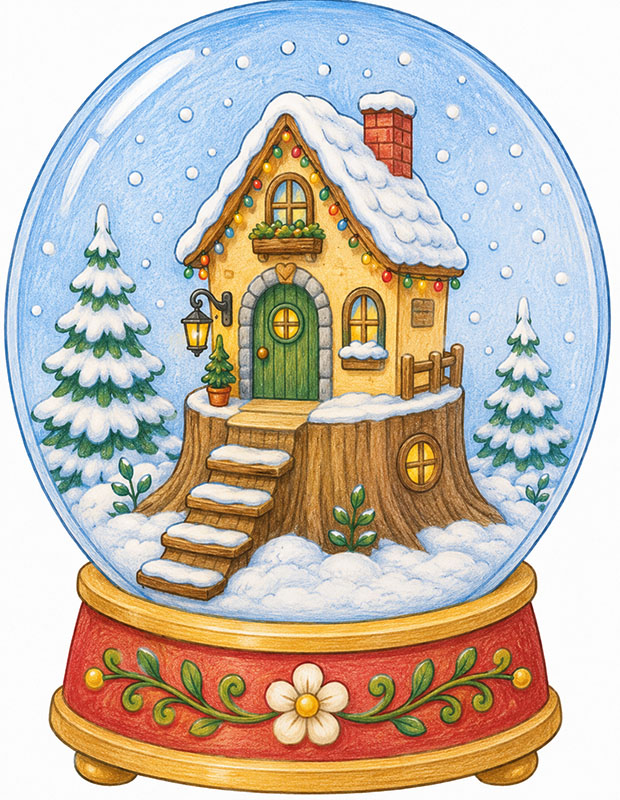
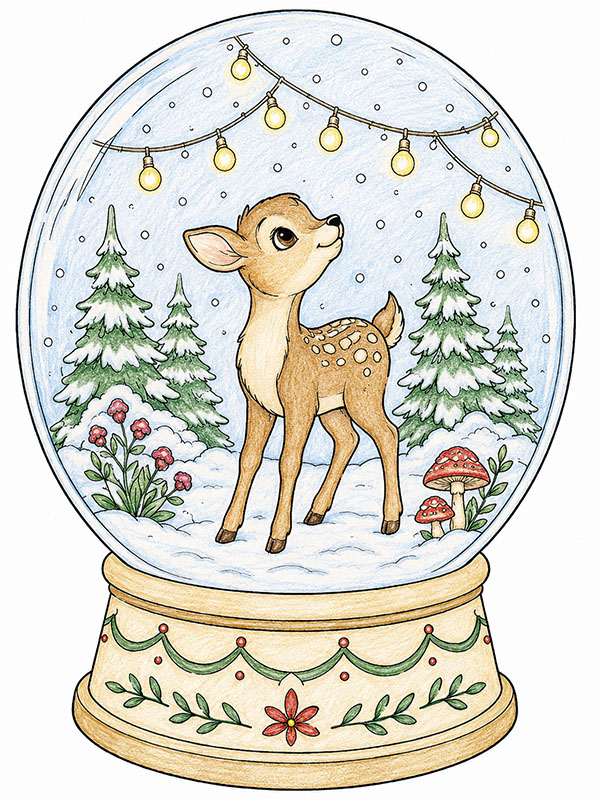
With snow globe pages, you can start with the tiny scene inside — a house, a tree, a snowman, or falling snowflakes. Add a few colors, and the whole page quickly gets that cozy winter feeling. These colored examples from the snow globe coloring pages collection show simple ideas you can use for inspiration.
You don’t need to copy everything exactly. Choose your own shades, make the snow feel cool or warm, and just enjoy coloring. Click on any image to enlarge and explore the details up close. Scroll down, there is a step-by-step tutorial below.
🦌 Snow Globe Coloring Tutorial
This snow globe scene combines a peaceful winter landscape with one special finishing detail — realistic glass reflections.
We’ll color the scene in simple stages, starting with the snowy landscape, then the deer and decorative elements, and finally adding depth, shadows, and glass effects.
As the layers build up, the small winter world inside the globe will start to feel more realistic and three-dimensional.
Take your time with the final reflection stage. A few carefully placed white pencil lines can completely transform the globe and make it look like real glass.
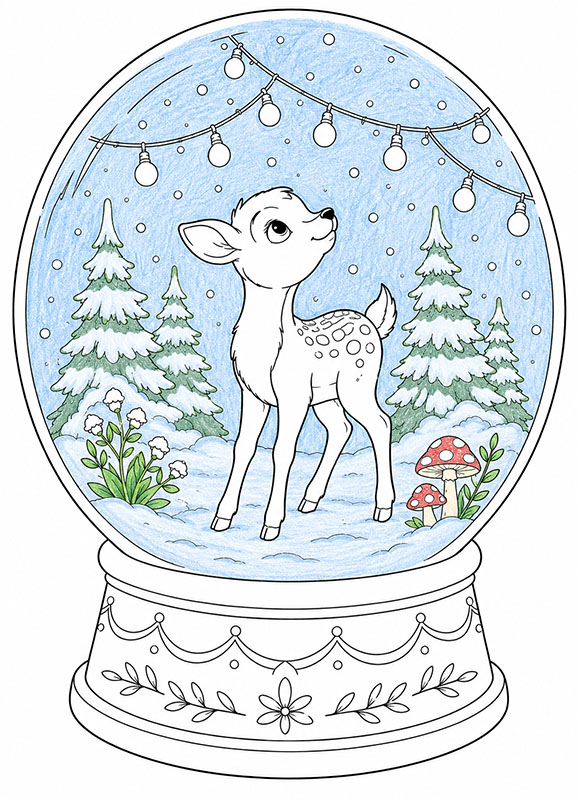
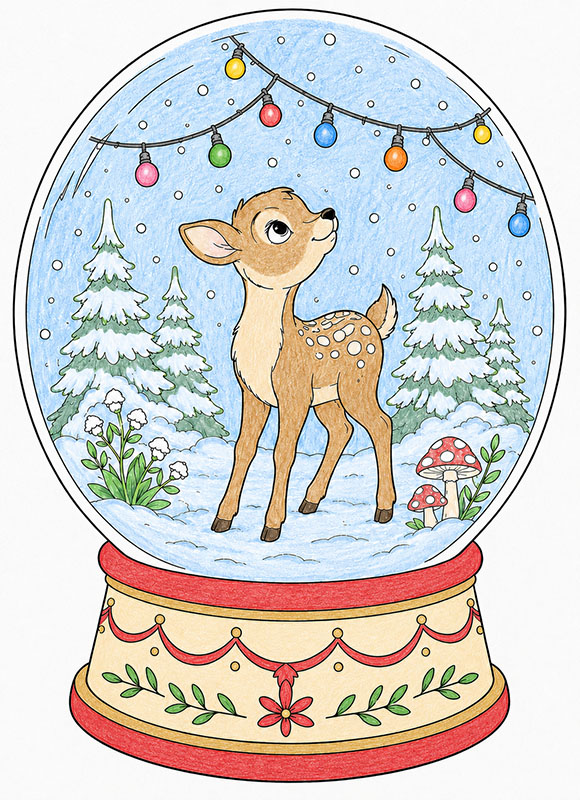
❄️ Step 1 — Color the Snow Globe Landscape
Let’s start with the little winter world inside the snow globe.
Use pale blue and cool gray tones for the sky, falling snow, and snowy ground. Keep the colors soft so the scene still feels light and wintry.
Then add muted greens to the trees, bushes, and plants. For the flowers and mushrooms, choose soft natural colors that do not overpower the snowy background.
Work carefully around the glass reflection lines and leave them visible.
For now, leave the deer, string lights, bulbs, wire, and decorative globe base completely untouched.
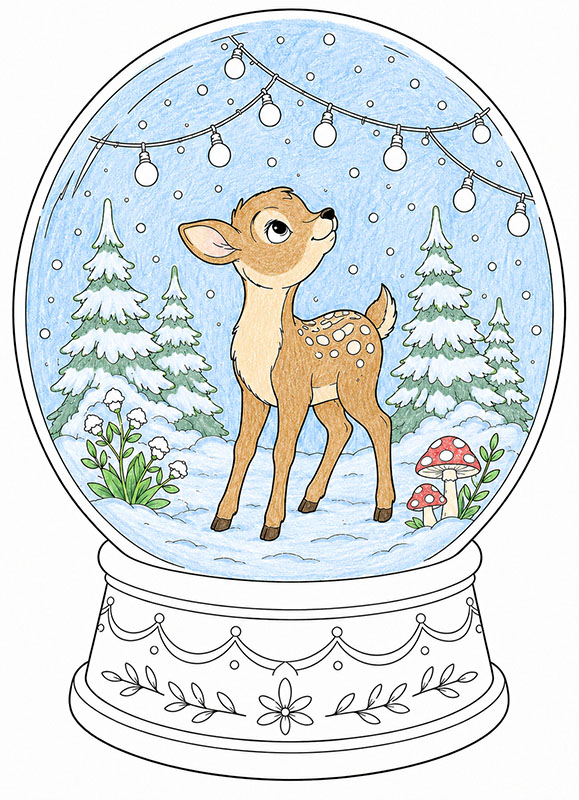
🦌 Step 2 — Color the Deer
Now let’s bring the deer into the little winter scene.
Use warm brown tones for the body, face, legs, ears, and tail. Keep your pressure light so the deer still feels soft and gentle.
Add lighter cream tones to the chest, muzzle, belly, and inner ears. Keep the spots very light cream or white so they stay easy to see.
You can use a darker brown for the hooves and nose if needed.
Keep everything flat and simple for now, without shadows. Leave the landscape, lights, wire, glass reflections, and globe base exactly as they are.
💡 Step 3 — Color the Lights and Globe Base
Now let’s add color to the string lights and the decorative base.
Color each light bulb with warm festive colors like yellow, red, blue, green, or gold. Use a dark neutral color for the wire so the bulbs stay easy to see.
Then move to the globe base. Use elegant colors like gold, cream, red, green, or soft blue for the base, garlands, leaves, flowers, and all the small decorative details.
Fill every bulb and every base detail completely, but keep everything flat and simple for now.
Leave the deer, winter landscape, and glass reflection lines exactly as they are.
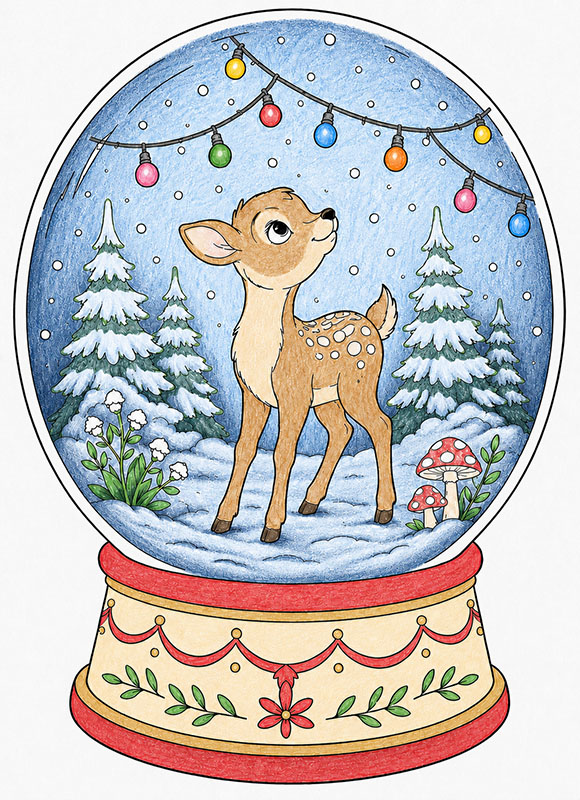
❄️ Step 4 — Add Depth to the Snow Globe Landscape
Now let’s make the little winter landscape inside the globe feel deeper.
Use darker blue-gray and green tones to gently darken the outer edges of the snowy scene, while keeping the area around the deer brighter.
Add darker strokes between the trees and behind the bushes so the background feels layered.
Place small shadows under flowers and mushrooms, then add a few curved shadows on the snow-covered ground to show the shape of the hills.
Work only on the landscape. Leave the deer, lights, wire, globe base, and glass reflection lines exactly as they are.
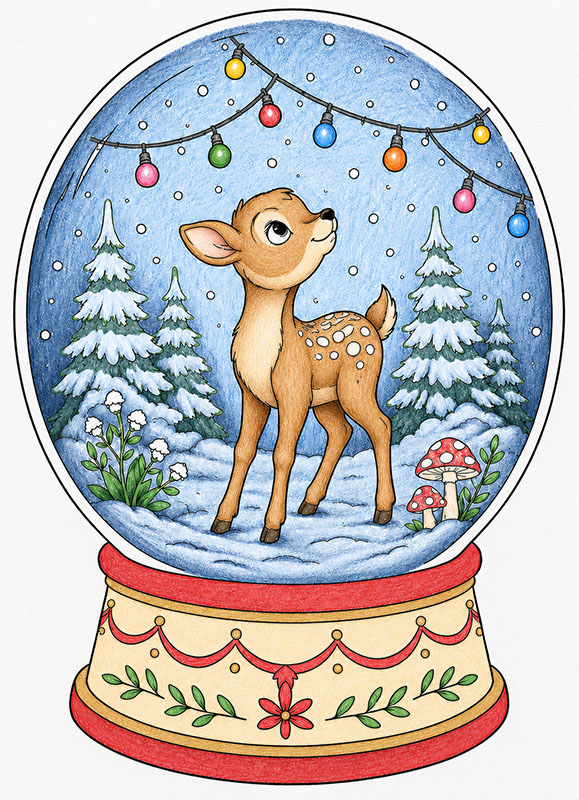
🦌 Step 5 — Add Shadows to the Deer
Now let’s make the deer look rounder and more realistic inside the snow globe.
Use darker shades of the same brown and cream colors to add shadows under the neck, under the belly, inside the ears, around the legs, and under the tail.
Follow the natural curves of the body with clear pencil strokes, especially along the chest, face, belly, and legs.
Add a little more shadow where one body part overlaps another, but keep the spots lighter so they stay visible.
Work only on the deer. Leave the landscape, lights, wire, globe base, and glass reflection lines exactly as they are.
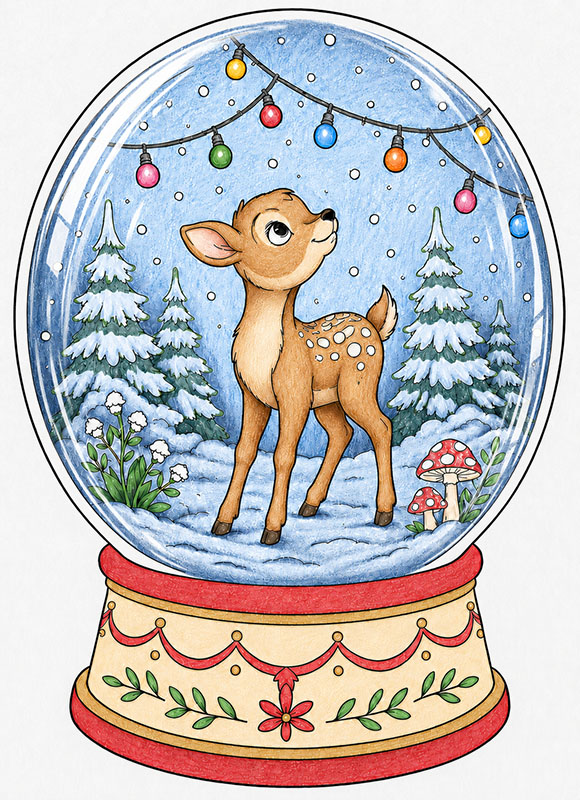
✏️ Step 6 — Add Glass Reflections
Now let’s make the snow globe look like real glass.
Use a white colored pencil on top of the finished colors and add long, thin curved reflection lines along the round shape of the globe.
Place the strongest reflections near the left and right curved edges, then add a few smaller white lines beside them.
You can also add tiny white dots on a few spots of the glass surface, but keep everything light and controlled.
The reflections should stay thin and slightly broken, so the deer and winter scene remain clearly visible underneath.
❄️ A Tiny Winter World to Color
Snow globe pages are fun because each one feels like a small scene captured inside glass. Children often enjoy looking closely at what is hidden inside — a house, a snowman, a Christmas tree, or a tiny winter landscape.
These pages fit naturally into the Christmas and winter season, when snow globes, lights, and cozy decorations are already part of the mood. Coloring one can feel like creating a little keepsake on paper.
At home, in classrooms, or during holiday activities, snow globe scenes work well as a quiet task. Some children focus on the scene inside the globe, while others spend more time on the falling snow and small details around it.
Finished drawings are often placed with other winter artwork, displayed on the fridge, or saved as a sweet seasonal memory.
All pages are A4 with clean line art and are ready to print at 100% scale. Choose any page below and start whenever you like.
❄️ More Magical Christmas Coloring Pages
Keep exploring winter magic with our Snowman Coloring Pages, Christmas Village Coloring Pages, and Santa Claus Coloring Pages, where snowy scenes, festive characters, and cozy holiday details create a strong Christmas theme.
For more atmospheric miniature scenes, you may also enjoy Mini Worlds in Jars Coloring Pages and Cozy Interiors Coloring Pages.
Cartoon Dog Coloring Pages
Cartoon dog coloring pages feature playful, stylized canine characters with simplified shapes and expressive body language. The illustrations focus on clear outlines, rounded forms, and exaggerated poses that make each scene easy to read and visually lively. These pages appeal to those who enjoy cheerful animal scenes and character-driven illustrations. The cartoon style emphasizes energy, friendliness, and personality, creating a relaxed and engaging coloring experience without visual complexity.

Realistic Cat Coloring Pages
Realistic cat coloring pages focus on lifelike proportions, natural posture, and observational detail. The illustrations emphasize accurate anatomy, subtle expression, and quiet everyday moments, creating scenes that feel grounded and calm. These pages appeal to those who enjoy slow, focused coloring and a more naturalistic approach to animal illustration. The realistic style highlights texture, balance, and form rather than exaggeration or stylization.

Cartoon Hedgehog Coloring Pages
Cartoon hedgehog coloring pages feature small, stylized hedgehog characters with rounded shapes and friendly, exaggerated features. The illustrations emphasize simple silhouettes, soft proportions, and expressive faces that make each scene feel warm and approachable. These pages appeal to those who enjoy gentle, lighthearted animal scenes and playful character design. The cartoon style highlights charm and personality over realism, creating a calm and enjoyable coloring experience.