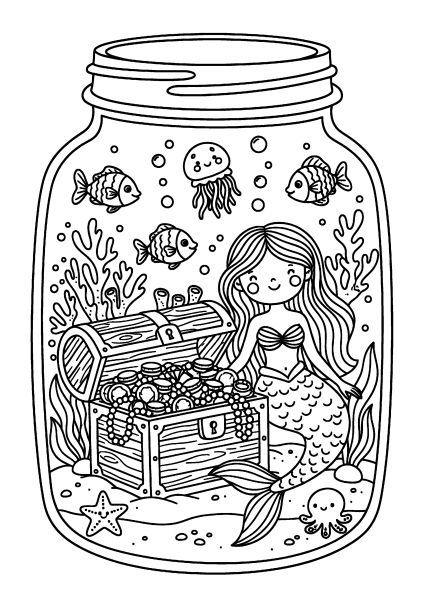
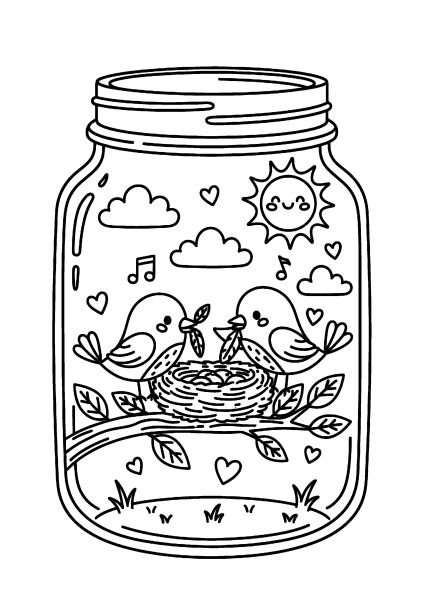
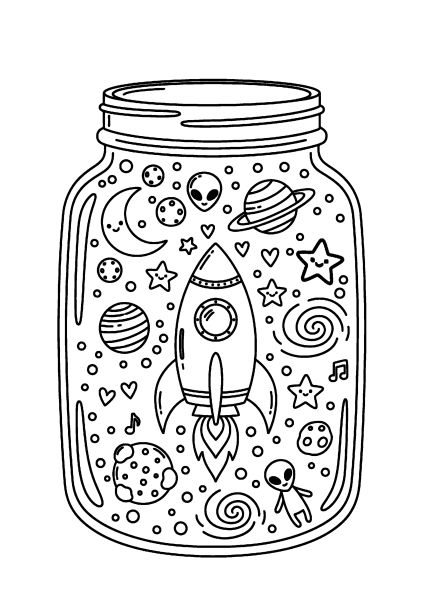
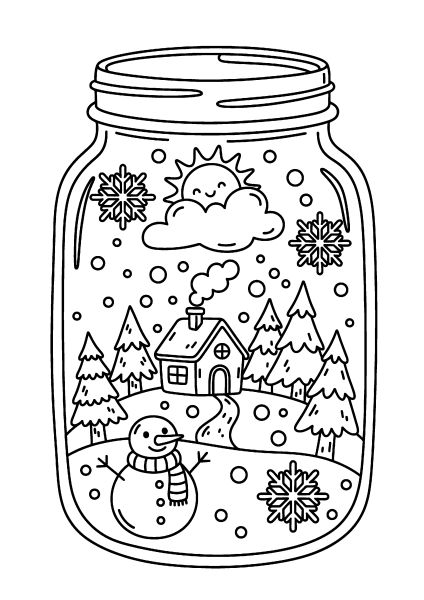
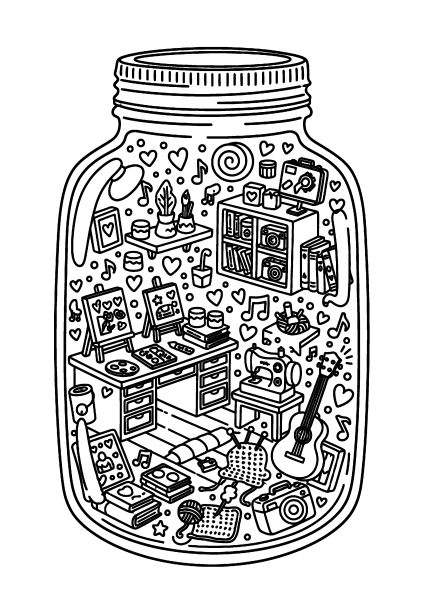
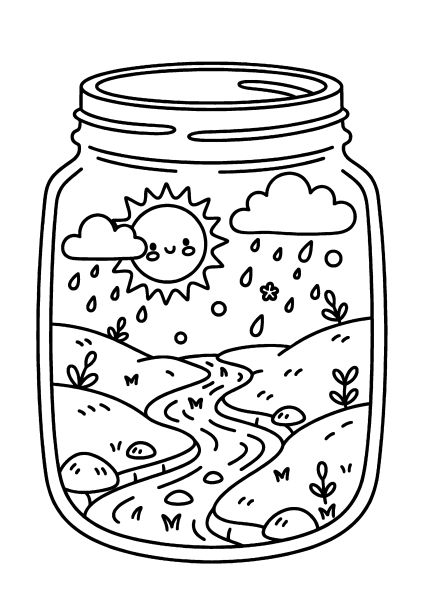
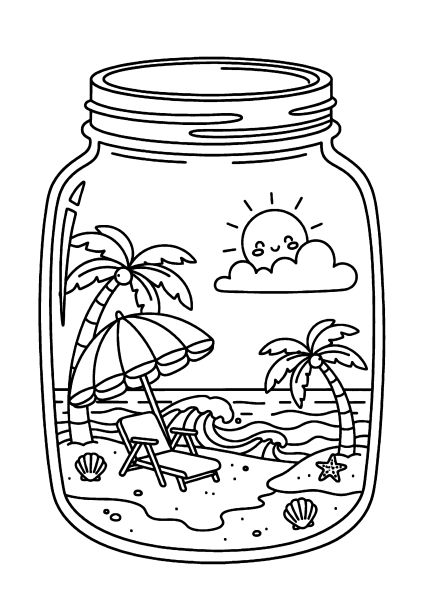
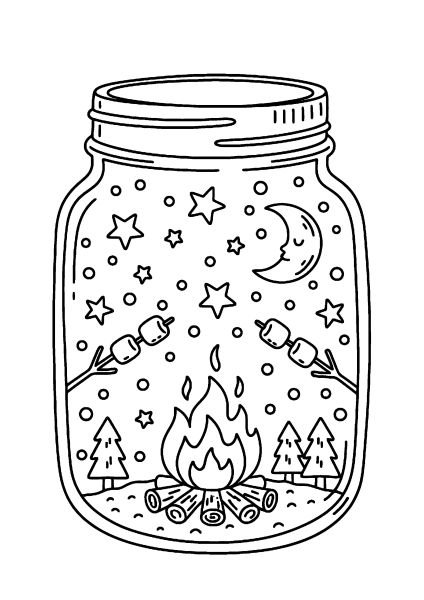
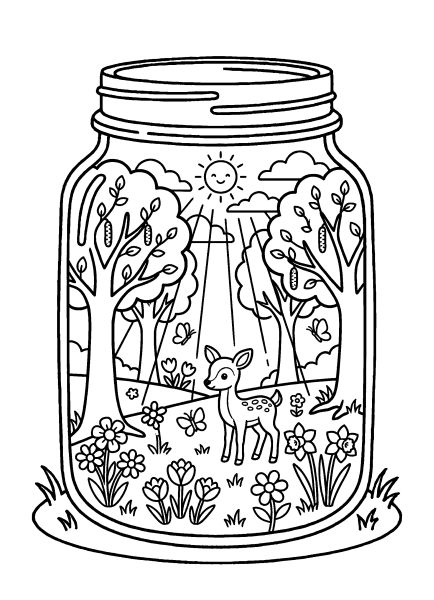
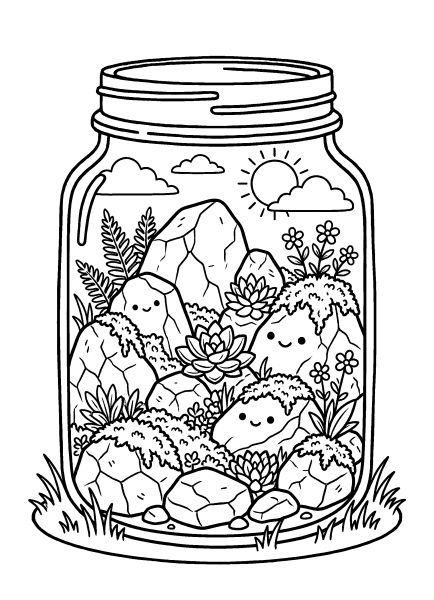
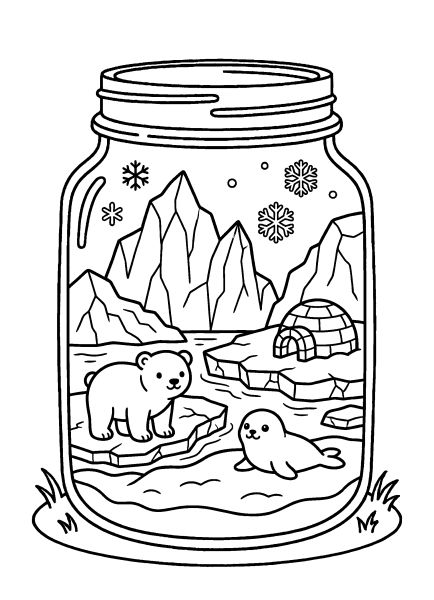
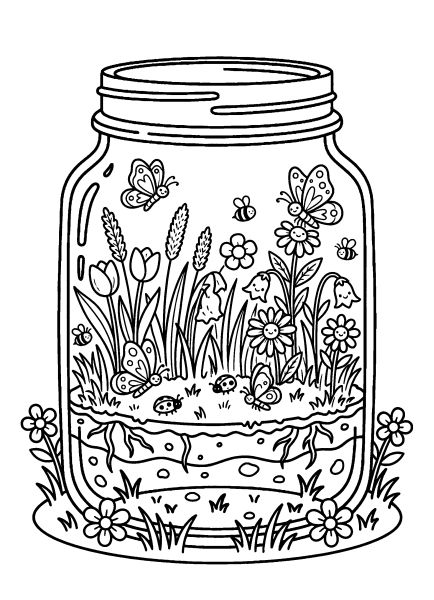
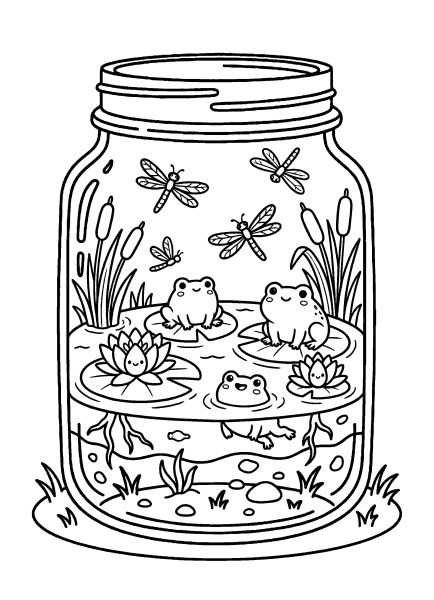
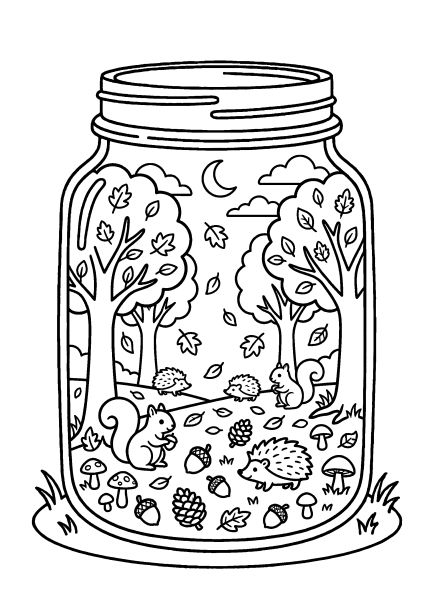
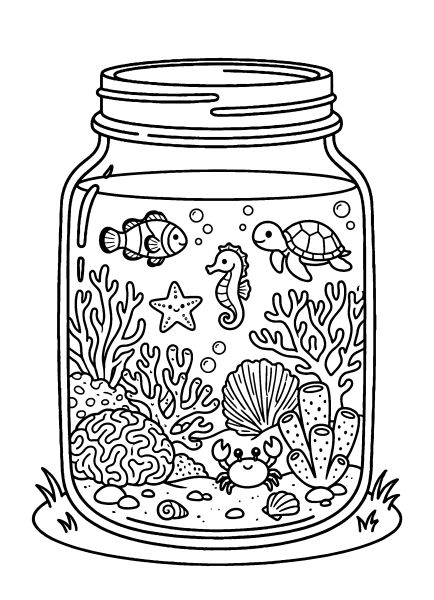
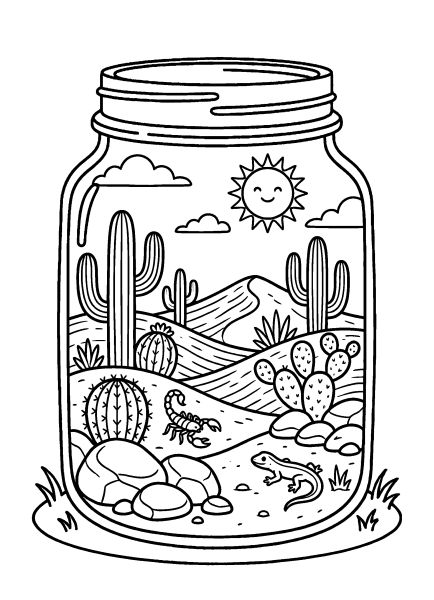
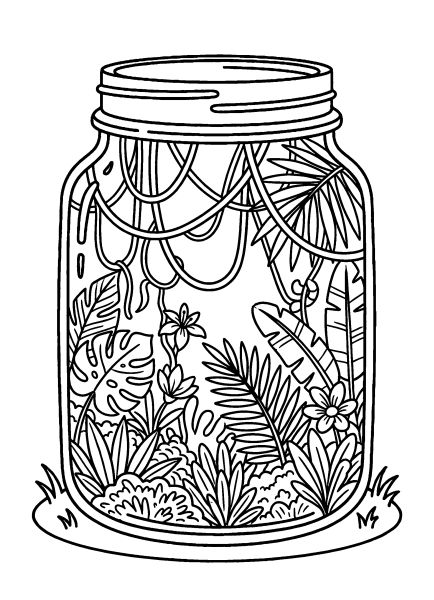
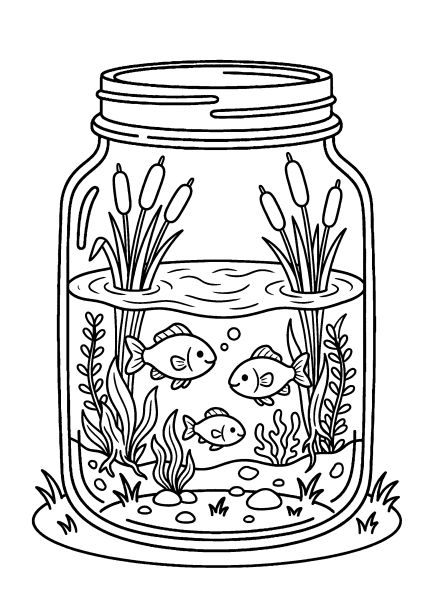
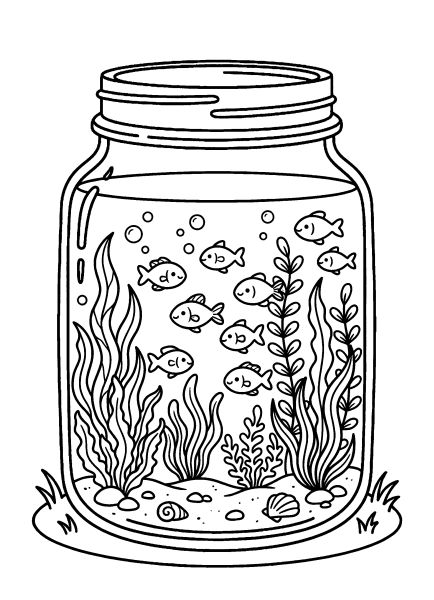
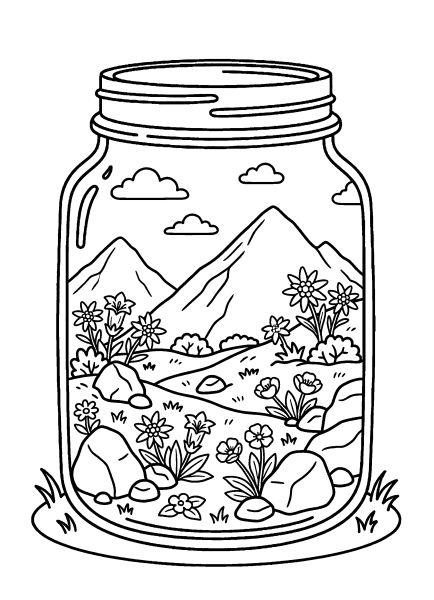
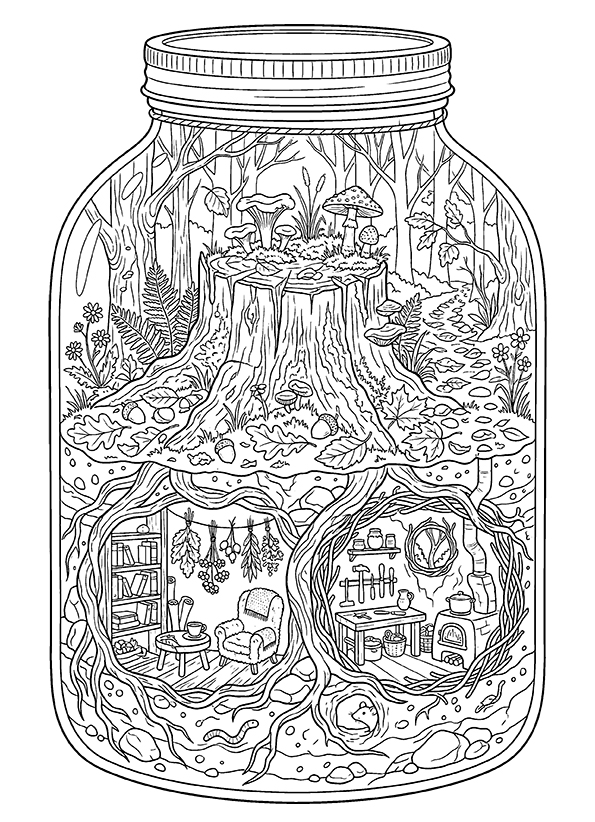
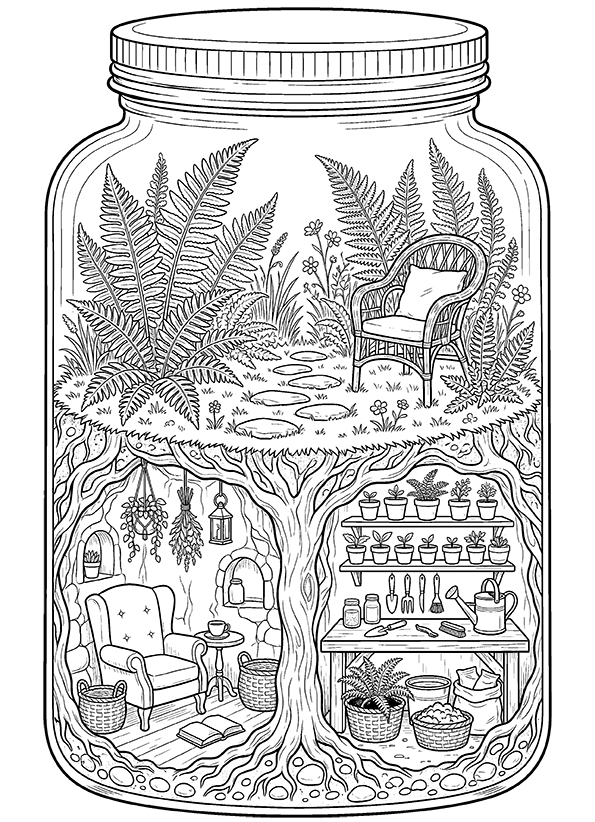
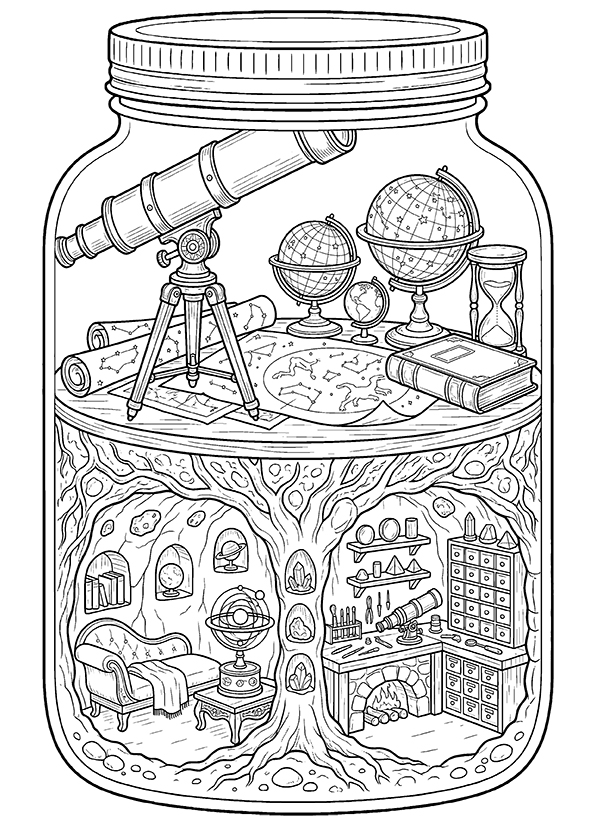
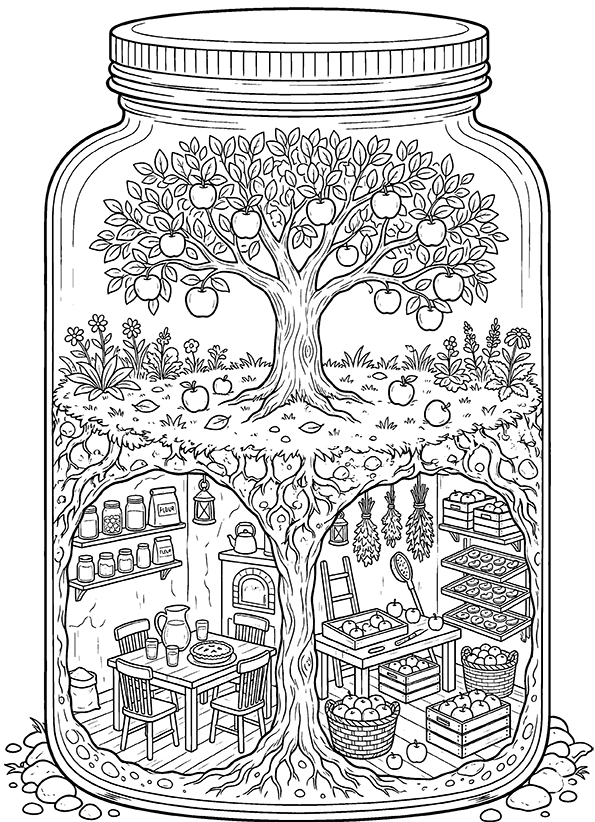
Mini Worlds in Jars Coloring Pages

🌌 Mini Worlds in Jars Coloring Pages

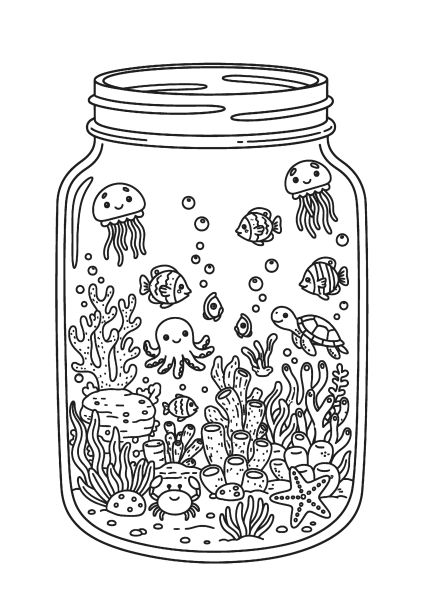
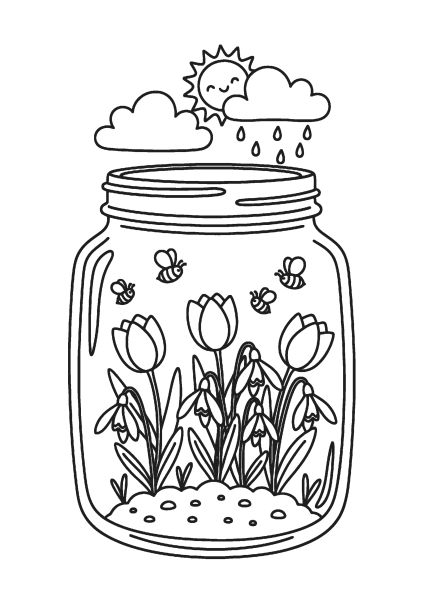
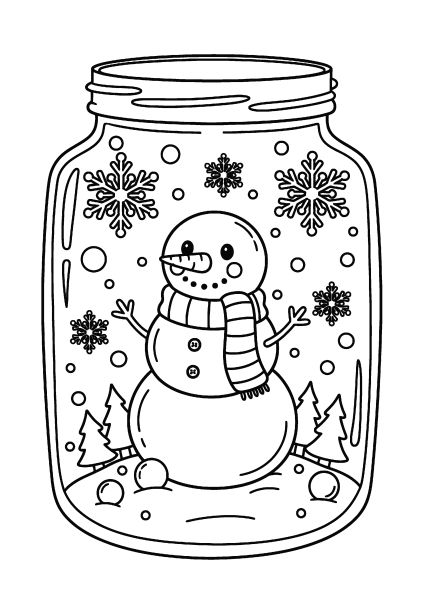
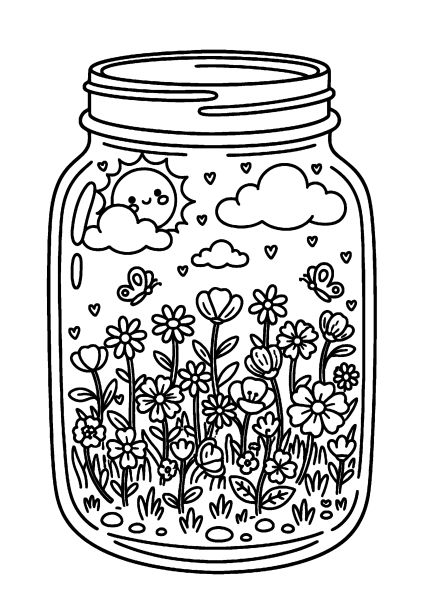
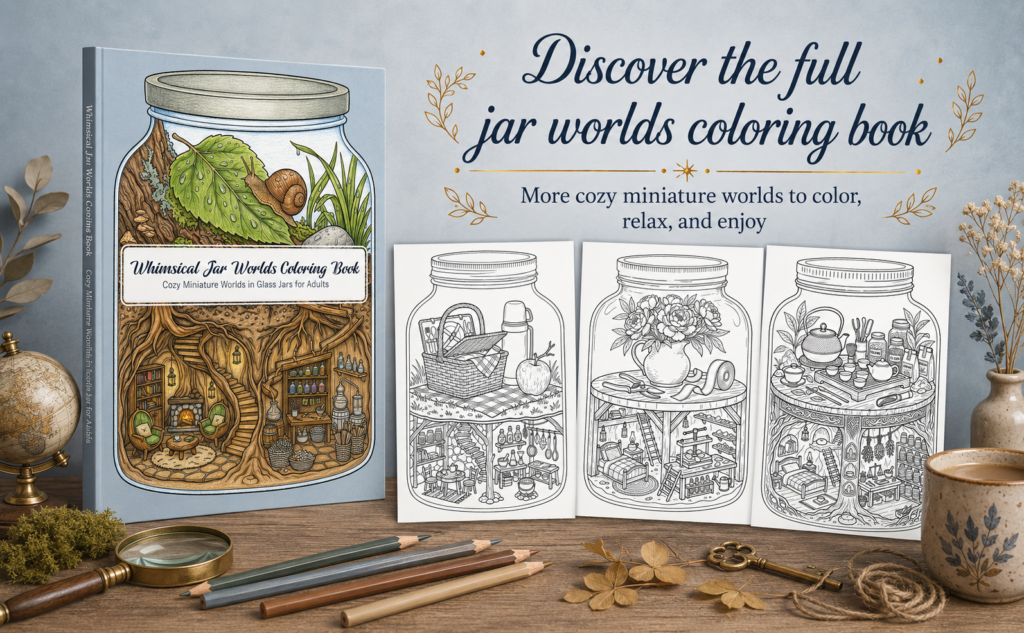
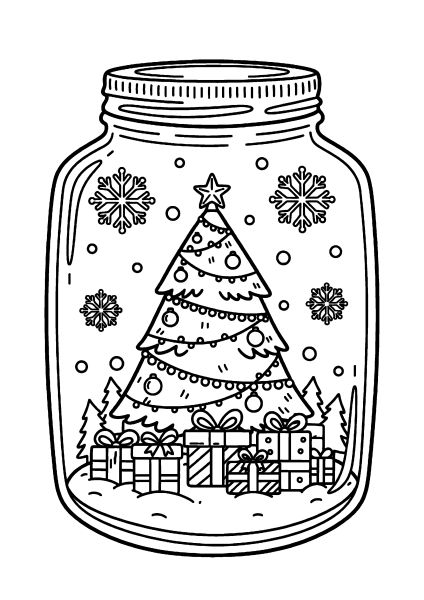
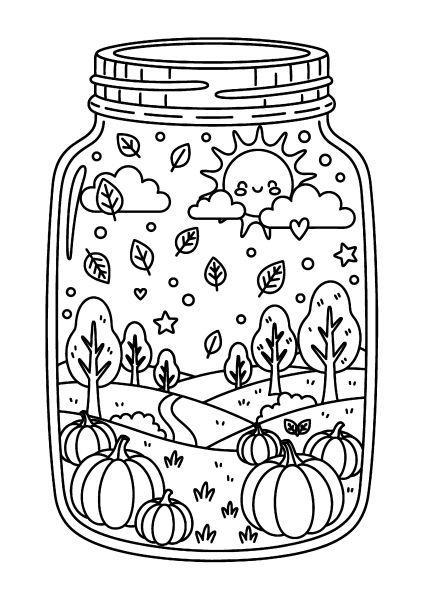
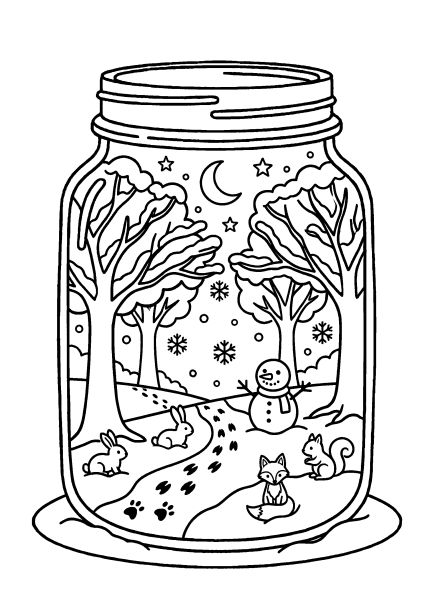
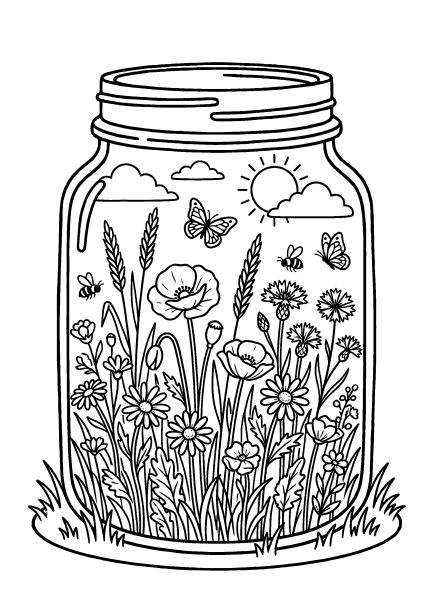
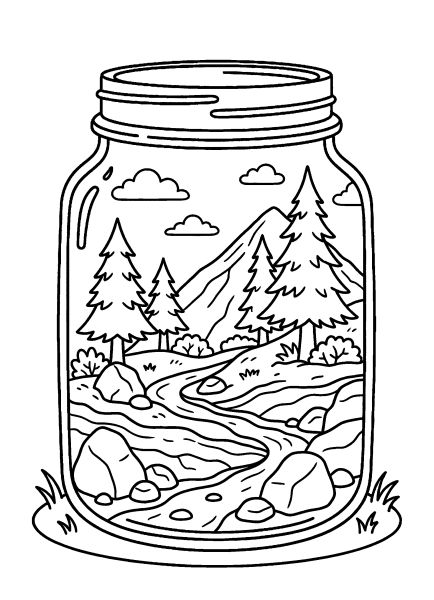
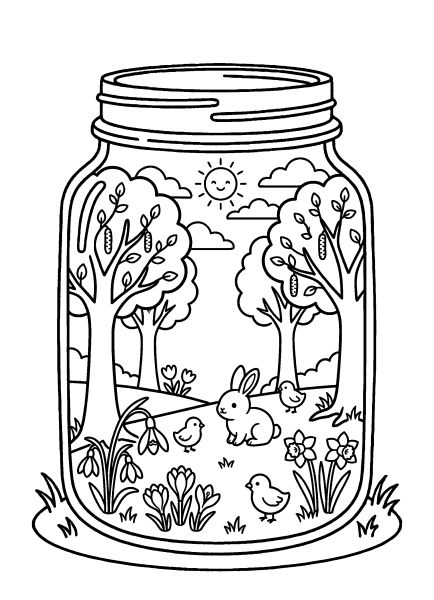
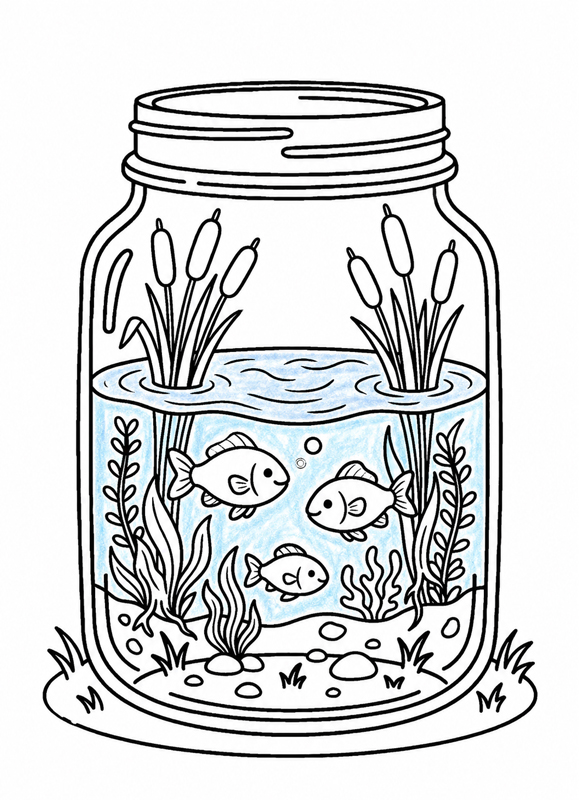
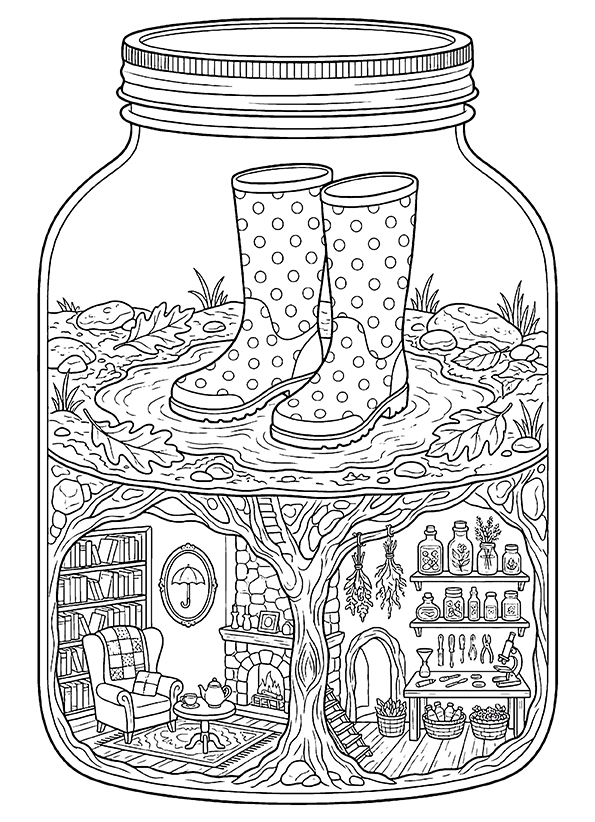
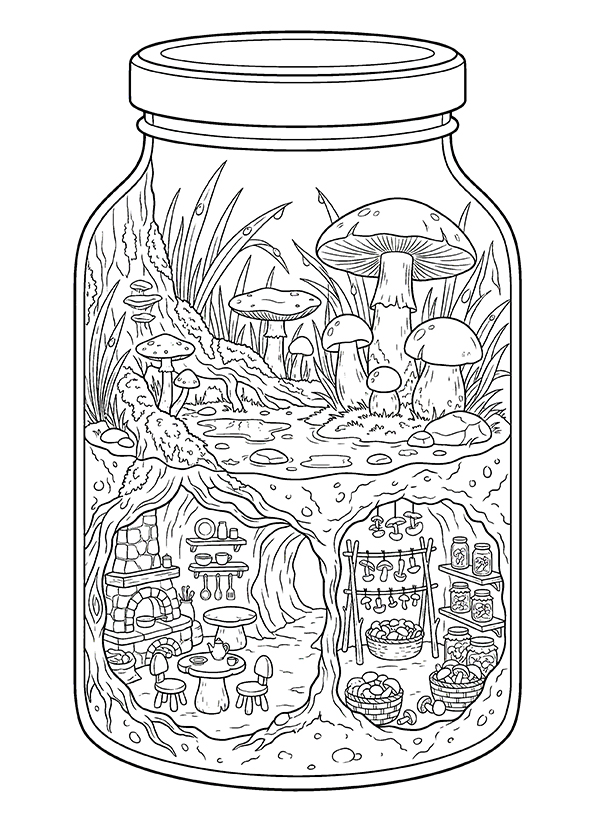
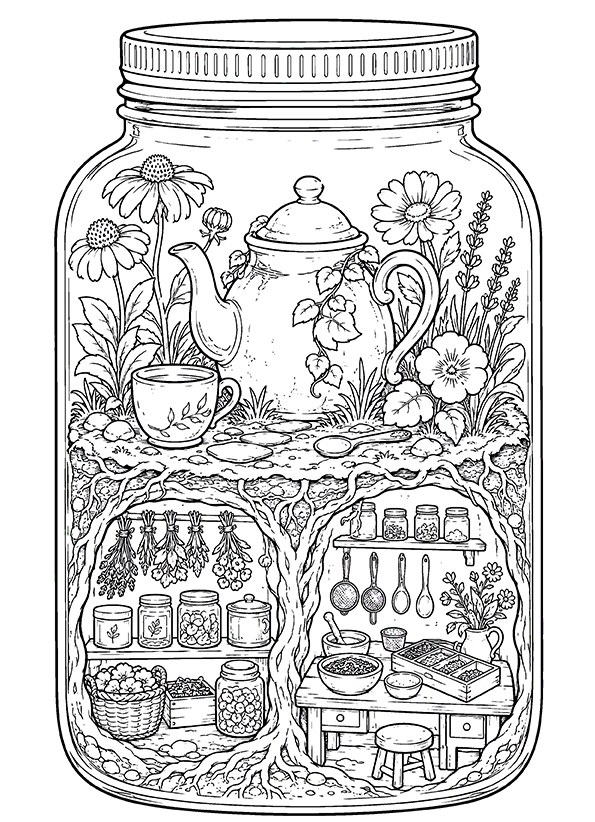
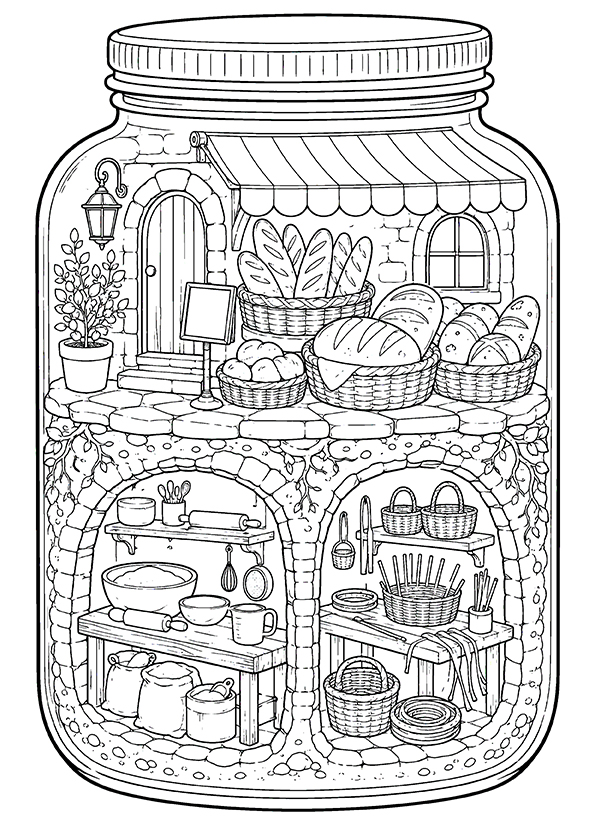
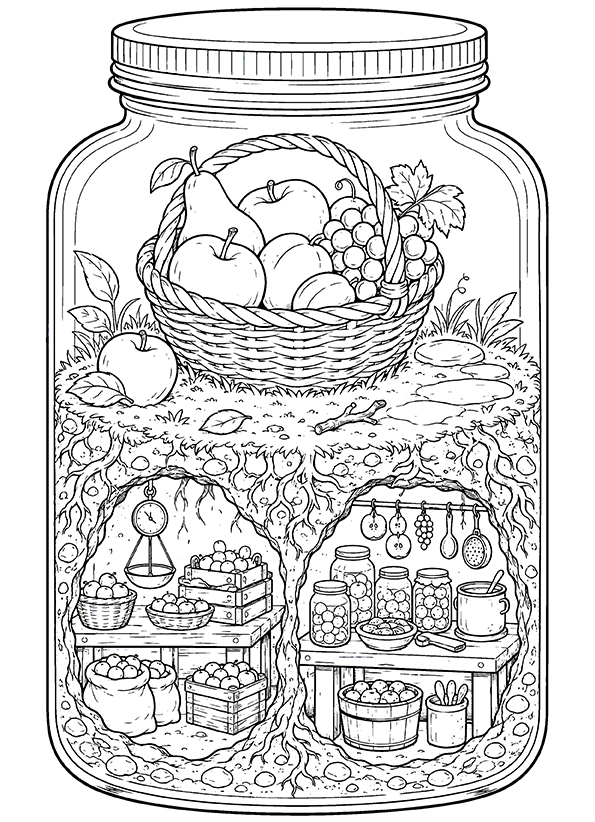
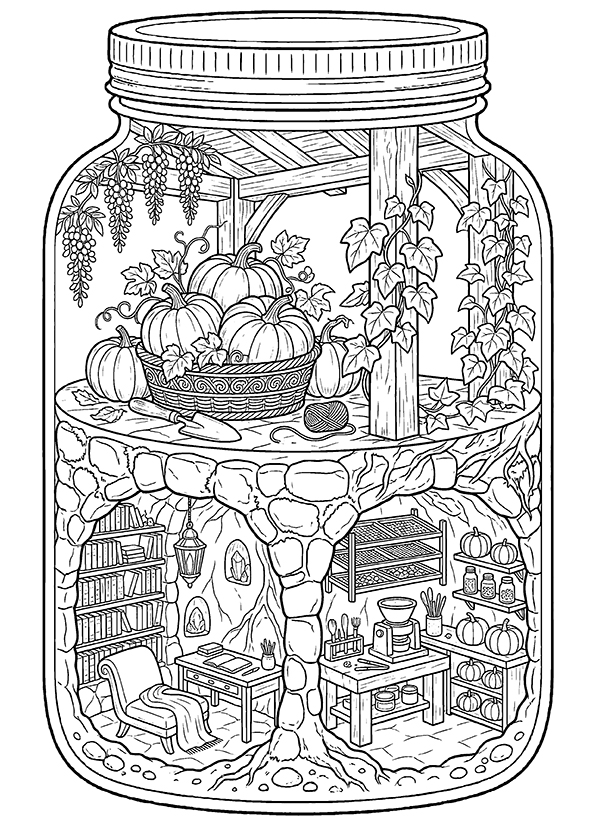
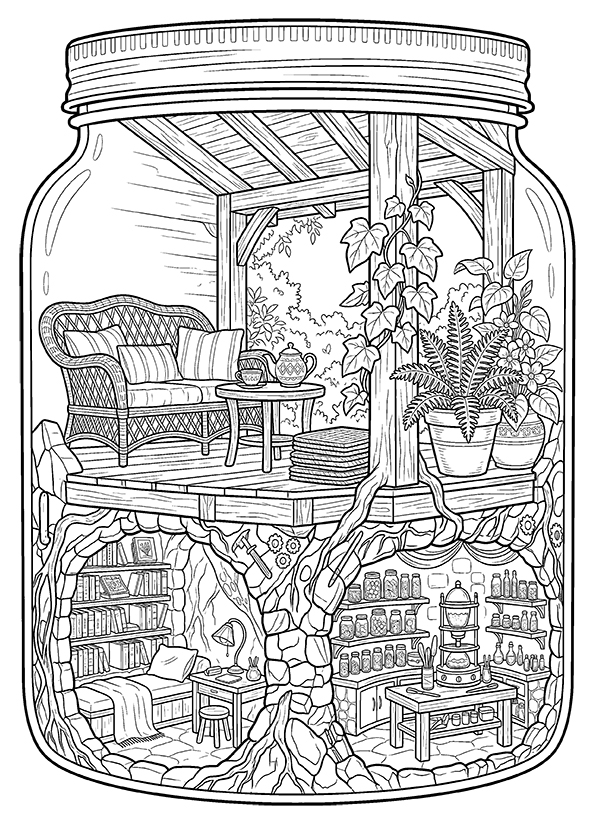
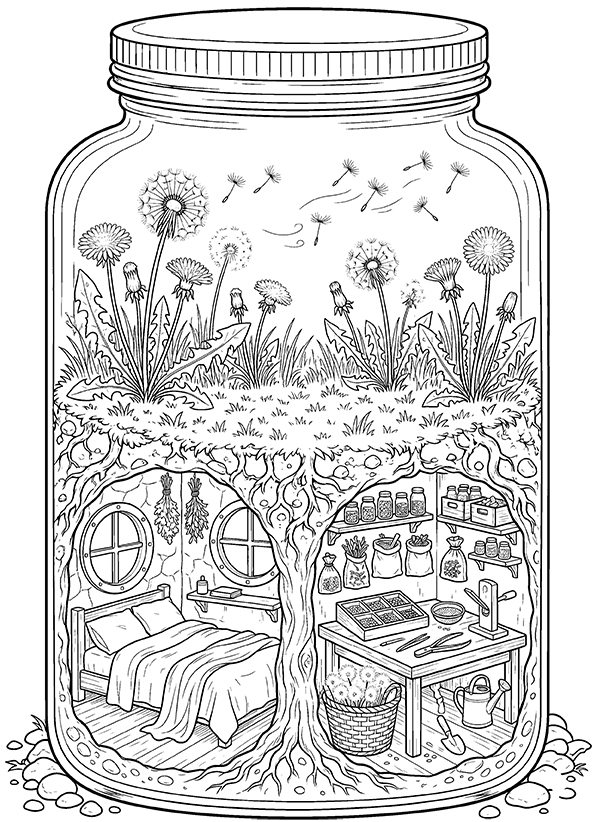
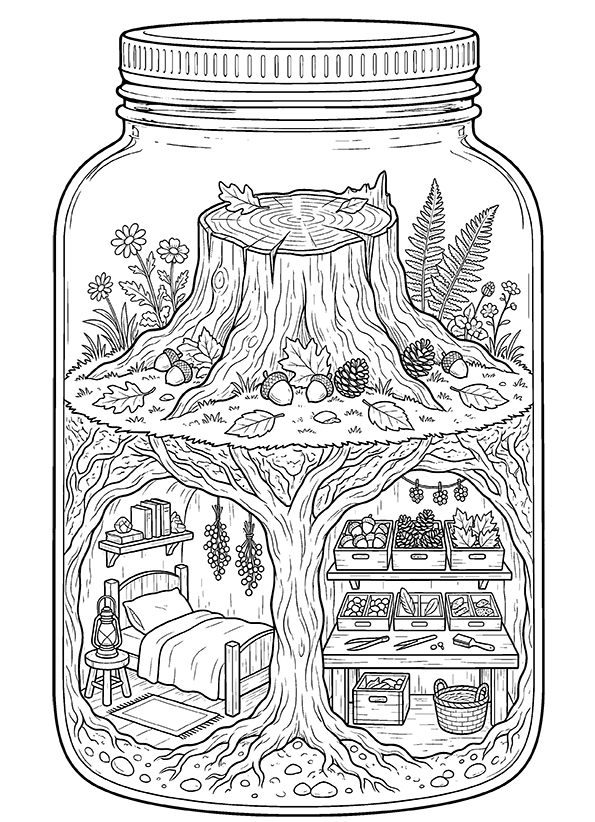
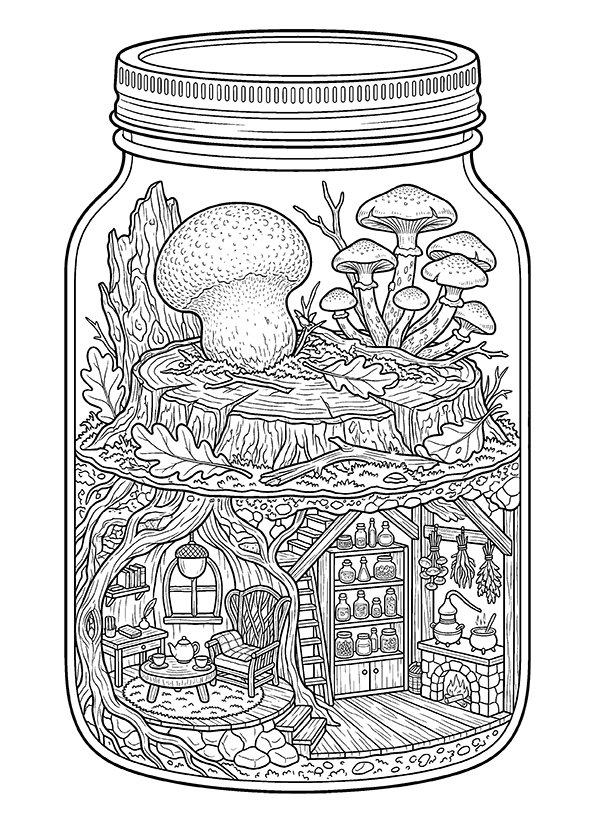
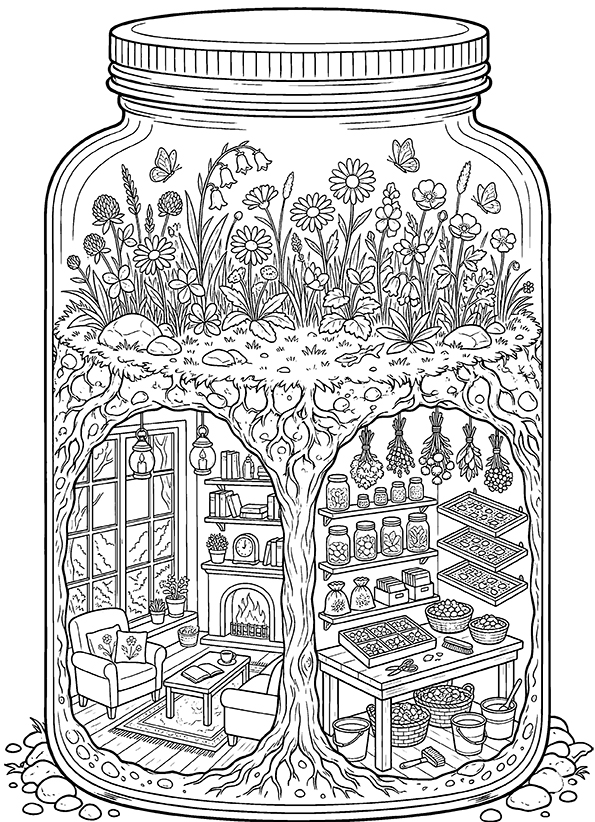
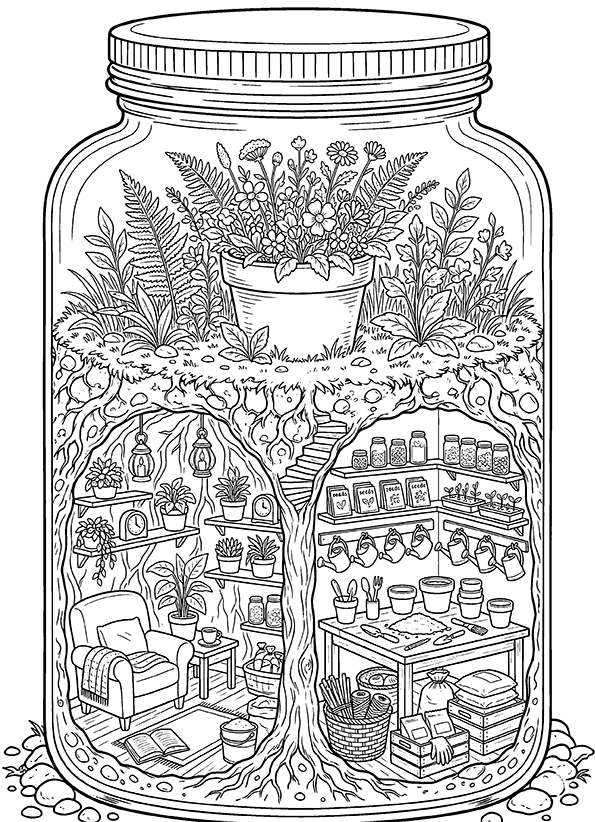
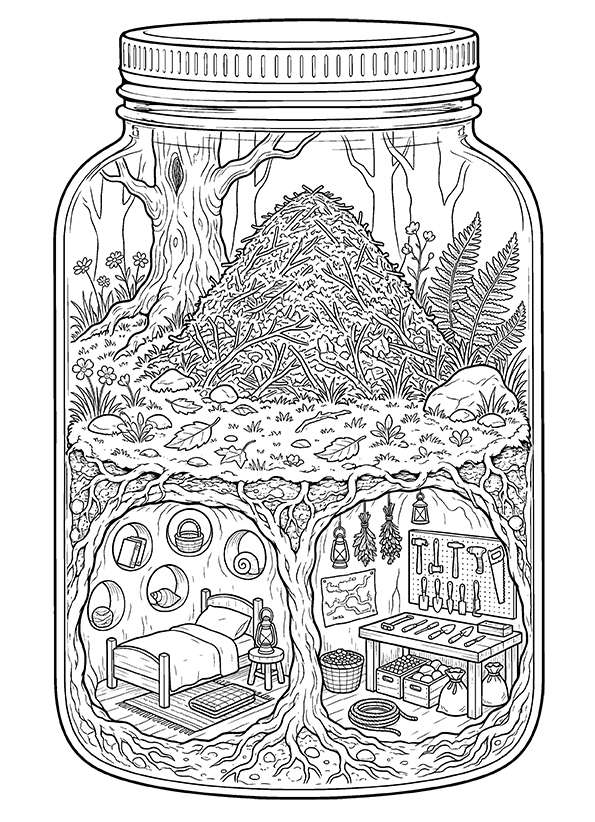
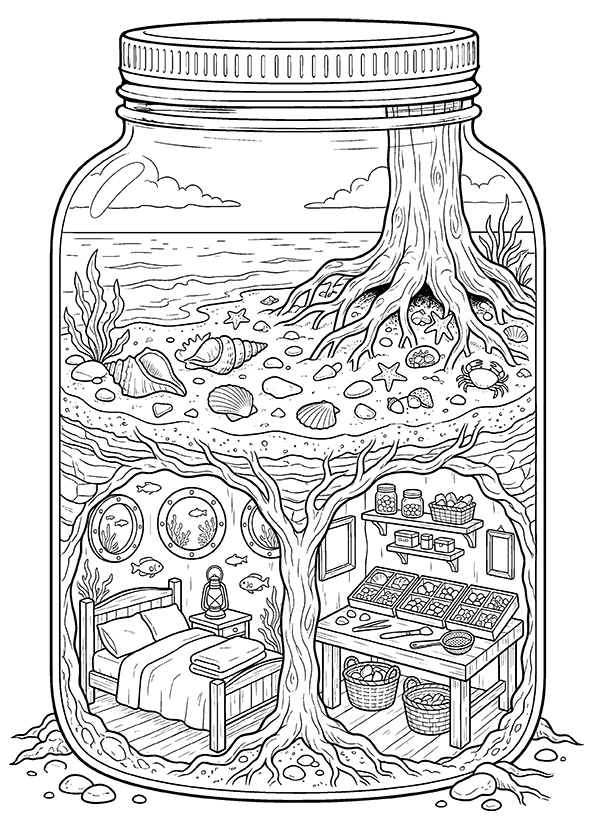
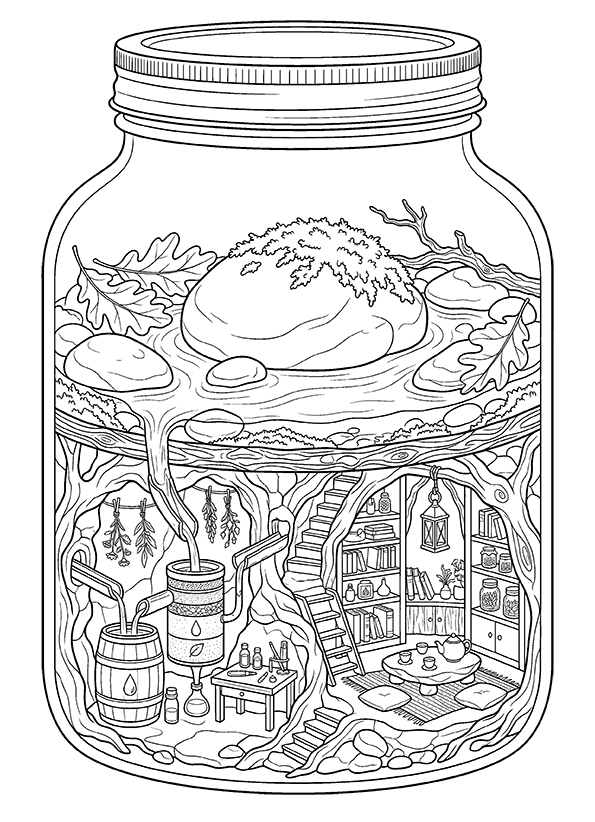
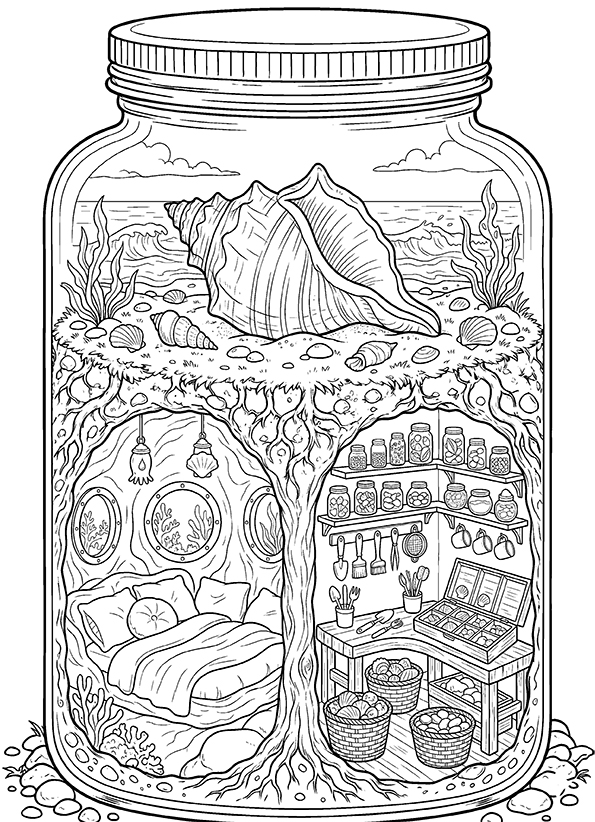
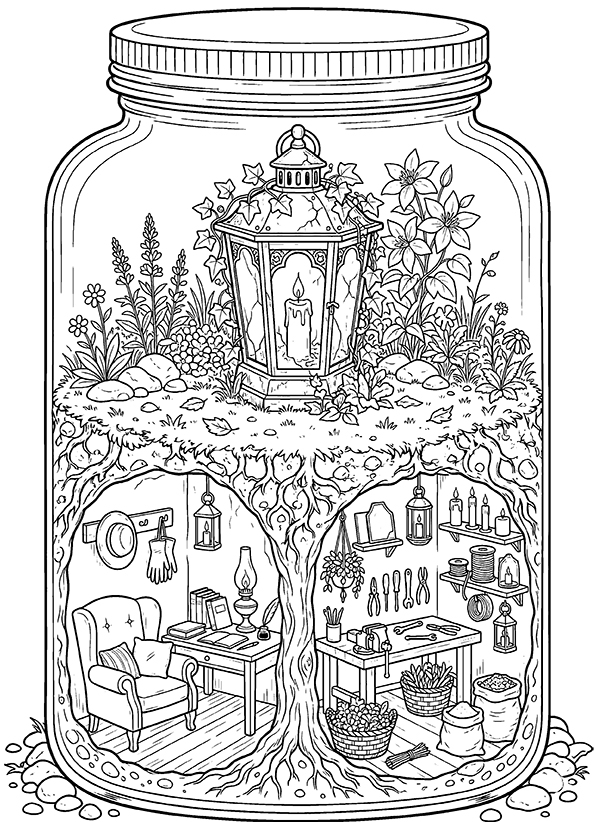
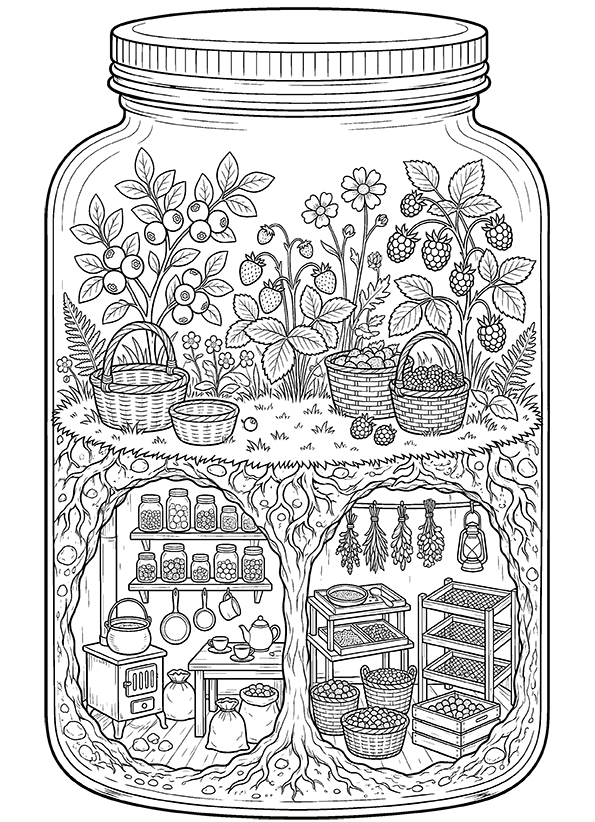
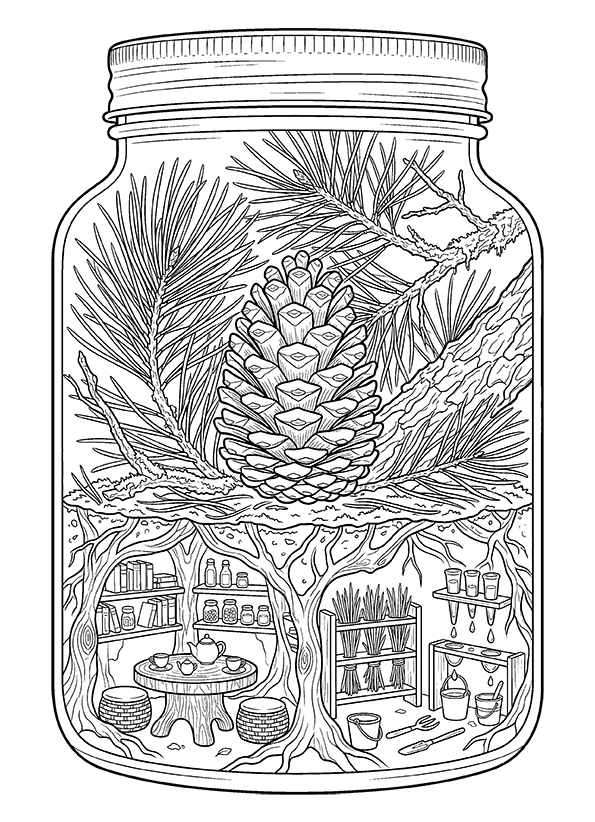
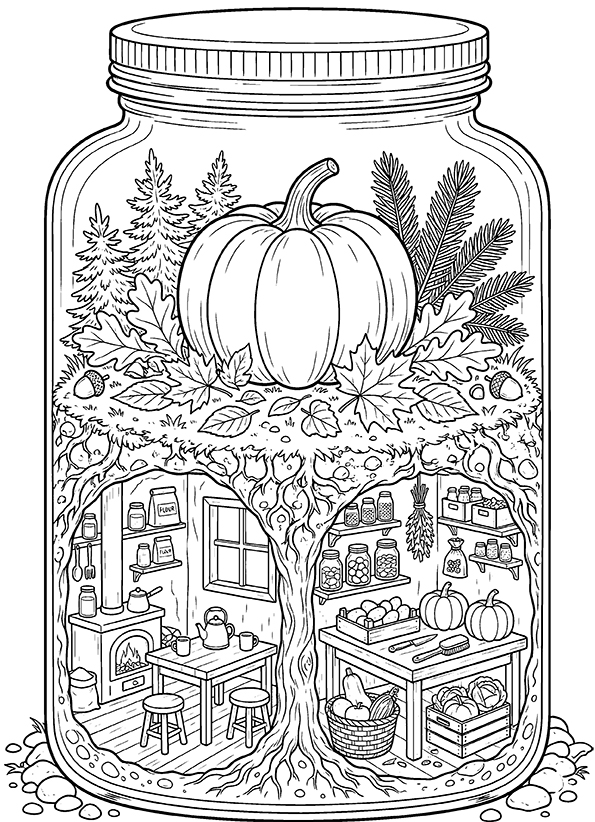
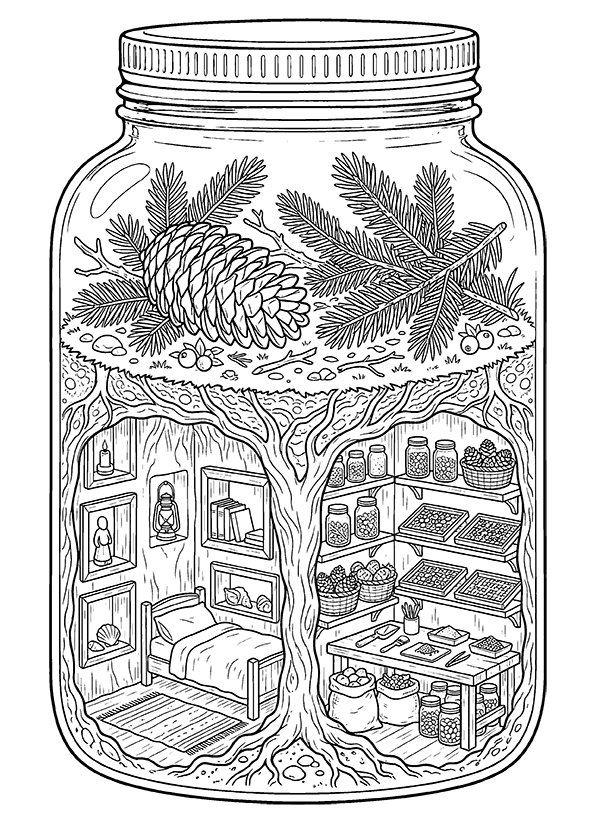
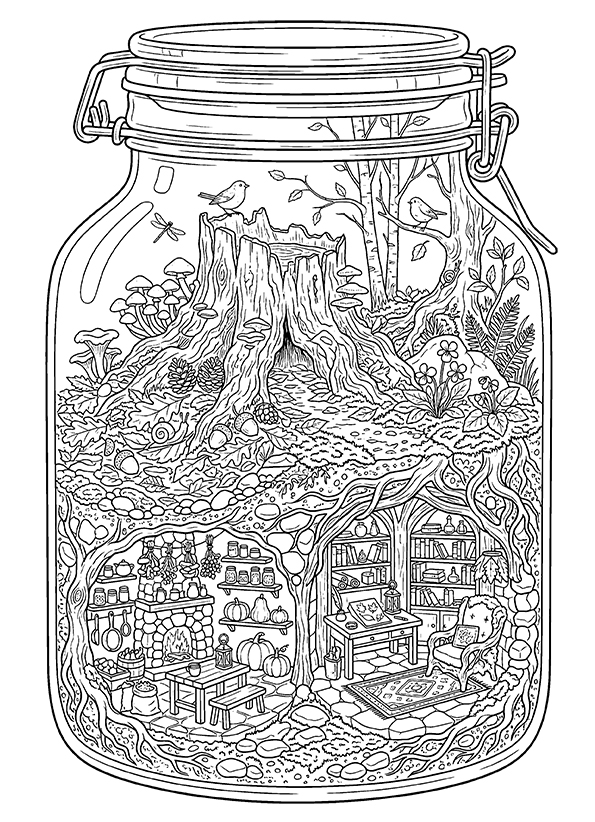
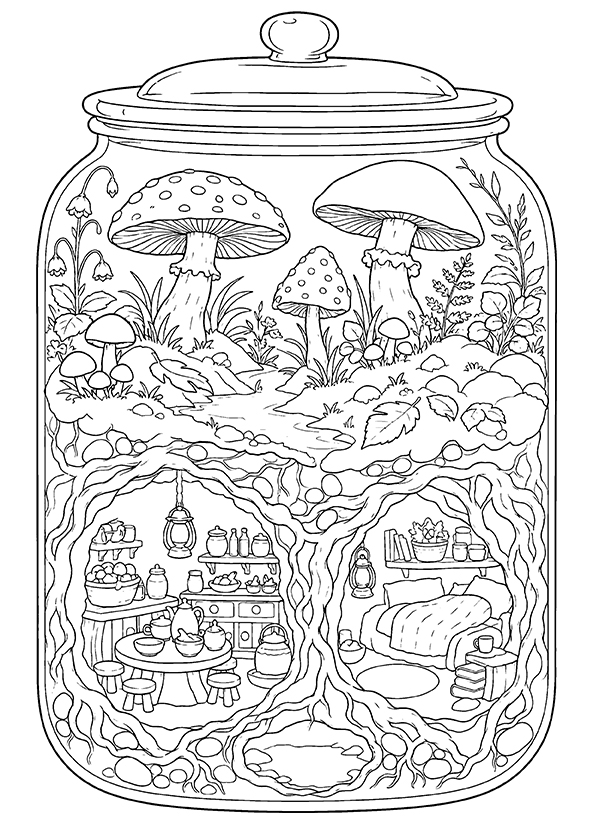
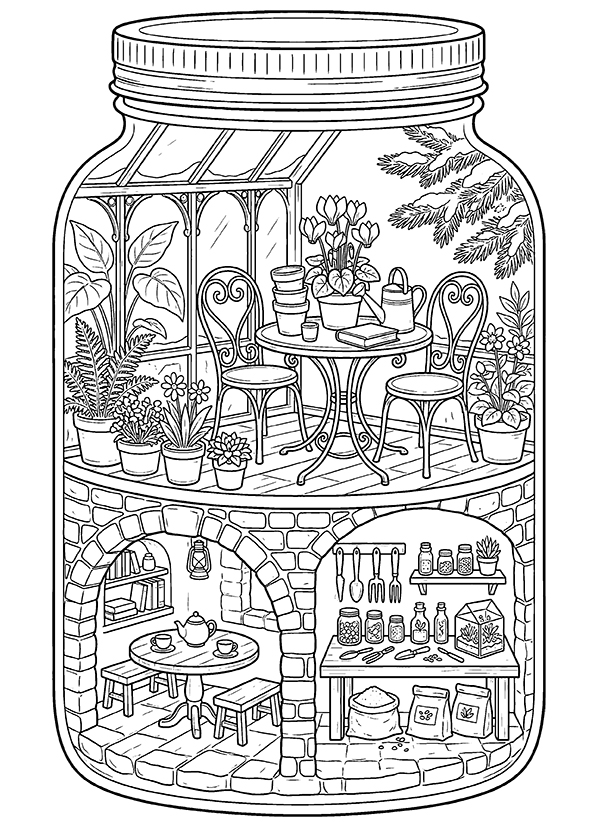
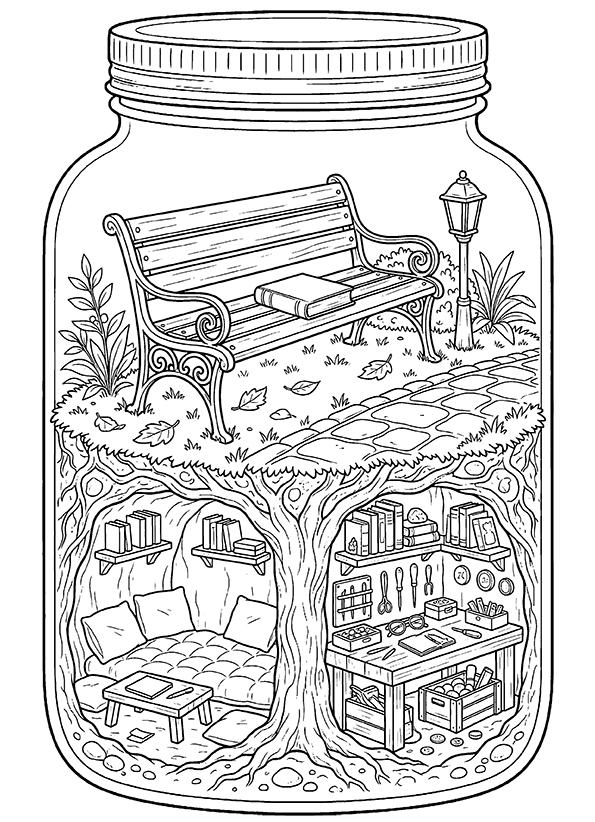
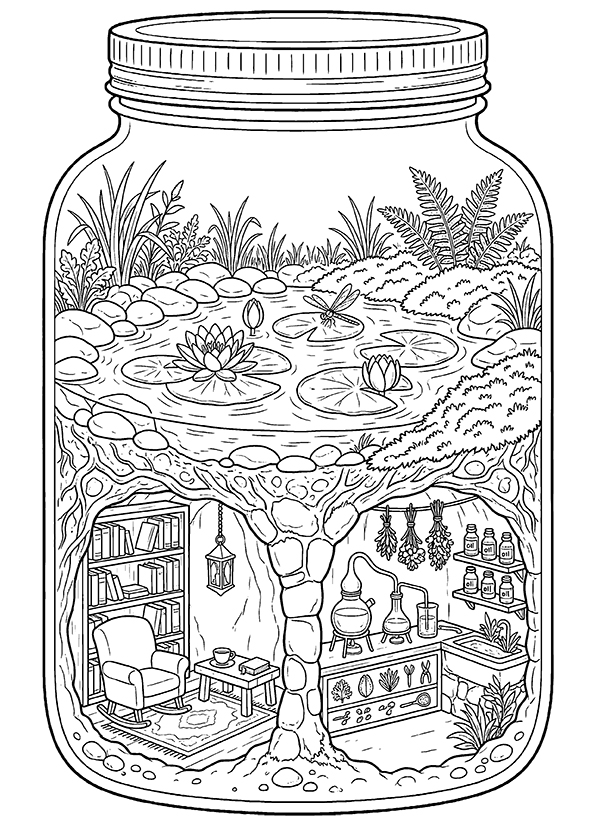
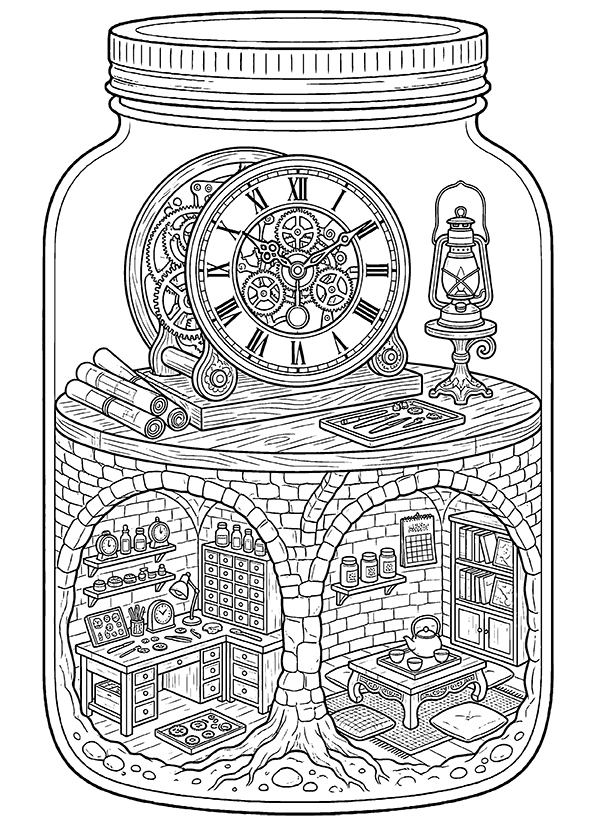
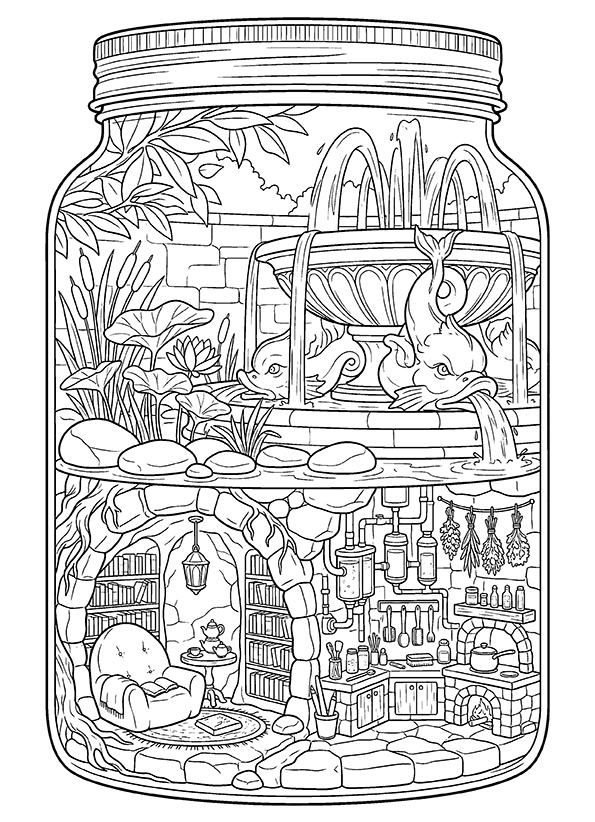
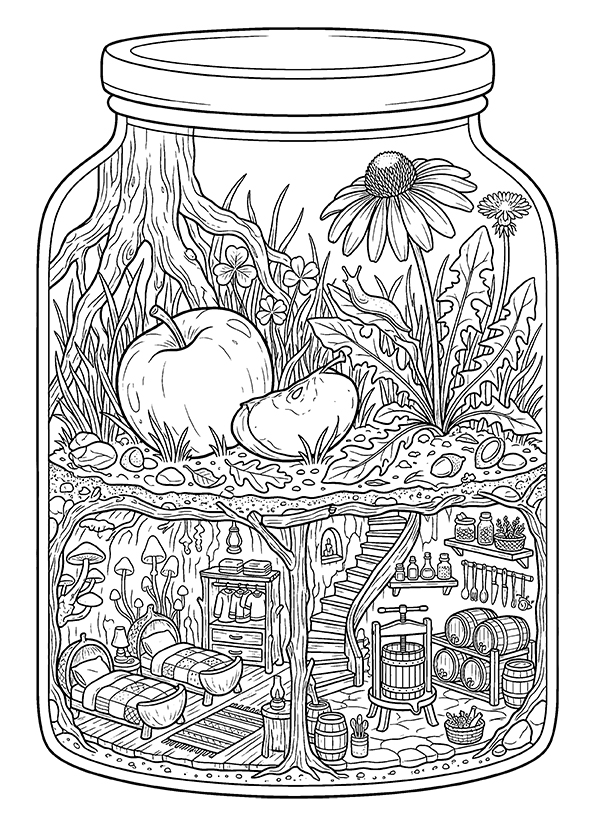
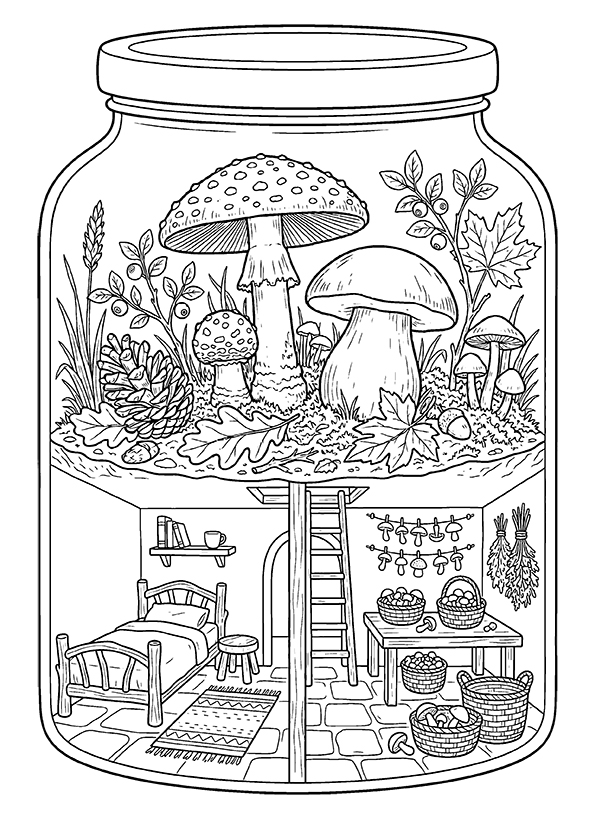
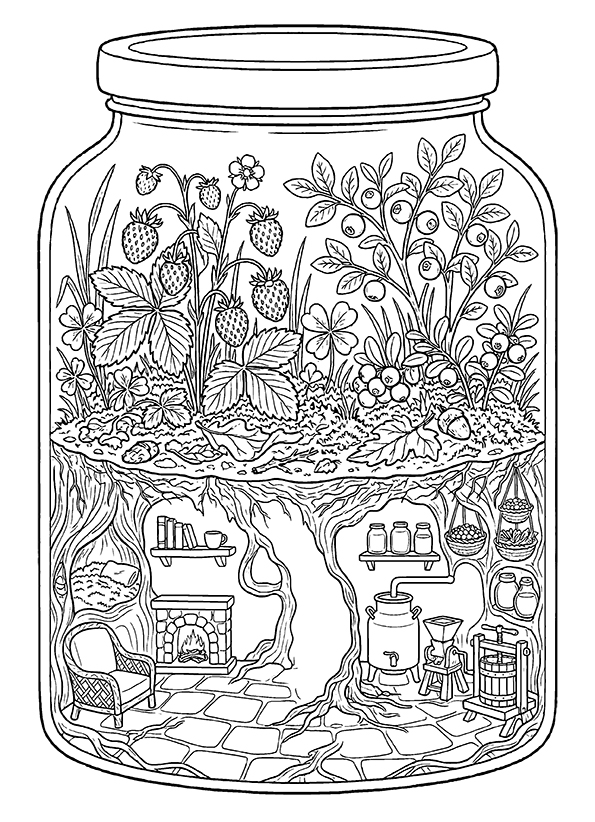
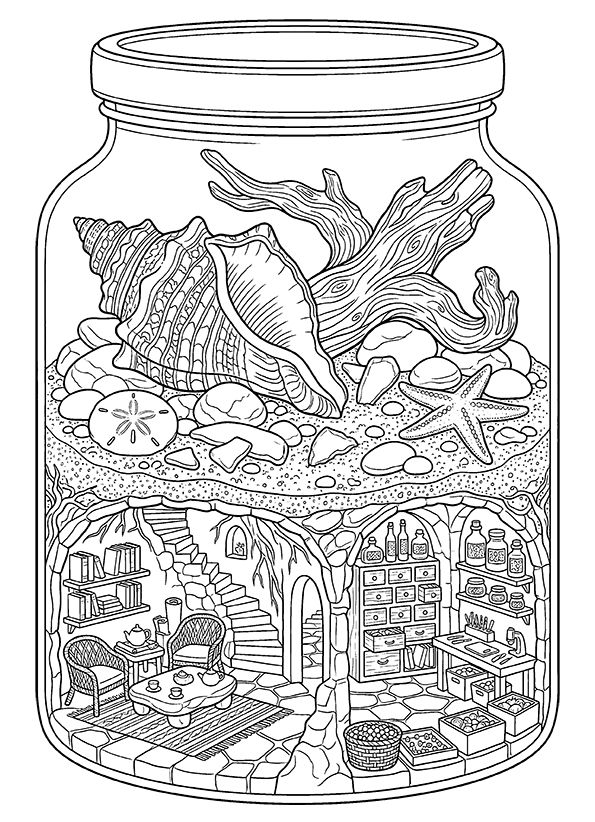
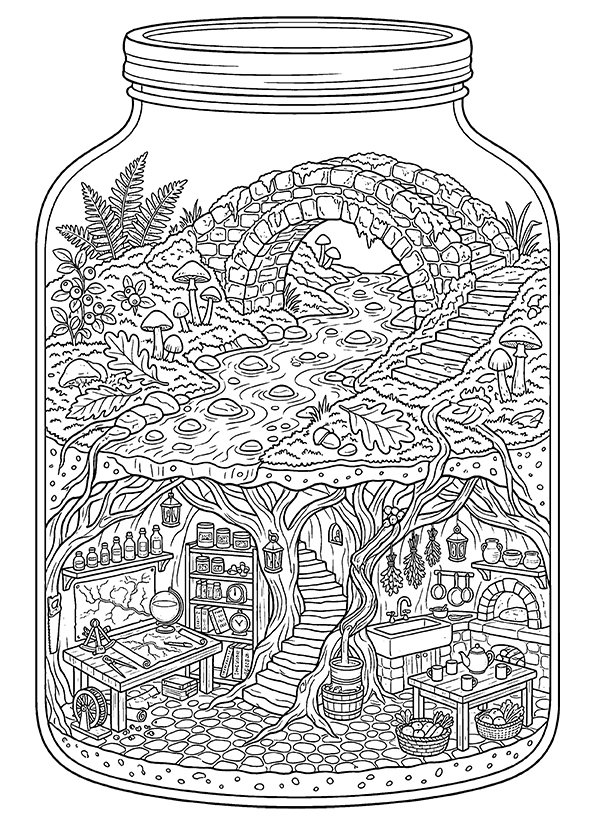
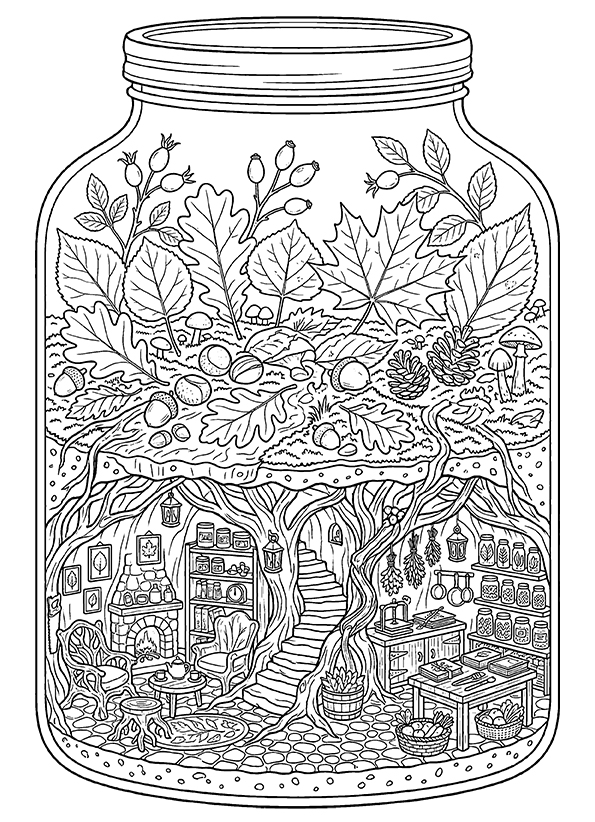
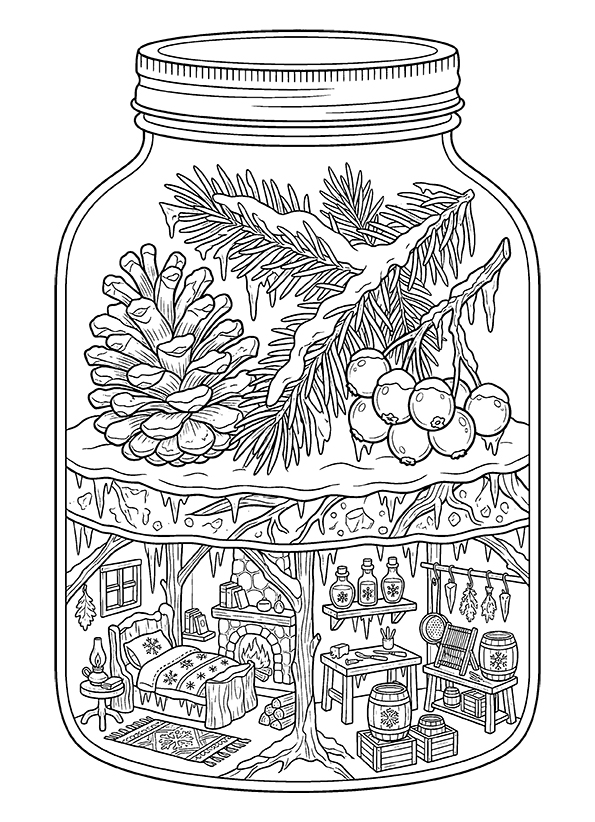
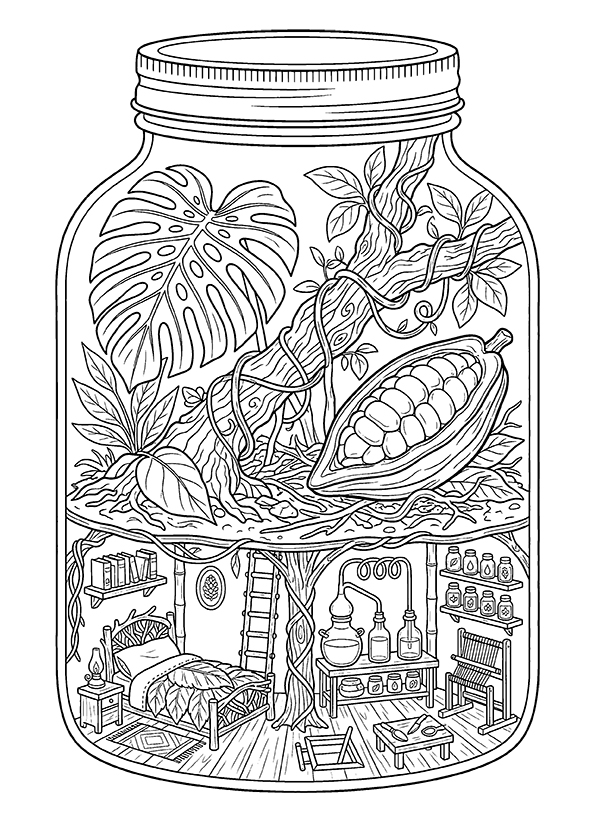
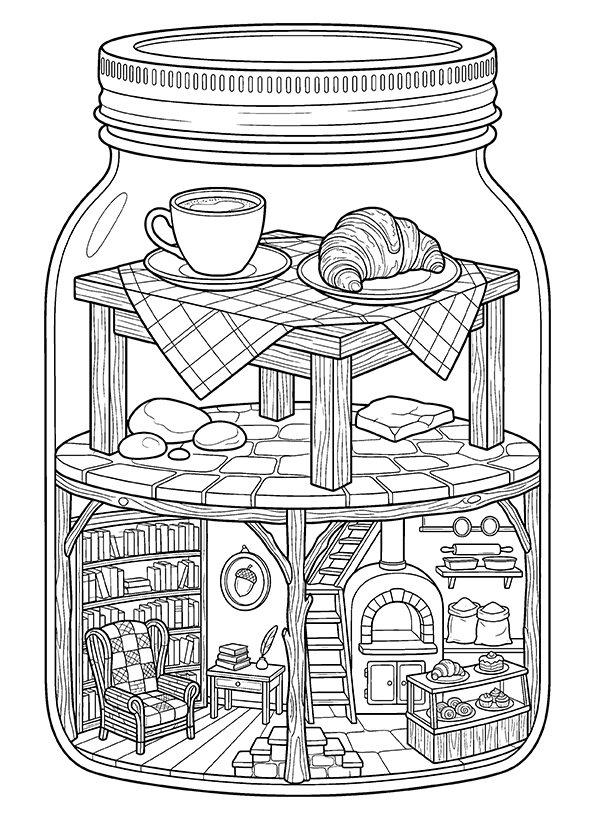
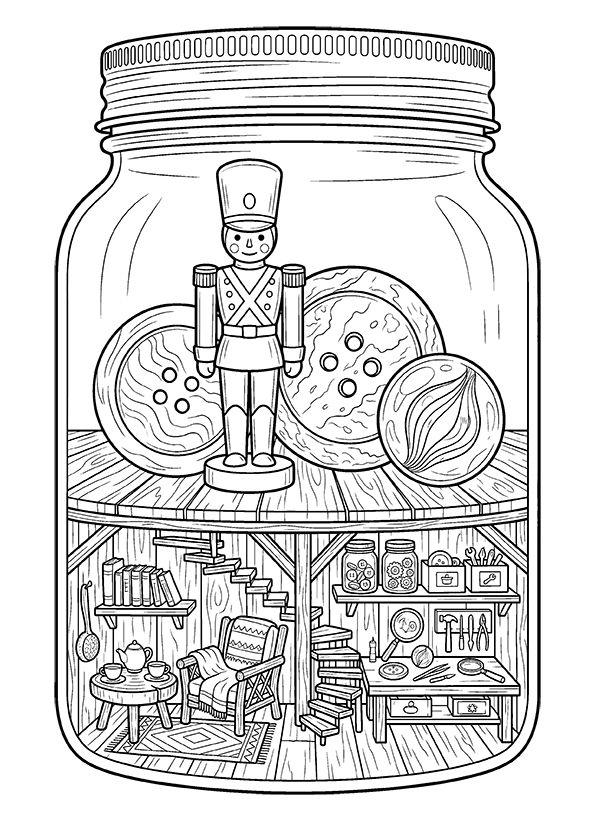
Capturing a tiny universe inside a glass bottle was the main idea behind these free printable mini worlds in jars coloring pages. I designed these high-resolution A4 PDFs with clean, distinct lines, making them an engaging and imaginative activity for older kids, teens, and adults.

This collection offers a whimsical and varied mood, featuring everything from a tiny underwater mermaid scene to a miniature winter wonderland. Just below the main gallery, I’ve added colored examples and two step-by-step tutorials for pencils and markers to help you render the illusion of curved glass. Take a look below to see which jar you’d like to color.

Coloring Techniques / Approach for This Theme

To bring these illustrations to life, we recommend focusing on two connected effects: transparency and contained depth.

Glass Structure and Transparency
The jar itself benefits from a “less is more” approach. Use very light tones or minimal color variation near the edges to suggest the curve of the glass. By keeping the center mostly white or very pale, you allow the interior details to shine while still making the jar feel solid and enclosed.

Soft Blending for Interior Depth
Inside the jar, gentle blending helps connect the background and foreground elements. These smooth transitions support the illusion of a single, continuous world rather than just separate objects, adding to the magical atmosphere of the scene.

Video Guide: The embedded lesson on this page demonstrates how to suggest glass structure in a jar illustration. Watch how light tones, restrained highlights, and careful color placement help the jar feel transparent yet clearly present.

🎨 Coloring Tips & Inspiration

To spark your creativity, we’ve colored some of our favorite mini worlds in jars coloring pages, showcasing the magic hidden within these glass boundaries. Mastering light reflections and internal shadows is the best way to make your miniature scenes look remarkably deep and vivid.

Use these examples as a guide for your own artistic exploration. Whether you imagine glowing enchanted forests or tiny oceanic depths, these designs are crafted to bring your vision to life. Click on any image to enlarge and explore the tiny details up close.

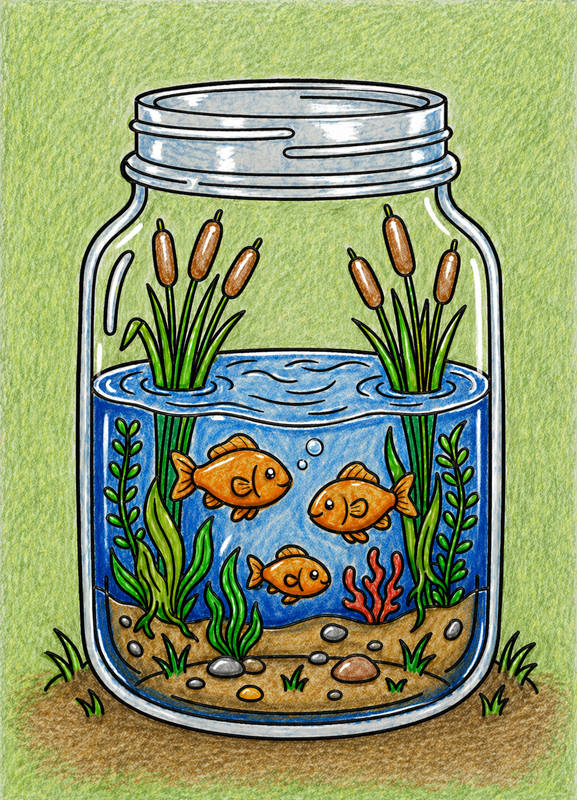
🐟 Coloring a Jar Scene Step by Step

This picture may look a bit detailed at first, but once you start, it becomes very simple. We’ll go one small step at a time, so you never feel overwhelmed.

We’ll begin with the water, then color everything inside the jar, and slowly move outward. Each step adds just a little more, so the whole scene builds naturally.

Take it easy, don’t rush, and enjoy the process. By the end, you’ll see how all these small steps come together into a finished picture.

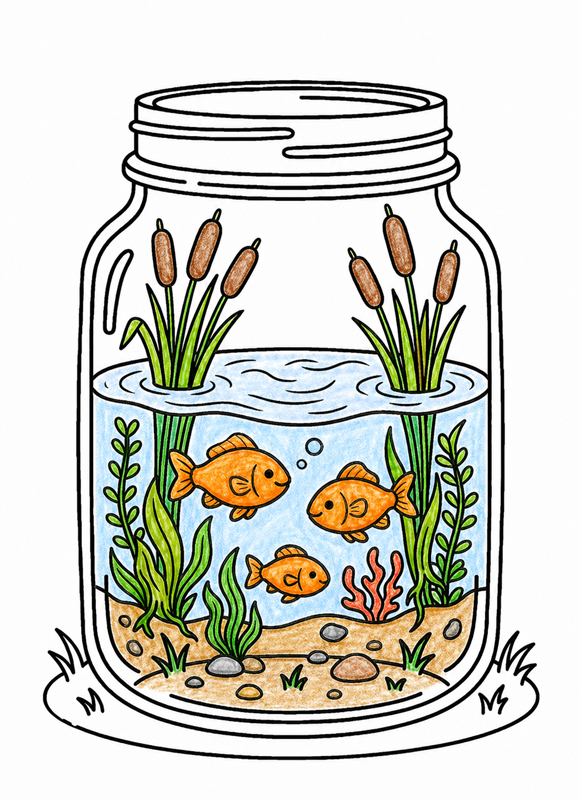
💧 Step 1 — Color the Water

Let’s start with the water inside the jar.

Take a light blue pencil and slowly fill in all the water up to the wavy line at the top. Try to keep your hand relaxed — no need to press hard.

It’s okay if you can see the pencil strokes. That’s exactly what makes it feel real and hand-colored.

Tip: For now, just focus on the water. Leave the fish, plants, stones, and the glass parts untouched.

🐠 Step 2 — Color the Life Inside

Now let’s bring the little world inside the jar to life.

Take a few different colors — orange for the fish, green for the plants, and brown for the stones. Start filling them in one by one.

Go slowly and try to cover each shape fully, so there are no white spots left inside the objects. It’s okay if you can see the pencil strokes — that makes it feel natural.

Just focus on what’s inside the jar for now.

Tip: Leave the water, the glass, and everything outside exactly as they are.

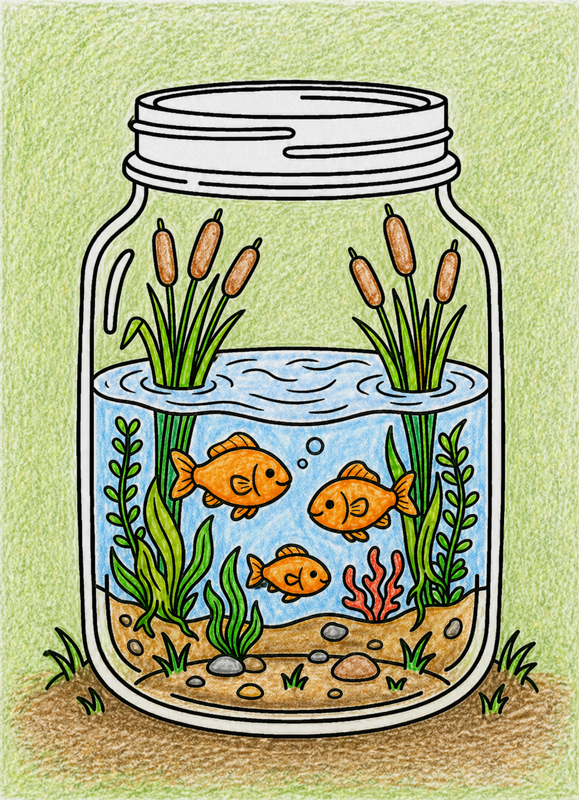
🌿 Step 3 — Color the Background

Now let’s finish everything outside the jar.

Take green and brown pencils and start filling in the reeds, grass, ground, and the wall behind. Work your way around the jar and cover all the white areas.

Use short, simple strokes instead of trying to make it perfectly smooth. That slightly uneven look makes it feel more natural and hand-colored.

Keep going until the whole background is filled in and nothing is left blank.

Tip: Be careful around the edges of the jar — leave the glass and everything inside it just as they are.

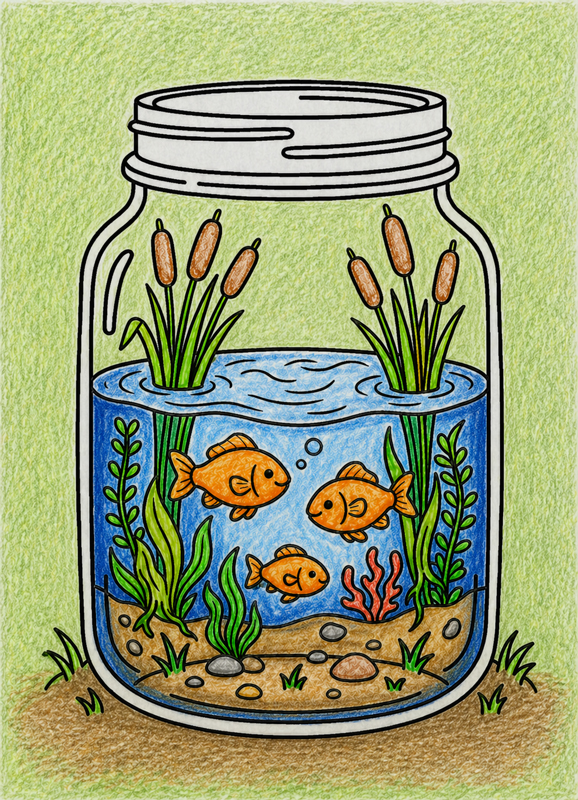
🌊 Step 4 — Add Depth to the Water

Now let’s give the water and everything inside a bit more depth.

Take a darker blue pencil and gently go over the edges of the water near the glass and along the bottom. This will make the jar feel deeper.

Then use a slightly darker orange on the lower parts of the fish and a bit on the plants. Just add a few clear strokes — no need to blend or smooth them out.

Let your strokes stay visible — that’s what gives it a natural, hand-colored look.

Tip: Focus only on the inside of the jar. Leave the glass rim and everything outside just as they are.

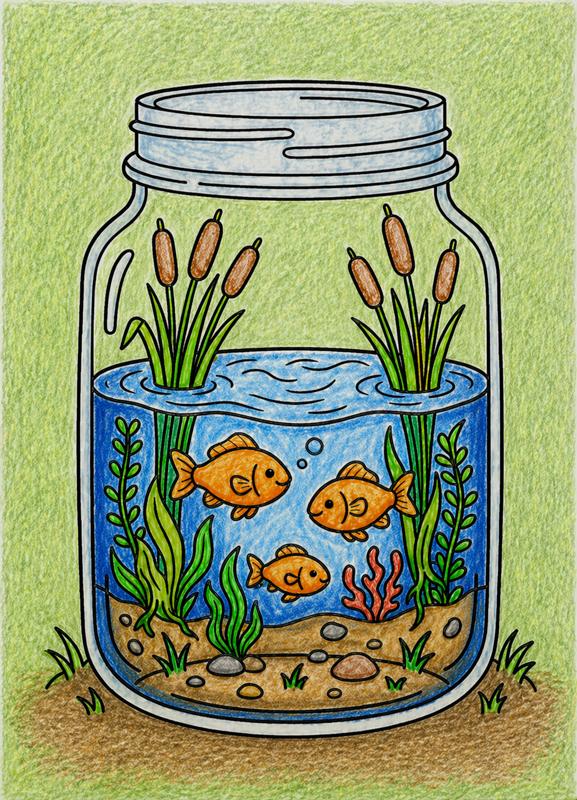
🫙 Step 5 — Color the Glass Rim

Now let’s take care of the top of the jar.

Pick a very light blue or a cool gray pencil and gently go over the glass rim. Use light, broken strokes instead of filling it in completely.

Leave some small white areas here and there — that’s what makes it look like clear glass.

Follow the shape of the rim so it feels round and slightly shiny.

Tip: Keep your touch very light and don’t go over the inside of the jar or the background.

✨ Step 6 — Add Final Highlights

Now let’s add the final touches that make everything come alive.

Take a white gel pen or marker and add bright highlights on the curved parts of the glass. These little marks will make it look shiny right away.

You can also add tiny white dots for air bubbles and small bright spots in the fish’s eyes.

Don’t be too shy here — the highlights should be clearly visible and stand out.

Tip: A few bold white touches can completely change the look and give the jar that glassy shine.

🏺 Understanding the Visual Language of the Theme

The visual structure of our “Worlds in a Jar” coloring pages is defined by a clear, strong outer contour and a beautifully dense interior. In our vertical A4 layouts, the jar acts as a magical vessel, shaped by these key features:

  • 🖼️
    Framing Silhouette: A strong jar outline that centers and stabilizes the entire scene.
  • 🧪
    Curved Perspective: Lines that subtly suggest rounded glass surfaces and reflections.
  • 🌌
    Layered Depth: A rich arrangement of elements inside the jar that creates a sense of a miniature, three-dimensional world.

  • The Boundary Effect: A clear visual distinction between the “contained” world inside and the space outside.

The glass outline is far more than a border. It actively shapes how the interior world is perceived, guiding your eye and containing the visual complexity in a balanced, satisfying way.

🏛️ Artistic Composition and Detail Balance

The jar acts as a natural compositional boundary, organizing all details within its shape to prevent visual sprawl. This containment is a key feature of our vertical A4 layouts, making each scene feel like a tiny, preserved treasure.

Because the interior is often rich and detailed, we’ve designed these pages to keep the glass elements subtle. This ensures your focus remains entirely on the miniature world inside. Visual balance is achieved by letting some interior areas remain “calmer,” allowing your key elements to stand out more clearly without overwhelming the eye.

📝 Practical Application: How to Use

These “World in a Jar” pages are designed for imaginative coloring sessions that focus on storytelling and contained scenes. They are particularly effective for:

  • Miniature Exploration: Projects that play with scale and the concept of tiny environments.
  • Layered Coloring: Slow sessions where your attention moves inward, layer by layer, building depth as you go.
  • Conceptual Art: Experimenting with different themes—from miniature forests to tiny cities—all within the same glass framework.

👥 Target Audience: Who These Pages Are Best For

This collection has a thoughtful, whimsical, and visually contained character that appeals to a wide range of colorists:

  • Children (8+): Who enjoy fantasy themes and discovering hidden details.
  • Teens: Looking for imaginative, concept-driven illustrations that look great with markers or pencils.
  • Adults: Who prefer a calm and structured coloring experience that rewards focus and mindfulness.

🛠️ Technical Standards and Download Information

All our designs are provided as high-resolution, free printable PDF files, featuring:

  • Clean black contour lines for precision.
  • A4 and US Letter formats for easy home printing.
  • Optimization for both colored pencils and light markers.
Enjoying these free coloring pages?
Your support helps keep this free printable library growing.
The support amount starts at $3, but you can change it before donating. You can also choose one-time or monthly support.
Need another payment option? Open the full Ko-fi page .

✨ Capture More Magic in Miniature

If you enjoyed preserving these tiny universes under glass, your journey through our miniature realms has only just begun. Uncover the secrets hidden on the shelves of our Magical cabinets, or frame a quiet moment with our Cozy window coloring pages. To explore the world outside the jar, step into the intricate details of our Whimsical house – Realistic Style. For artists looking to add life to their miniature scenes, our Fairy coloring pages provide the perfect enchanted inhabitants for any small-scale project.

Let these detailed illustrations inspire your next masterpiece—from glowing fireflies and mystical potions to the soft light reflecting off a glass surface.

pinit fg en rect red 28

Scroll to Top