Princess Dress Coloring Pages
👗 Free Printable Princess Dress Coloring Pages
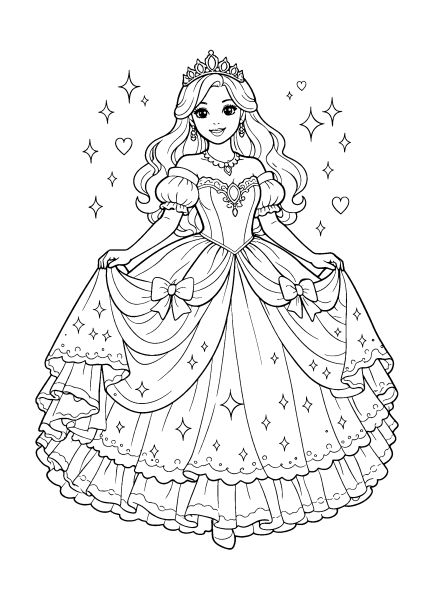
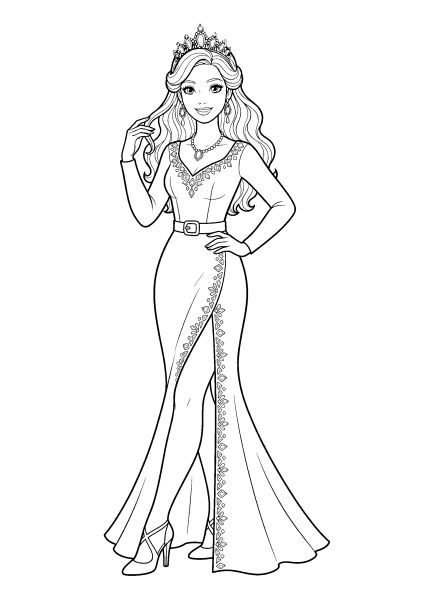
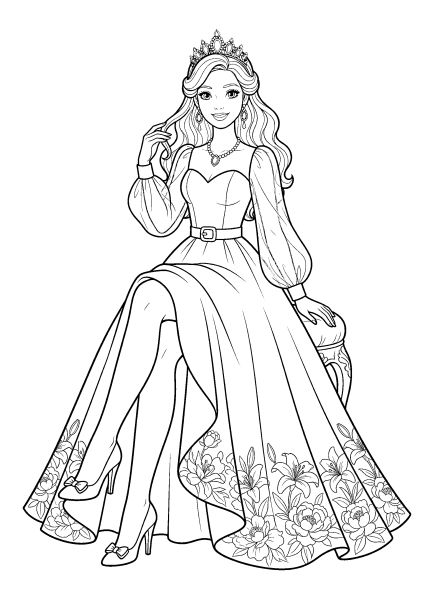
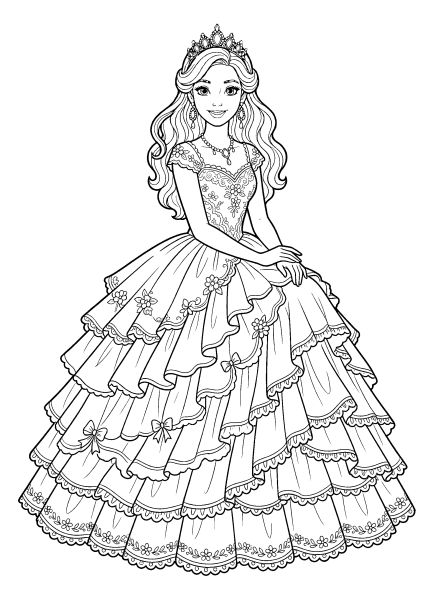
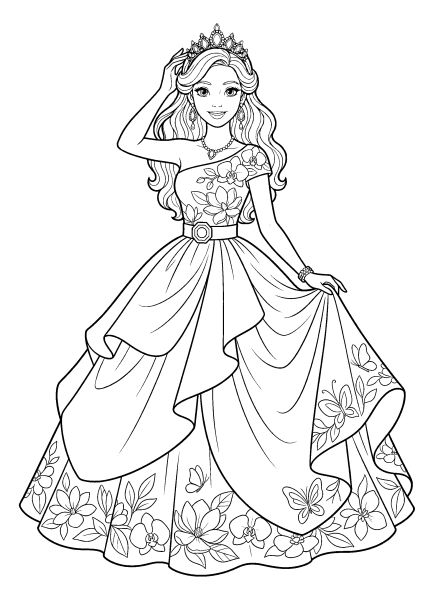
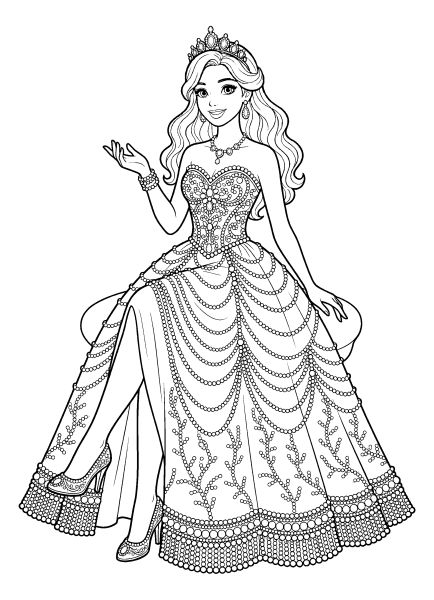
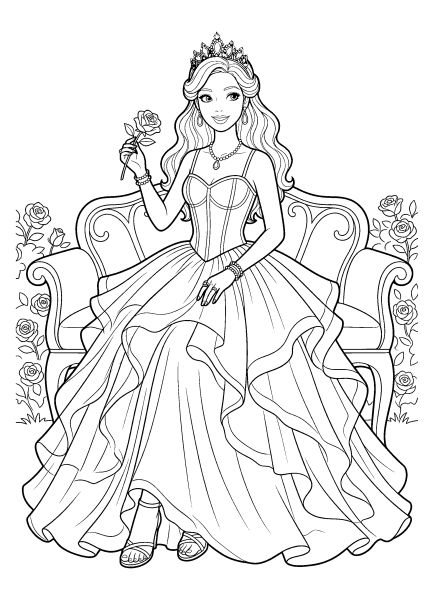
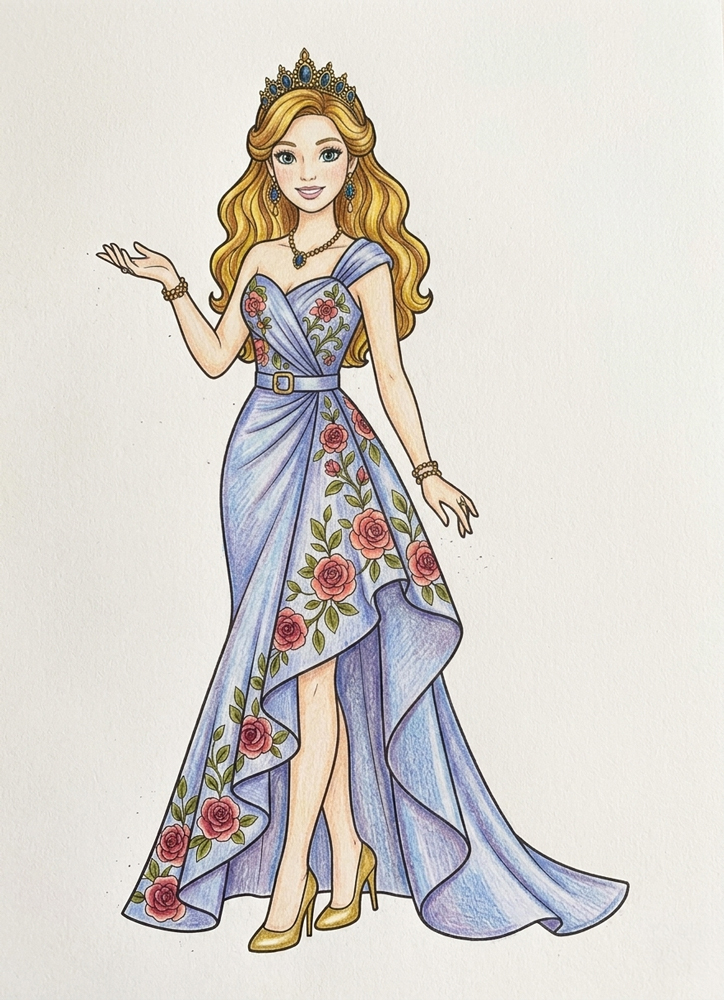
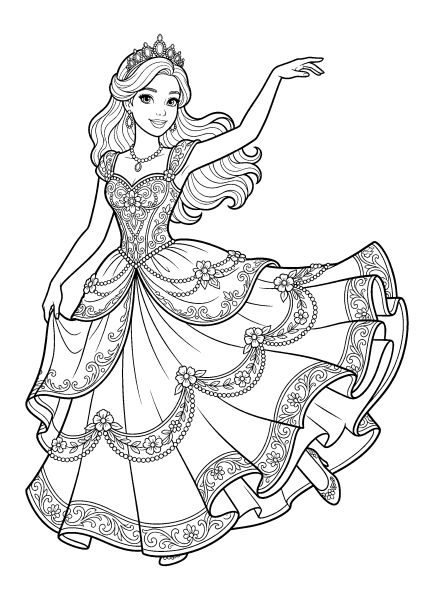
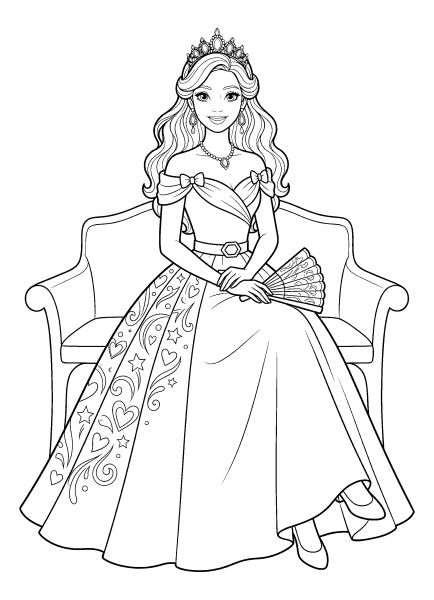
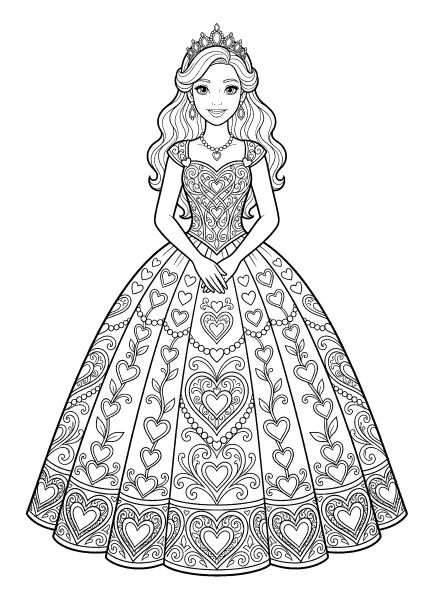
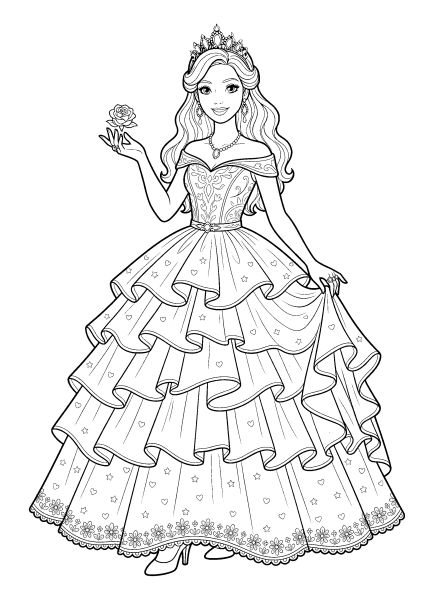
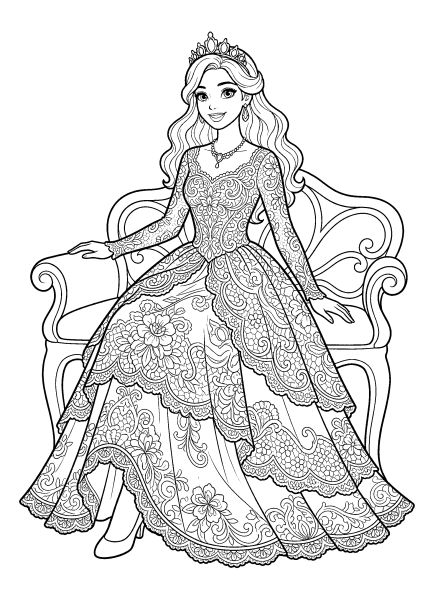
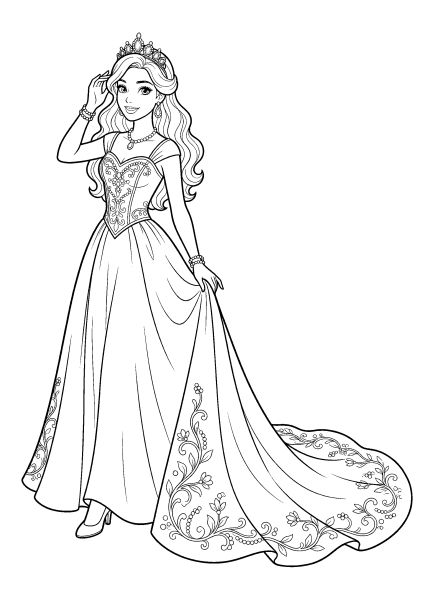
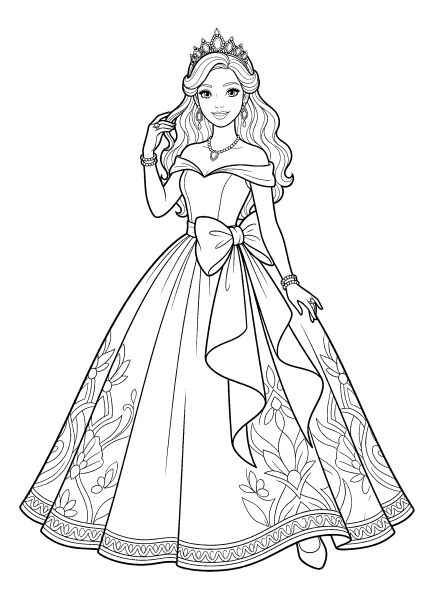
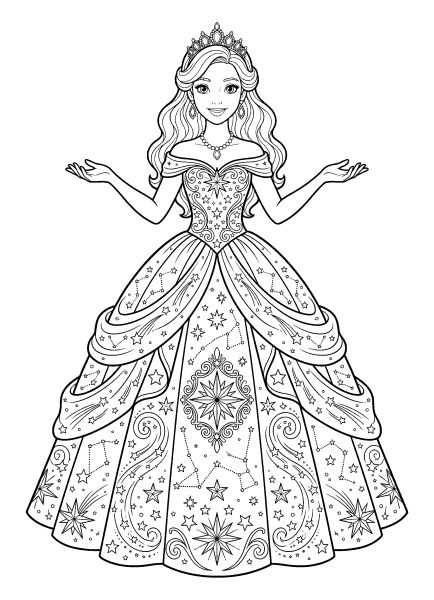
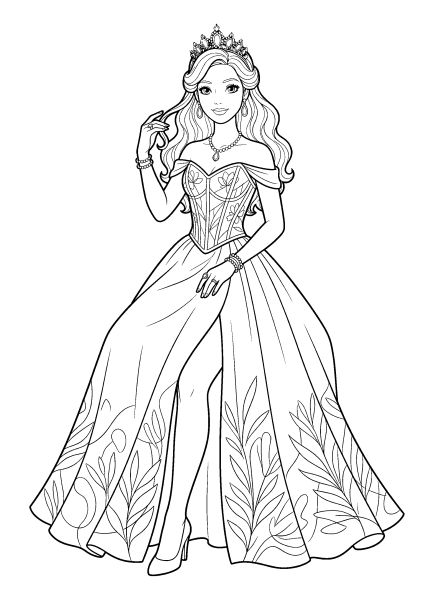
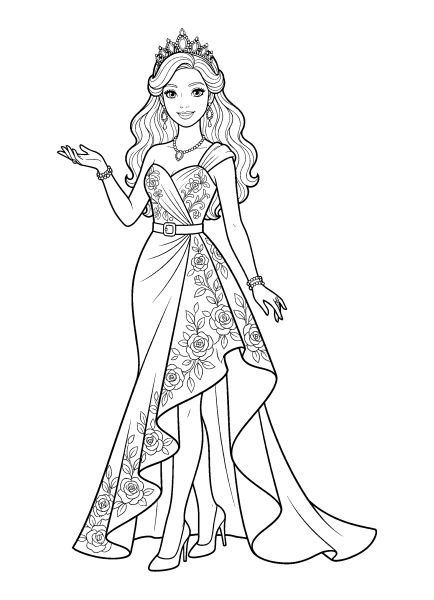
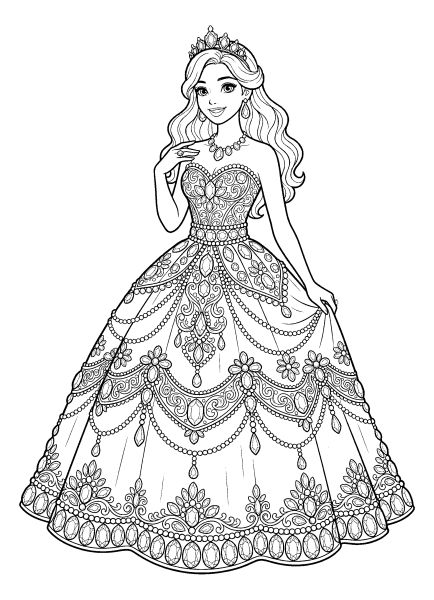
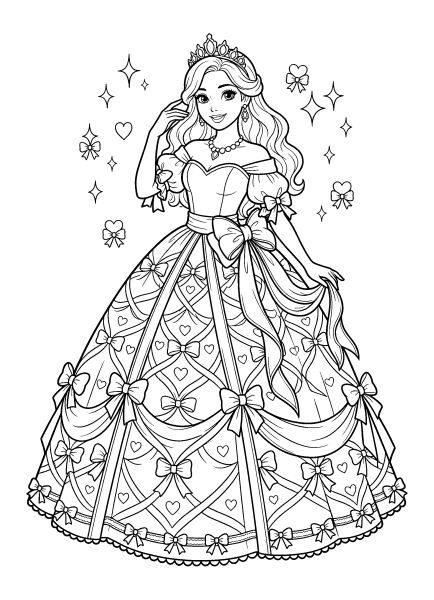
These free printable princess dress coloring pages feature royal gowns with distinctive silhouettes, flowing fabric, and decorative details. Each illustration is available as an individual A4 PDF. The designs range from fitted evening dresses and elegant gowns with long trains to traditional princess ball gowns with wide, layered skirts. Crowns, jewelry, and graceful poses complete the royal appearance, but the dresses remain the main focus. Some have broad, flowing sections of fabric, while others feature intricate embroidery, ruffles, bows, and elaborate ornamental patterns.
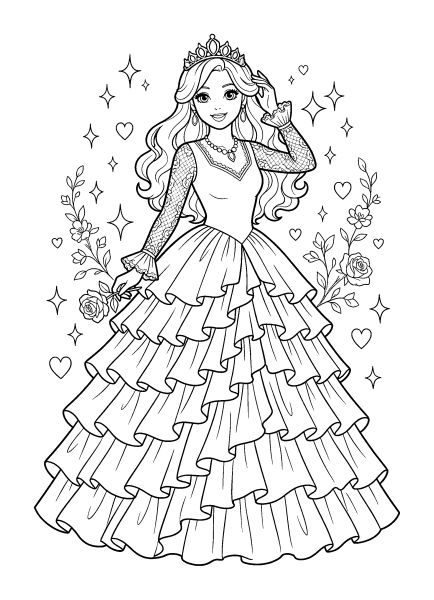
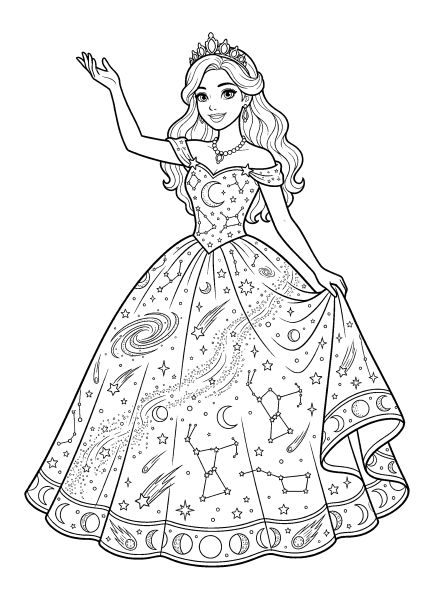
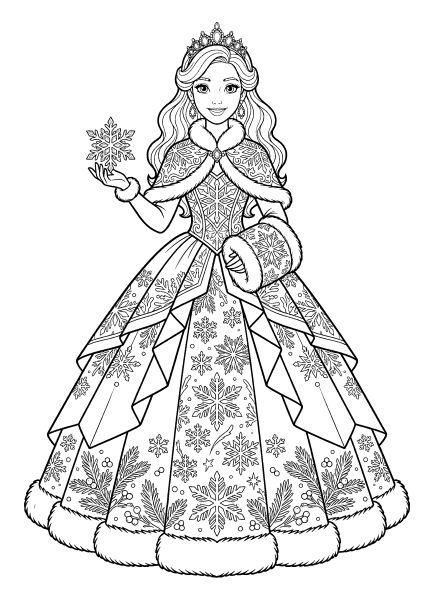
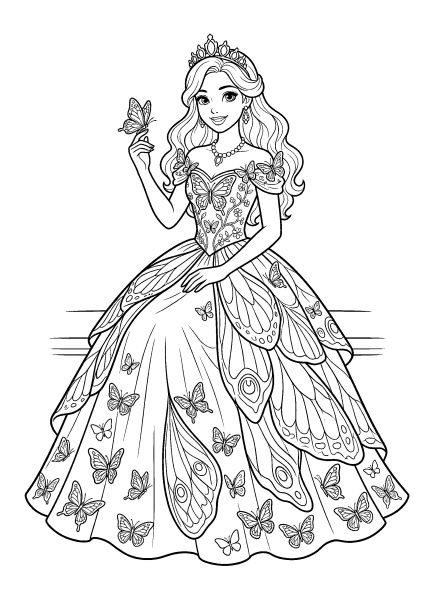
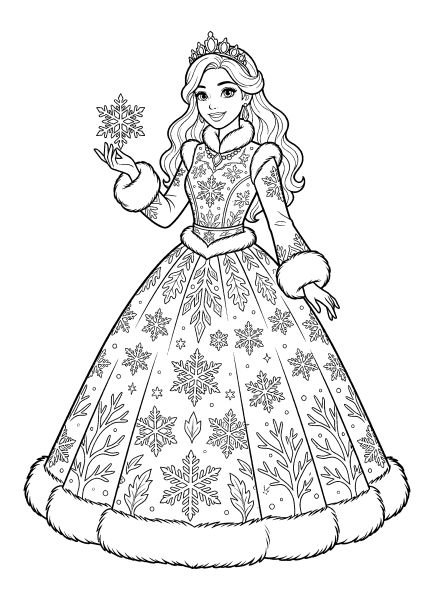
The collection includes beautiful princess dresses inspired by different fashion styles and fairy-tale themes. A celestial gown is covered with planets, stars, and swirling galaxies, while other ball dresses feature butterflies, hearts, floral embroidery, or decorative beading. Several princesses wear dramatic skirts with cascading ruffles and overlapping panels. There are also elegant fitted gowns, dresses with sweeping trains, and winter royal outfits decorated with snowflakes and fur-like trim. Most illustrations have simple backgrounds, allowing the shapes and details of the clothing to stand out.
🎨 Color Ideas for Princess Ball Gowns and Royal Dresses
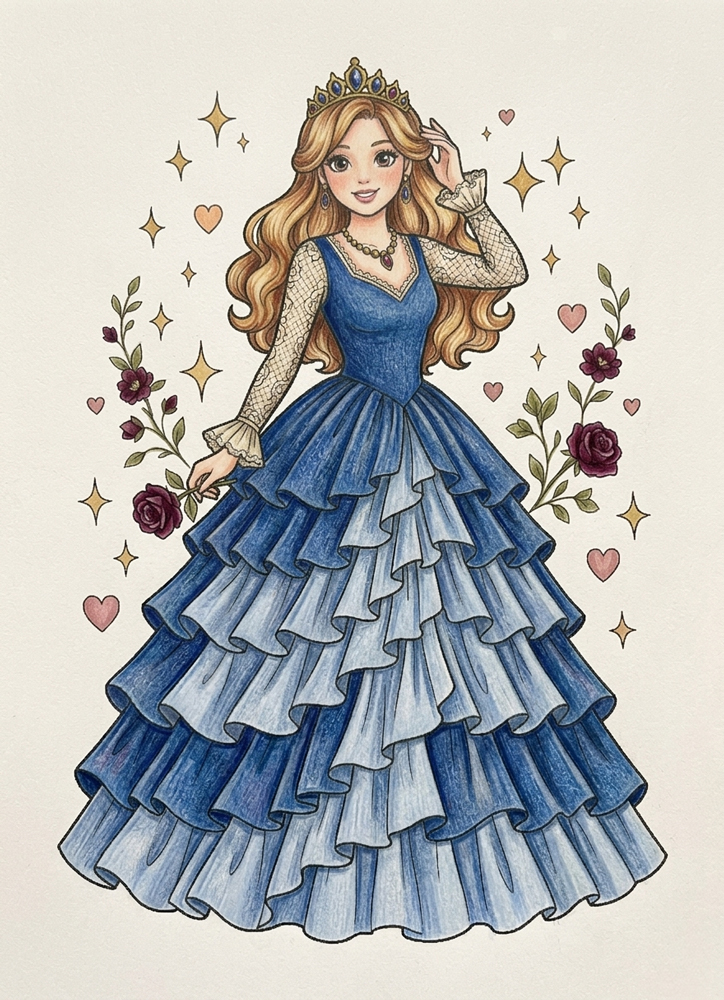
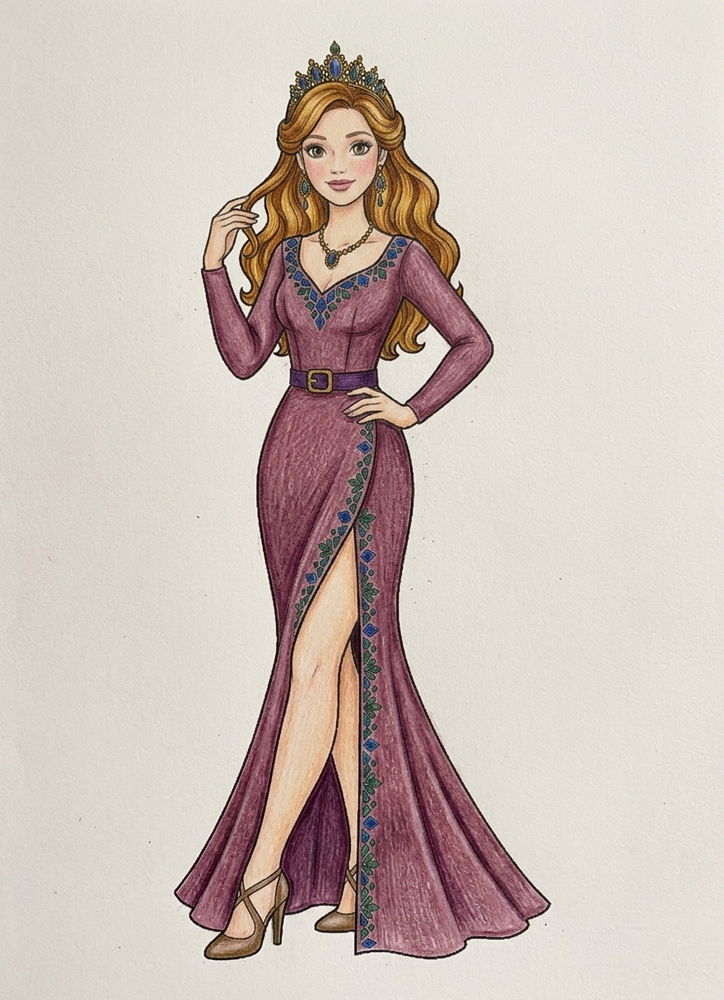
The shape of a gown can help you decide how to distribute color. A broad ball skirt offers room for soft pink, lavender, powder blue, or another favorite shade, with darker tones following the folds in the fabric. For a more dramatic look, try burgundy, emerald green, midnight blue, or deep violet. A fitted evening dress can look elegant in a single main color, while layered skirts allow you to alternate lighter and darker shades. Leaving a few narrow sections lighter can suggest highlights on smooth or flowing fabric.
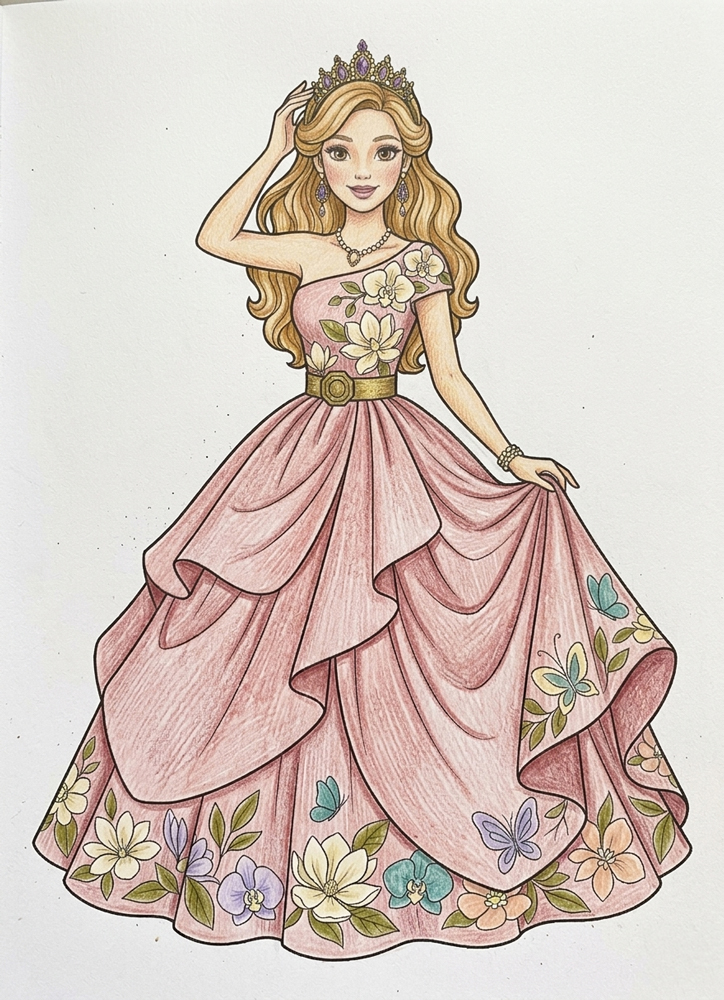
The decorations provide opportunities for different color combinations. Floral embroidery can contrast gently with the main fabric, while gold and silver work well for ornamental borders, beaded details, and royal jewelry. Butterfly patterns might use several bright shades, whereas the celestial dress could combine deep blue with yellow, violet, and silver accents. Winter gowns suit icy blue, white, and pale lavender, especially around their snowflake designs. These are suggestions rather than rules, so you can create entirely different color schemes for your princess dresses. Click on any image to enlarge and explore the details up close.
👑 Coloring a Princess Step by Step
This kind of picture looks detailed, but it’s actually easier than it seems once you start.
We’ll go step by step — first the background, then the princess, then the dress, and only after that we’ll add shadows and highlights. This way you don’t have to think about everything at once.
Take your time, keep your strokes light, and don’t try to make it perfect. The drawing will slowly come together on its own.
🌤️ Step 1 — Start with the Background
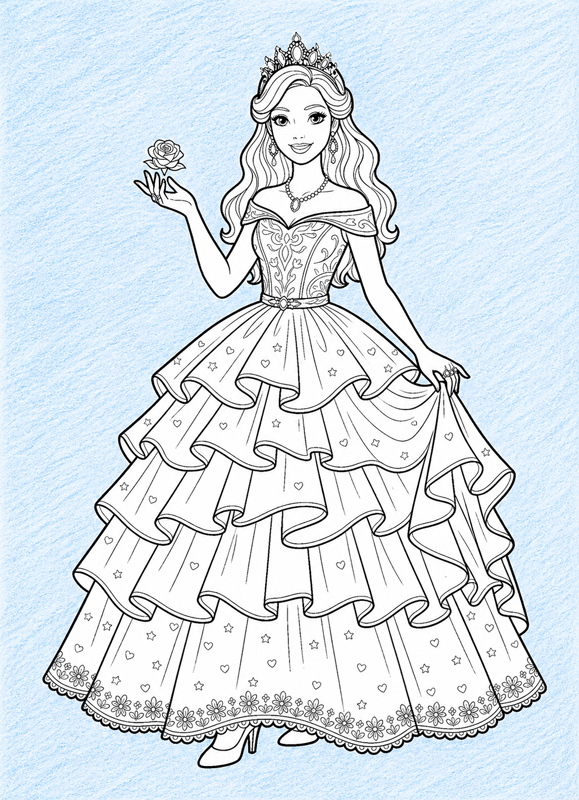
Let’s begin by softly coloring the space around the princess.
Pick a pale blue or a light pastel yellow and gently fill in the background. Keep your hand light so the paper still shows through a little.
It’s okay if the pencil strokes are visible — that gives the background a nice, soft texture.
Just stay around the princess and leave her, the dress, and all the details untouched.
👑 Step 2 — Color the Princess
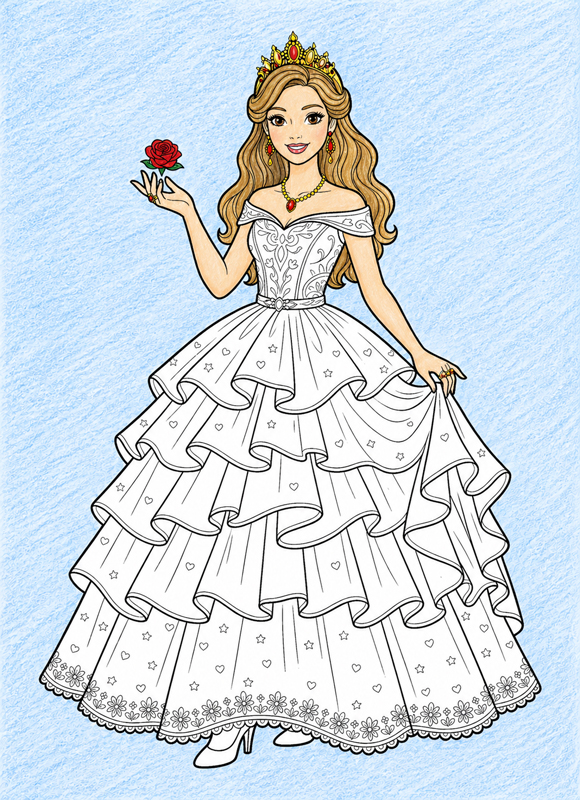
Now let’s work on the princess herself.
Start with the skin — use a soft skin tone and gently fill in the face, neck, arms, and chest.
Then move to the hair. Choose blonde or brown and color it in with light strokes. After that, add gold to the crown and jewelry, and use red for the rose.
Fill each area fully, but keep your touch light so the pencil texture stays visible.
Leave the dress, the shoes, and the background exactly as they are for now.
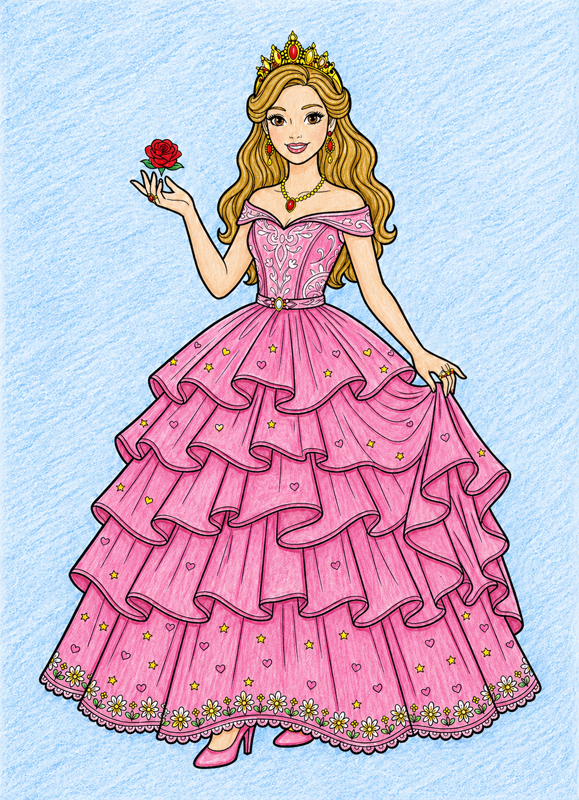
👗 Step 3 — Color the Dress
Now let’s focus on the dress.
Pick a bright color you like — pink, purple, or green — and start filling in the whole dress: the top, all the layered skirt, and the small details like hearts, stars, and the floral edge.
Don’t forget the shoes. Work slowly and fill each part fully so there are no white gaps left.
Keep your pressure light and let the pencil strokes stay visible — no shading yet.
Leave the skin, hair, crown, rose, jewelry, and background just as they are.
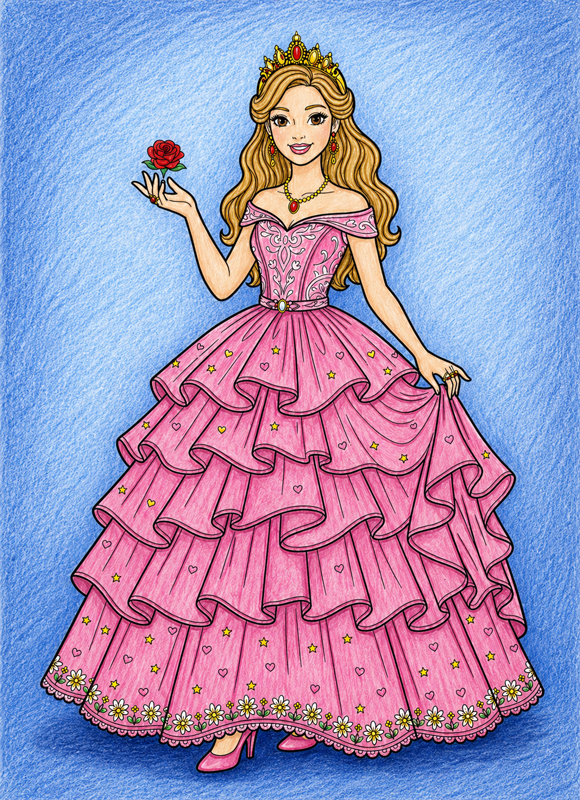
🌒 Step 4 — Add Depth to the Background
Now let’s help the princess stand out from the background.
Take a darker version of your background color and go around her, especially near the edges. Build it up little by little with visible pencil strokes.
Then add a darker area on the ground right under her dress so she doesn’t look like she’s floating.
Keep your strokes clear and a bit rough — no need to smooth anything out.
Leave the princess and all her details just as they are.
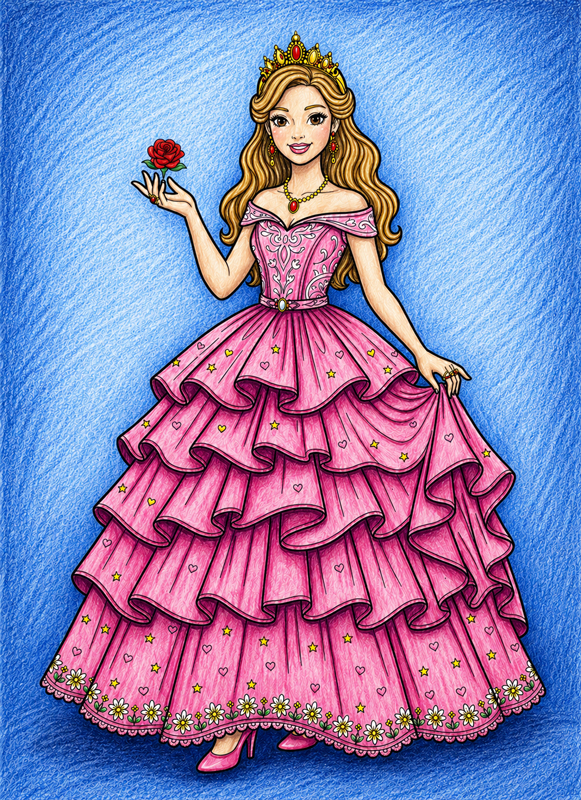
👗 Step 5 — Add Deeper Shadows
Now let’s make the princess and her dress look more full and dimensional.
Take darker shades of the colors you already used. Add stronger pencil strokes inside the folds of the dress, under each skirt layer, under her hair, and under her chin.
You can also darken a few parts of the rose petals, especially where one petal sits under another.
Press a little harder this time and let the pencil strokes stay visible. The shadows should be clear, but the light areas should still stay bright.
Don’t smooth everything out — those darker strokes are what make the dress feel rich and textured.
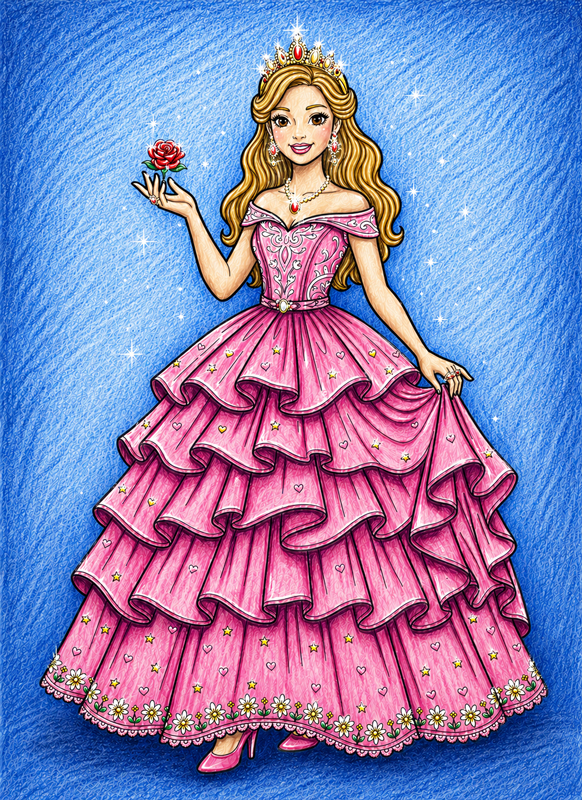
✨ Step 6 — Add Bright Highlights
Now let’s add those final little sparkles.
Take a white gel pen and place small bright highlights in the princess’s eyes. Then add a few shiny touches on the crown, necklace, and earrings.
You can also add tiny white accents on the stars and hearts on the dress, and a few light strokes along the edge of the rose.
Make the marks clear and bright so they stand out right away.
That’s it — the drawing now has that final sparkle and feels complete.
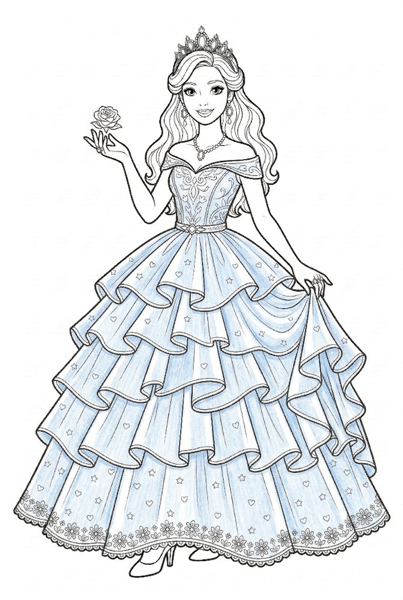
Step 1. Dress: Base Color and Highlights
Choose the main color of the dress and apply the lightest shade evenly over the entire gown in a thin, smooth layer. Immediately leave highlights uncolored: the tops of the vertical folds on the lower skirt, the front edges of the ruffles, the upper parts of each tier, and the raised areas on the bodice. At this stage, the dress should look light and clean, without strong shadows.
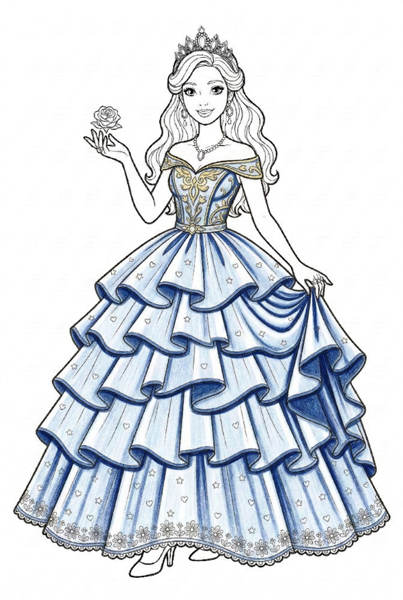
Step 2. Dress: Shadows Under Ruffles and in Folds
Take a darker shade of the same color and add shadows only in the recessed areas. The most important shadows are under the overlapping tiers: draw a thin strip of shadow directly beneath each ruffle along its full length. On the lower skirt, darken the inner sides of the vertical folds with narrow strokes, keeping the “ridges” of the folds light. On the right side, where the fabric is gathered in the hand, make the shadows slightly stronger and closer together. On the bodice, add shading along the shaping seams, along the sides, and just under the top edge.
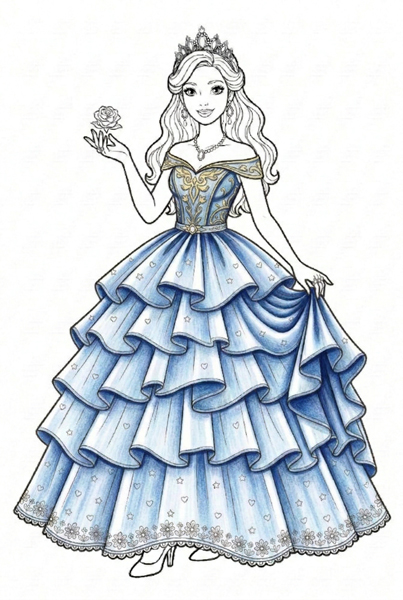
Step 3. Dress: Soft Transitions and Depth
Return to the lighter shade and soften the edges between shadow and base color so the fabric does not look striped. Use the darkest tone sparingly and only in the deepest areas: under the top overlaps of the ruffles, in the deepest folds at the waist, and in the gathered fabric on the right. Check that the edges of the ruffles and the tops of the folds remain the lightest parts of the dress.
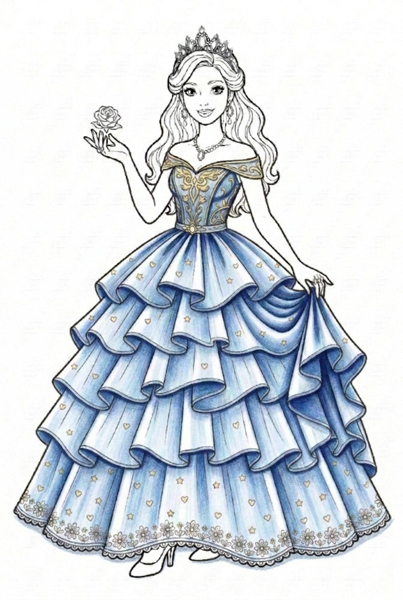
Step 4. Dress: Decoration and Hemline
Choose one consistent rule for the hearts and stars, for example all in one accent color or alternating between two close shades, so the decoration looks neat. Keep decorative elements lighter than the darkest fold shadows. Emphasize the lower floral border with a soft shadow just beneath the trim line and small darker touches between petals to give the hem volume. Color embroidery and fine patterns on the bodice and skirt hem in a golden tone, preserving thin white highlights on the most raised details.
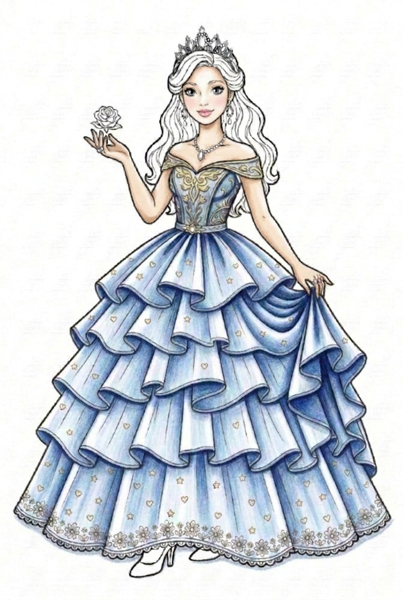
Step 5. Skin and Face
Apply a light beige base layer to the face, neck, shoulders, and arms, keeping protruding areas lighter such as the forehead, cheekbones, bridge of the nose, and tops of the shoulders. Add soft shadows with warm light brown or warm gray only where volume or contact occurs: under the chin, along the sides of the neck, near the hairline, in the bend of the elbow, and under the hand resting on the skirt. Lightly tint the cheeks with pale pink. Color the lips a soft pink, slightly darker along the edges and lighter in the center. Leave small white highlights in the eyes.
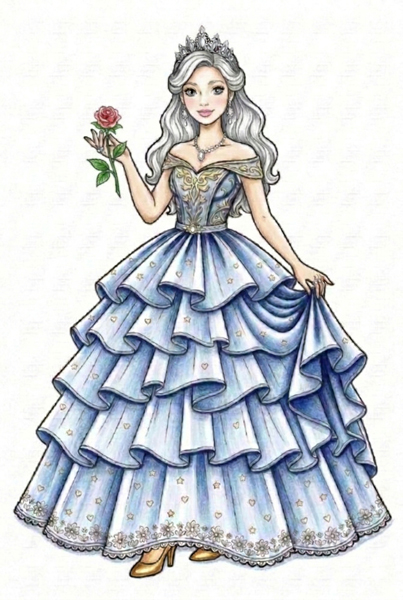
Step 6. Hair, Crown, Rose, and Shoes
Color the hair with a light base layer, leaving a narrow highlight strip on each larger strand. Use a darker shade in the deeper waves, under overlapping strands, and beneath the crown, then soften transitions with the lighter tone. For the crown and jewelry, create a metallic effect: start with a light gold base, deepen slightly underneath and in recessed areas, and leave highlights white. Color the rose so the edges of the petals are lighter and the base slightly darker; shade the leaves green with a subtle shadow along the veins. Color the shoes in a gold tone matching the embroidery on the dress: apply a light golden base, add a slightly darker gold near the heel and along the lower edge, and leave a small white highlight on the toe to give the shoes a polished metallic finish.
👑 A Closer Look at Princess Gown Designs and Details
The silhouettes are one of the most noticeable differences between these royal outfits. Traditional ball gowns have fitted bodices and skirts that widen dramatically from the waist, creating a rounded shape associated with fairy-tale princesses. Other dresses follow the body more closely before widening near the hem. Some designs use asymmetrical draping or long trailing fabric to create a less traditional outline. Comparing these shapes reveals how the cut of a dress changes its appearance even before any decoration is added.
Many of the skirts are constructed from overlapping sections that are easy to distinguish in the line drawings. Ruffled tiers form repeated curved edges, while draped overskirts hang above the main fabric. Some gowns include large bows at the waist, with ribbons or gathered panels extending down the skirt. Others have scalloped borders, layered side panels, or broad folds that sweep toward the floor. These details give the dresses their individual structure. They also make the more elaborate designs interesting to study, since each section shows how the fabric might hang or move.
The decorative patterns are closely connected to the character of each gown. Roses and leafy vines create a romantic floral appearance, while hearts and bows give other dresses a playful fairy-tale style. The butterfly gown incorporates insects into its layered decoration, and the celestial dress uses planets, stars, and swirling shapes across the skirt. Winter princess dresses replace these motifs with snowflakes, geometric borders, and fluffy-looking trim. The patterns are not merely background ornaments; they often follow the shape of the garment, emphasizing its panels, edges, and movement.
The princesses' poses also reveal different aspects of dress design. Some stand facing forward, making the symmetry of a ball gown easy to see. Others lift the sides of their skirts, showing how the fabric gathers or spreads outward. Seated princesses have folds collecting around their legs and across the furniture, while raised arms and turning poses create more movement in the clothing. These illustrations can also be used as imaginative fashion-design coloring sheets. You can experiment with different color combinations, compare how the same style might look in contrasting palettes, or invent a royal outfit inspired by a favorite design.
Each illustration is available as an individual printable A4 PDF, allowing you to choose a princess dress by its silhouette, decoration, or level of detail. Print at 100% scale to preserve the original proportions and fine outlines, especially around embroidery, layered ruffles, narrow ribbons, and ornamental borders. Colored pencils are useful for following fabric folds and coloring intricate patterns, while markers can create stronger, more even colors on larger sections of a gown. If using markers, place an extra sheet beneath the print to protect the surface below.