Magical Cabinets Coloring Pages
🗝️ Free Printable Magical Cabinets Coloring Pages
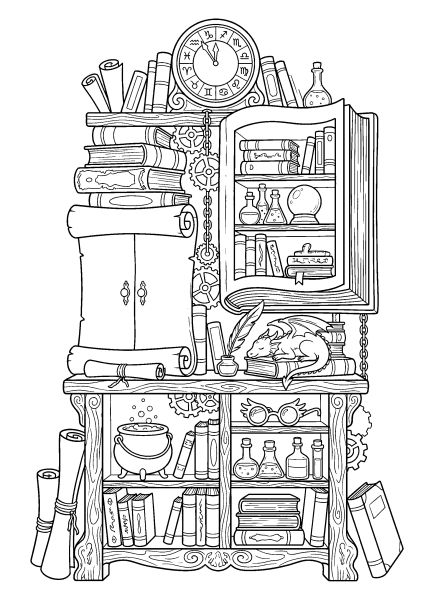
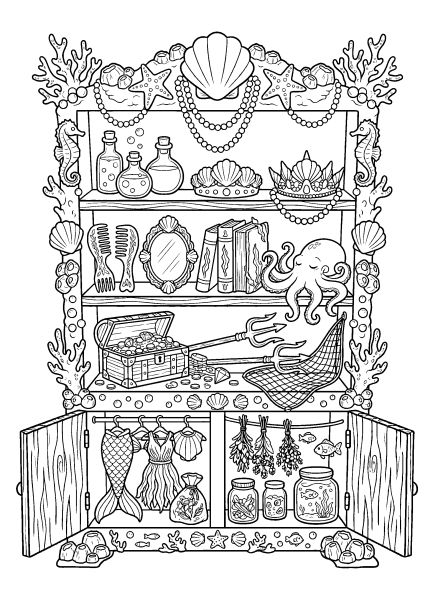
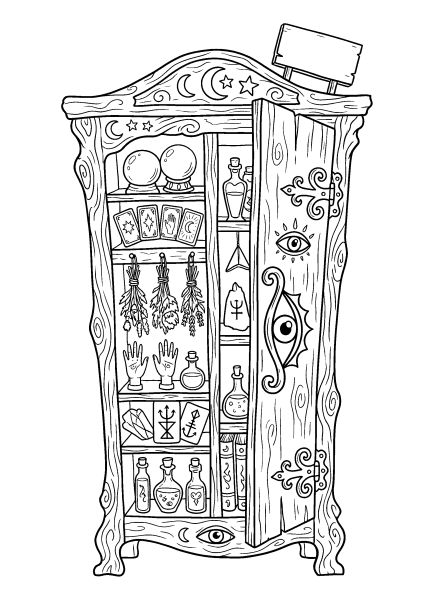
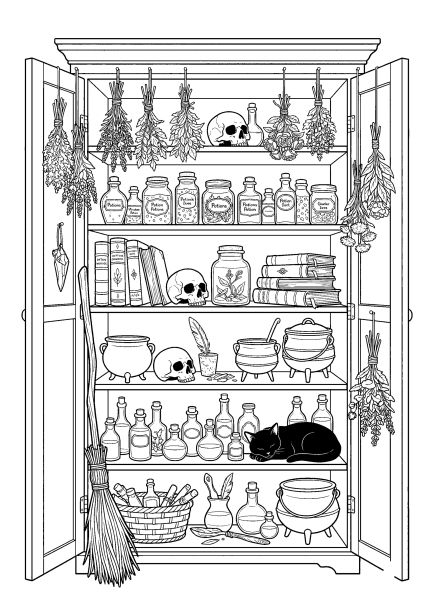
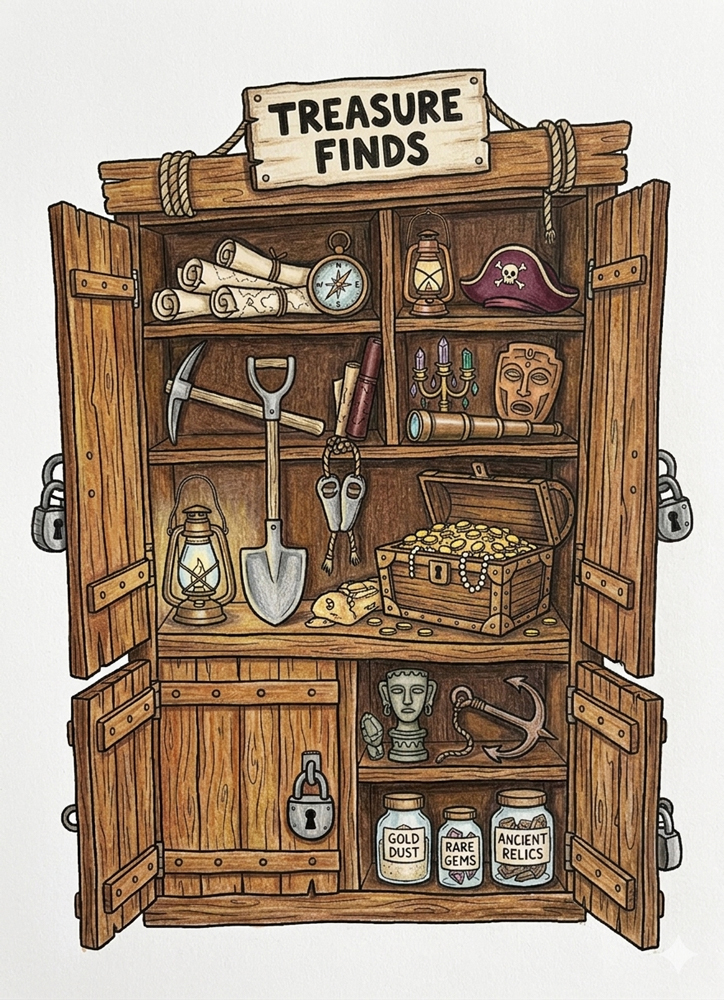
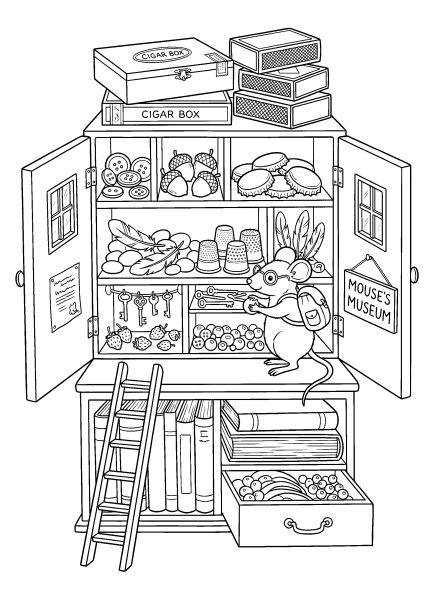
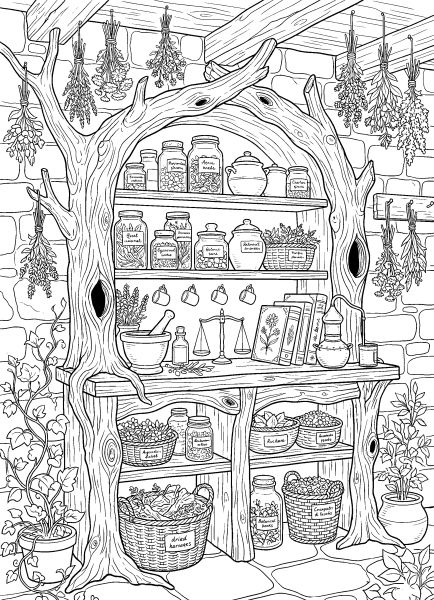
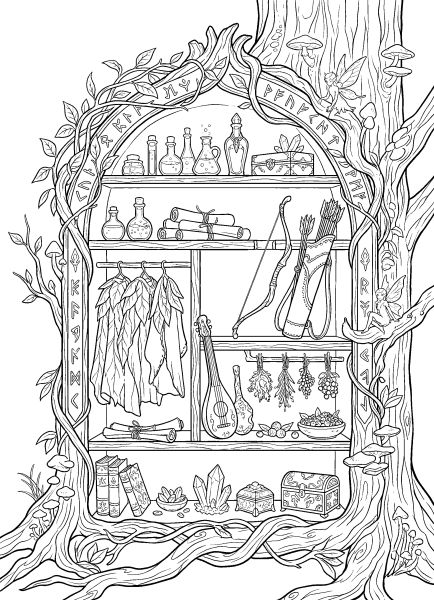
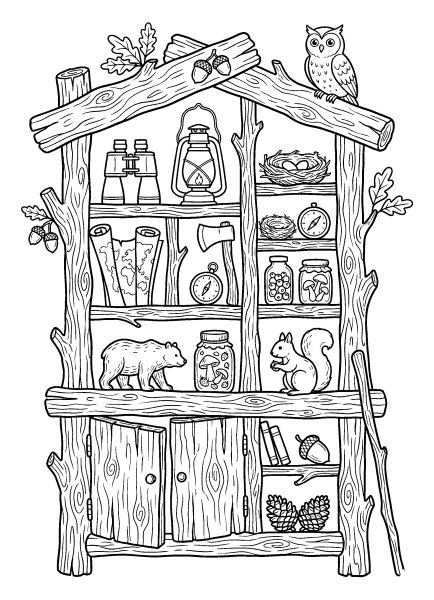
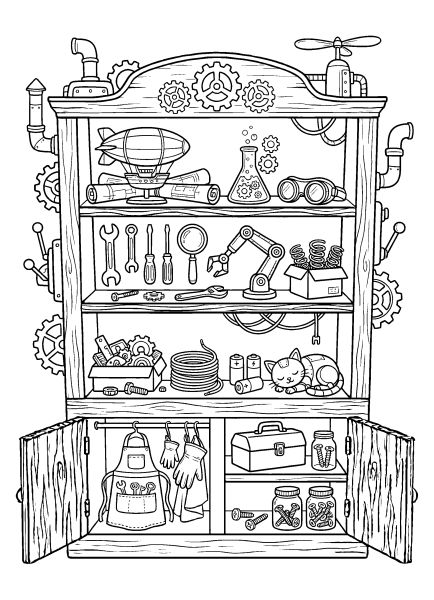
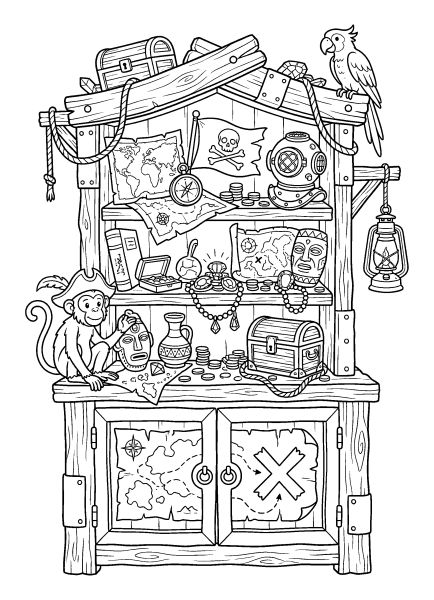
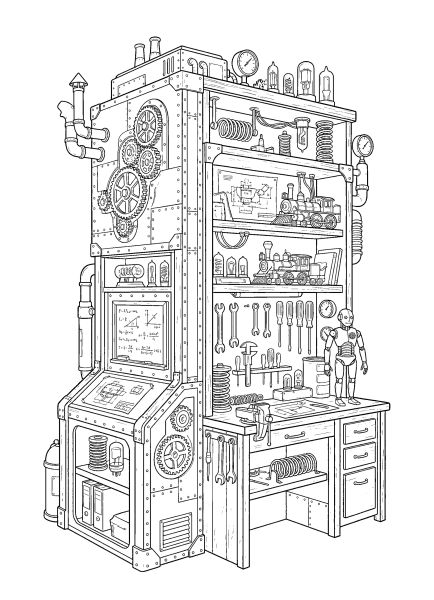
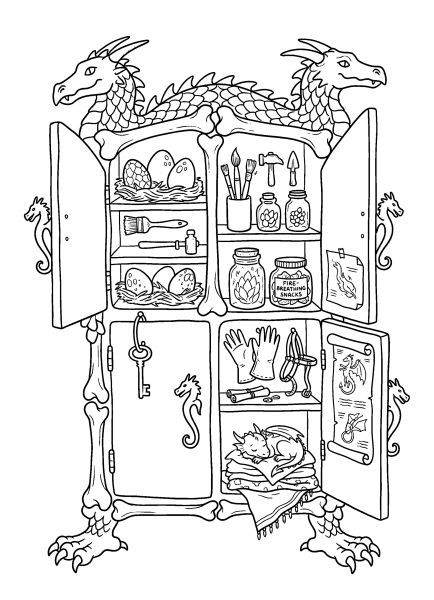
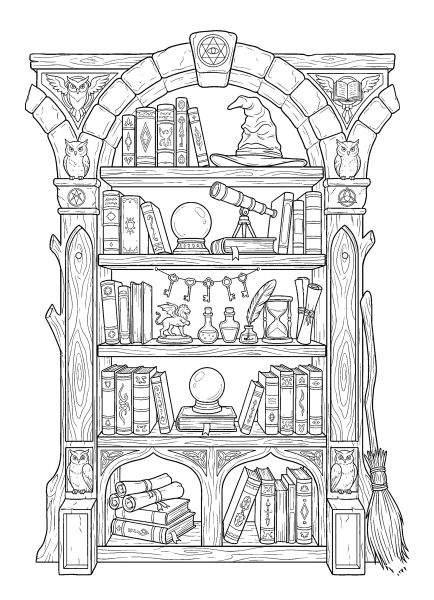
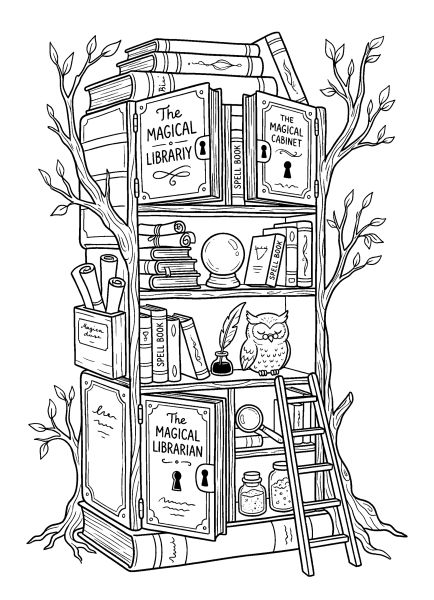
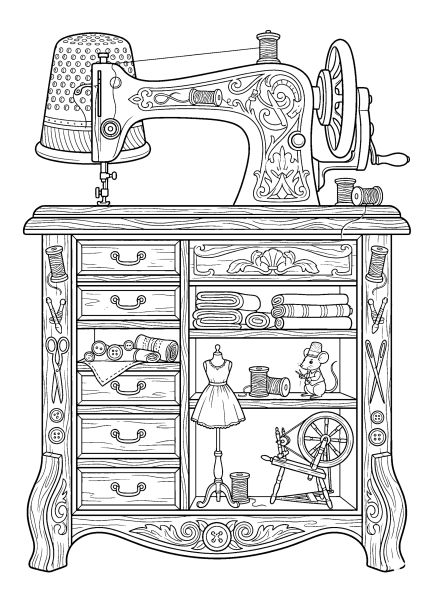
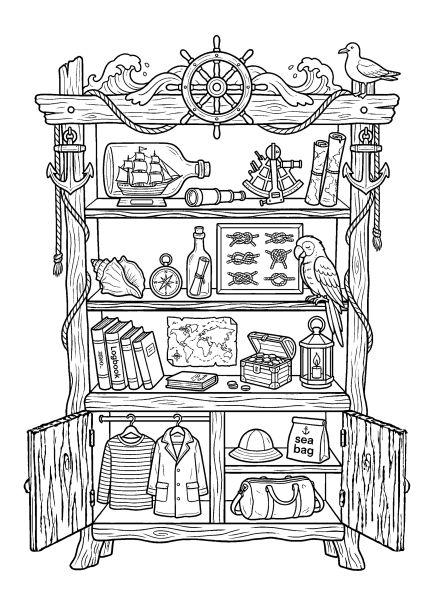
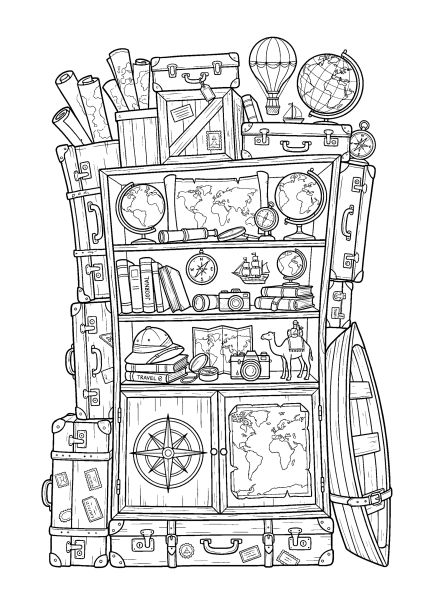
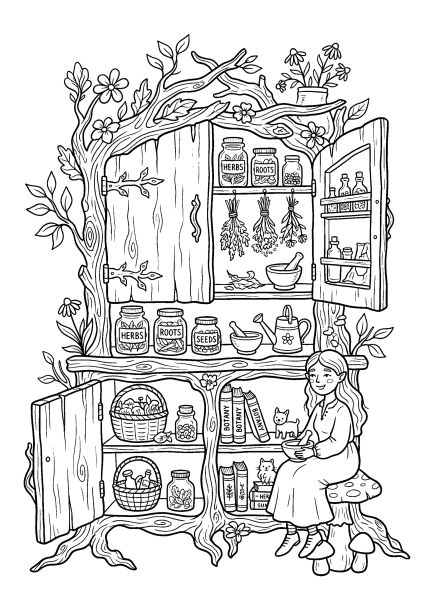
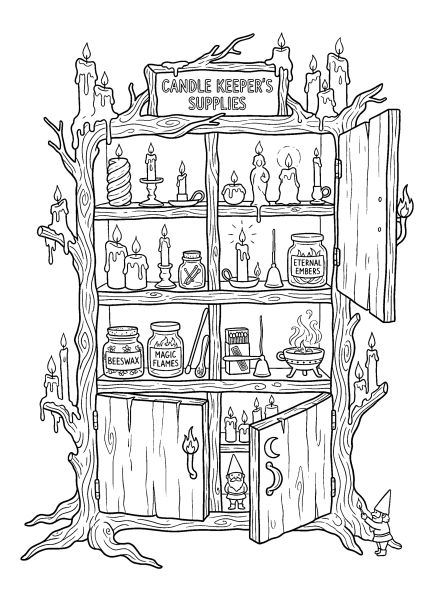
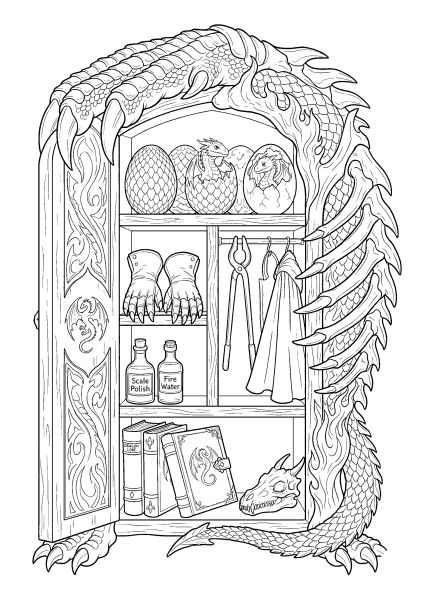
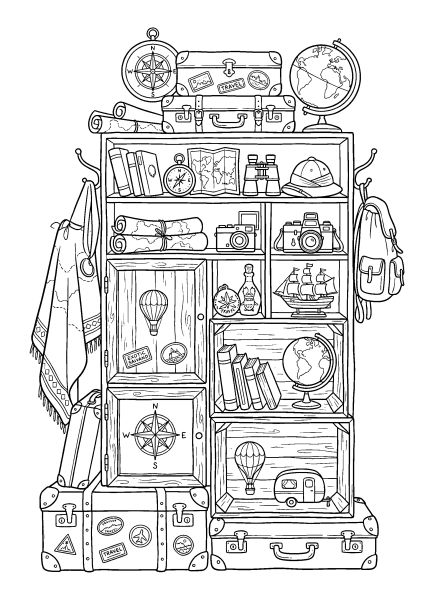
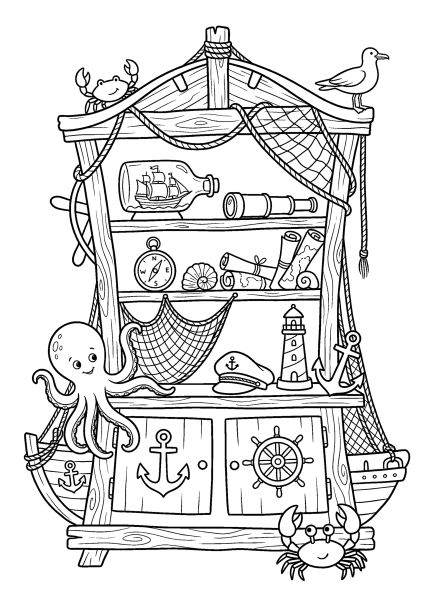
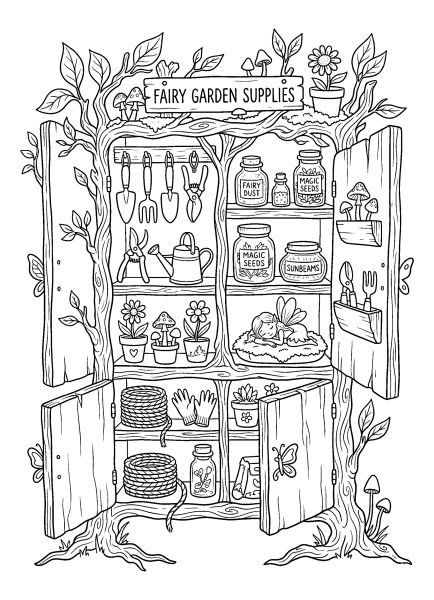
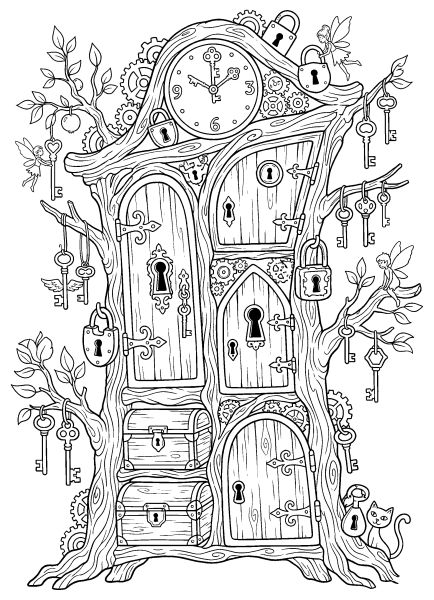
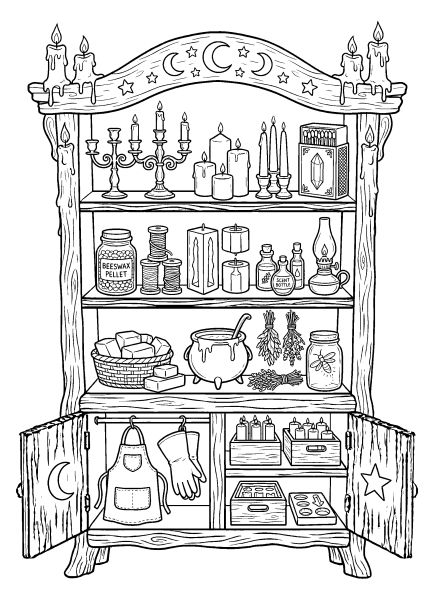
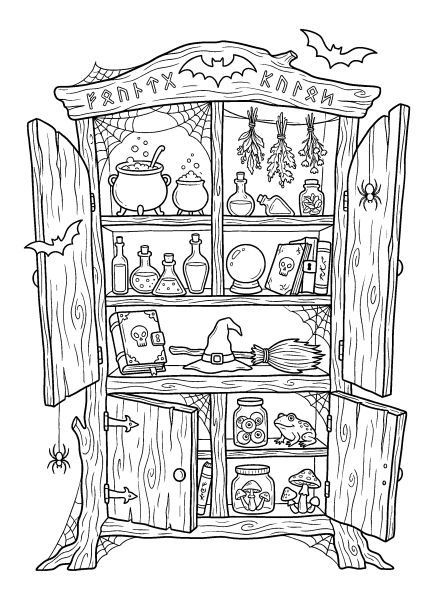
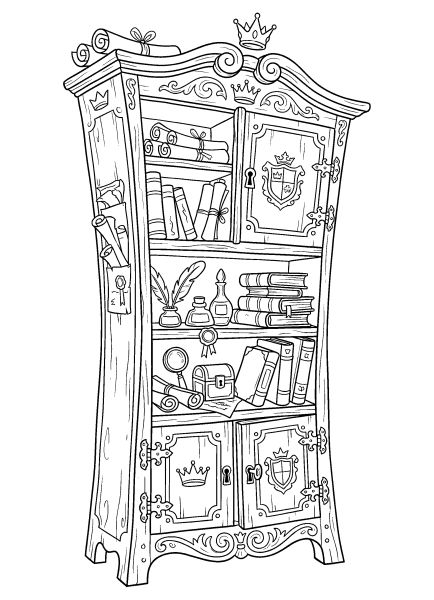
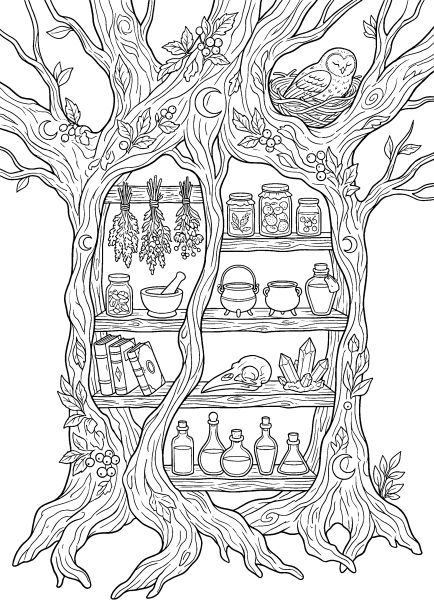
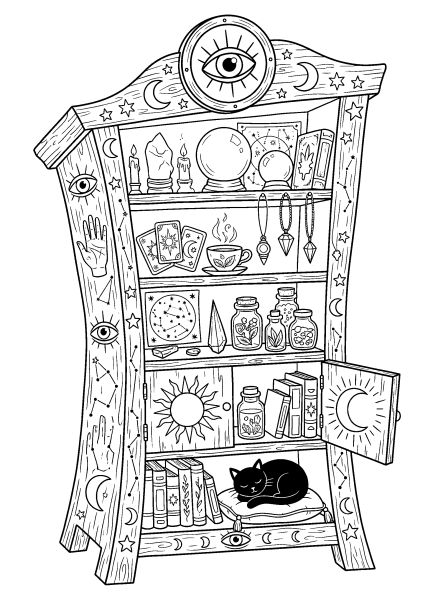
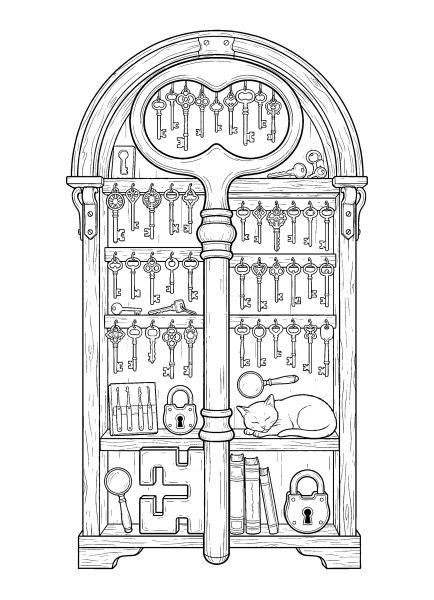
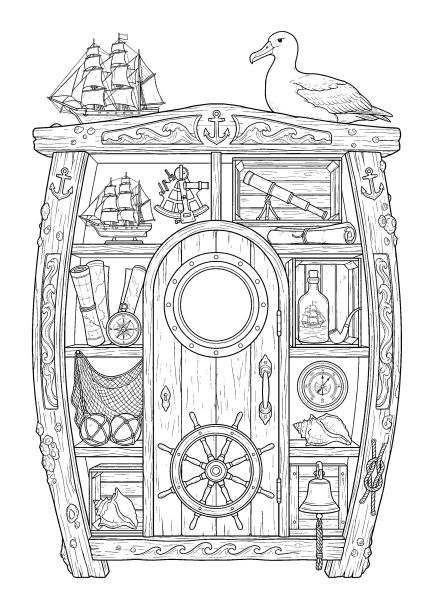
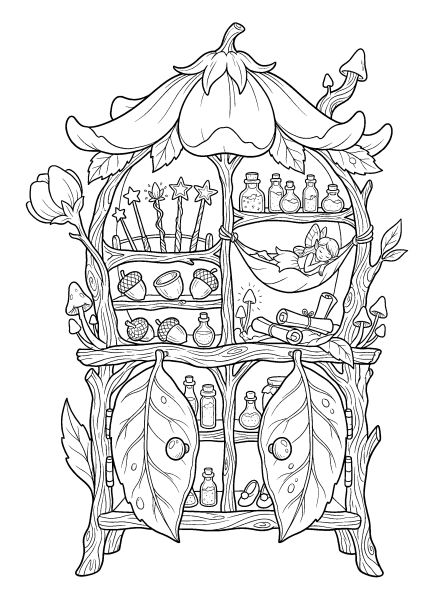
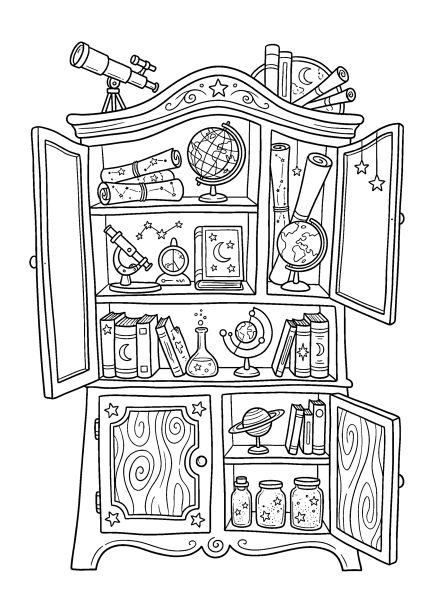
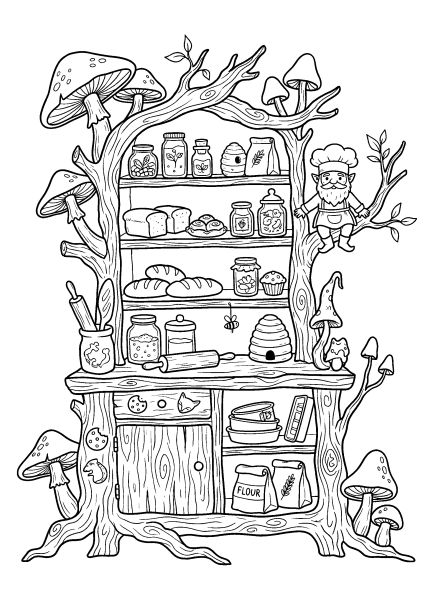
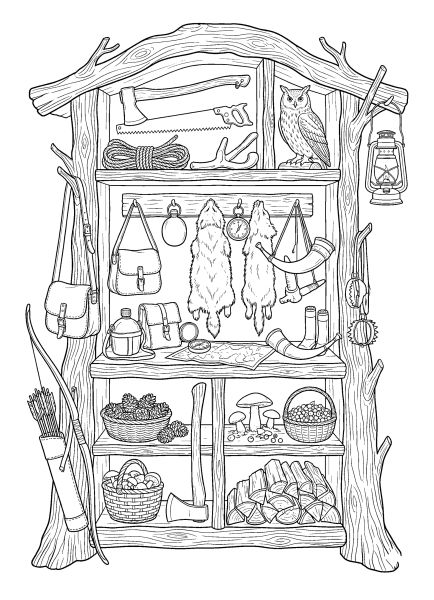
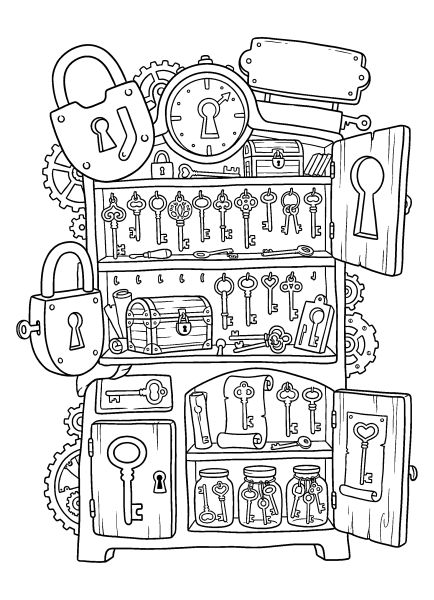
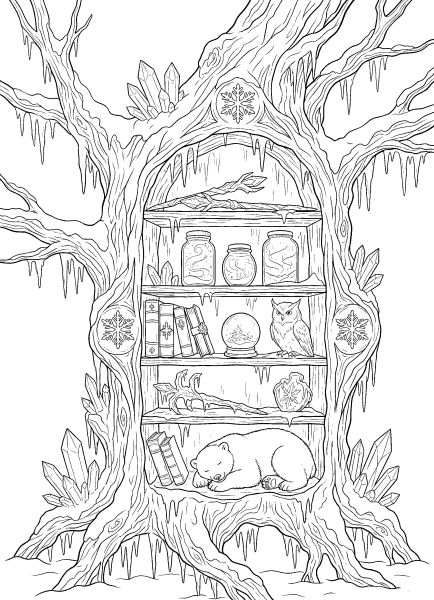
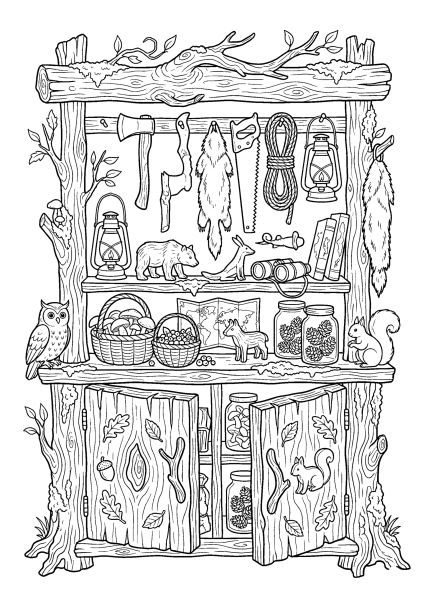
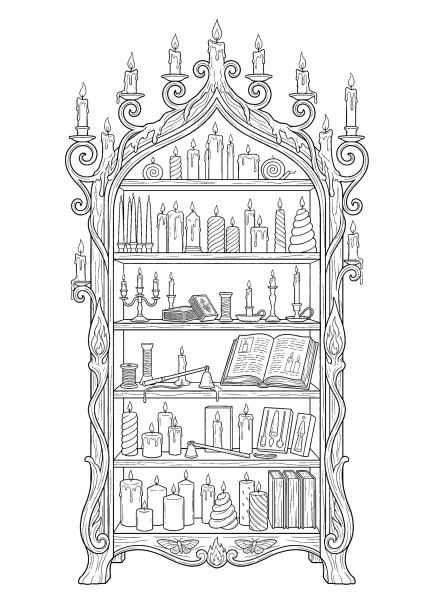
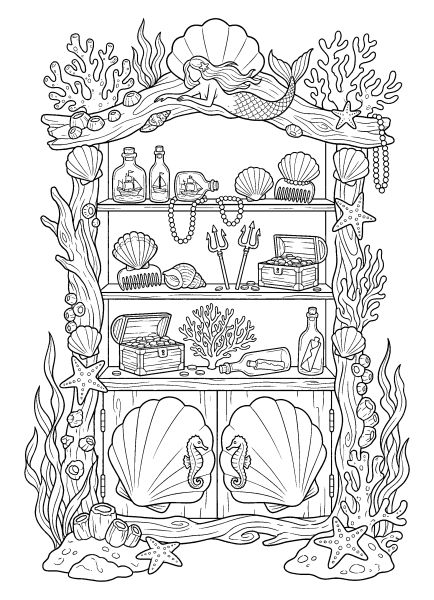
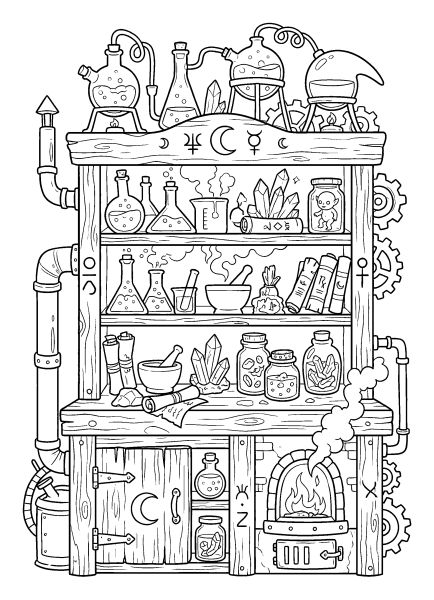
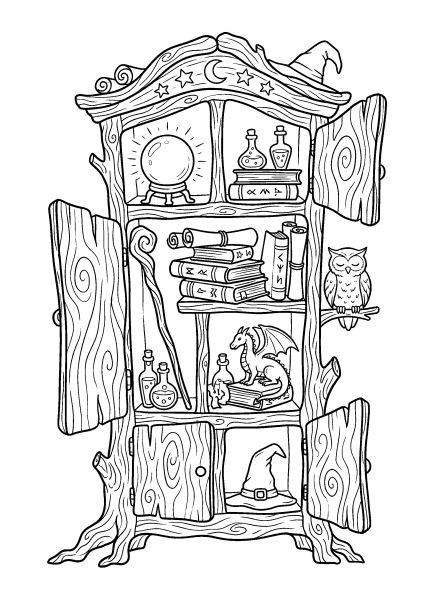
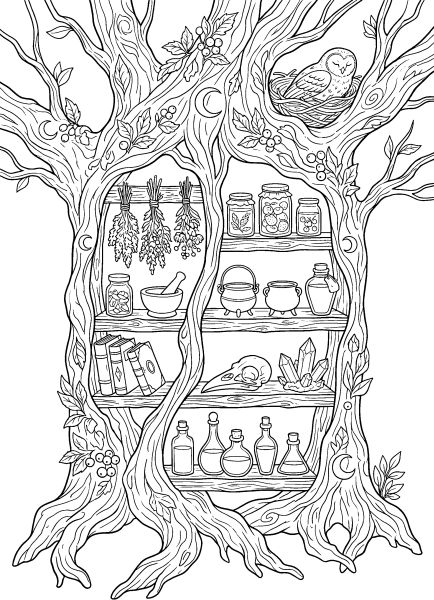
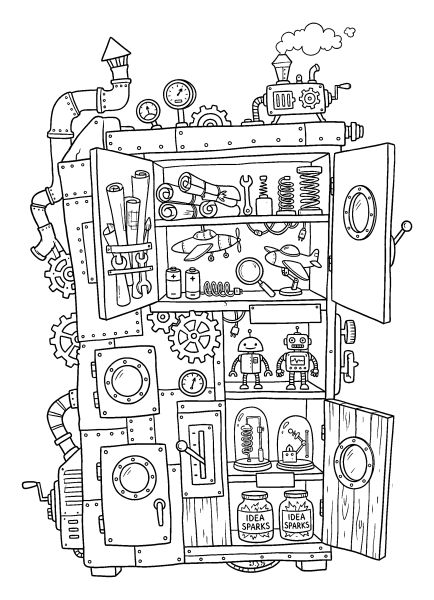
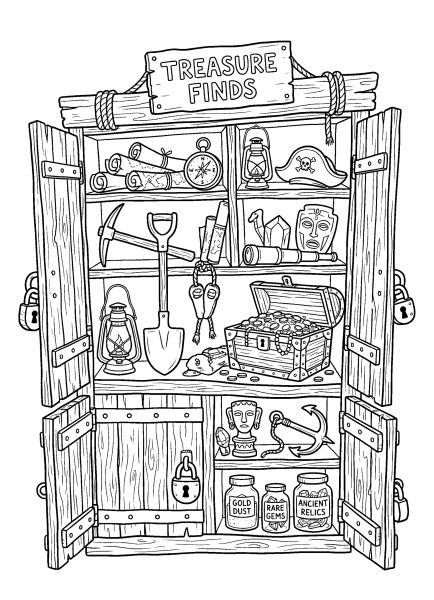
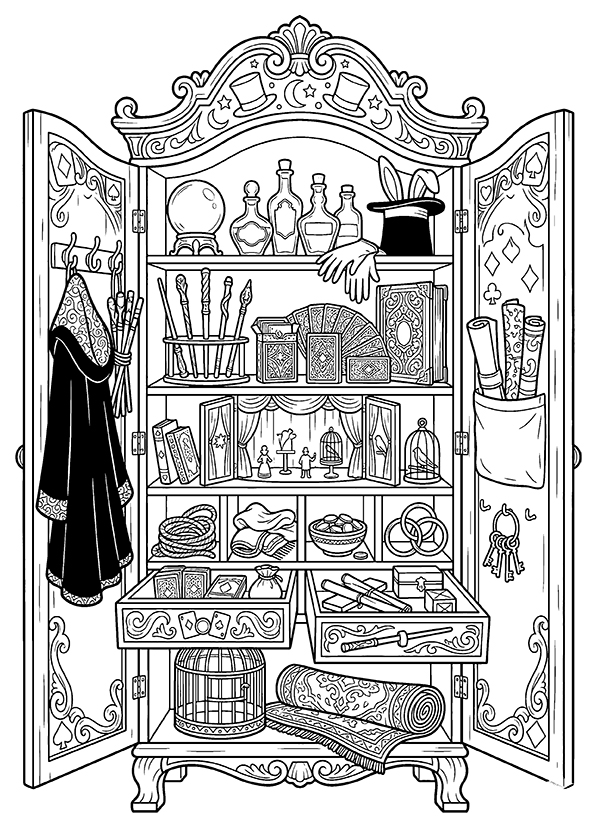
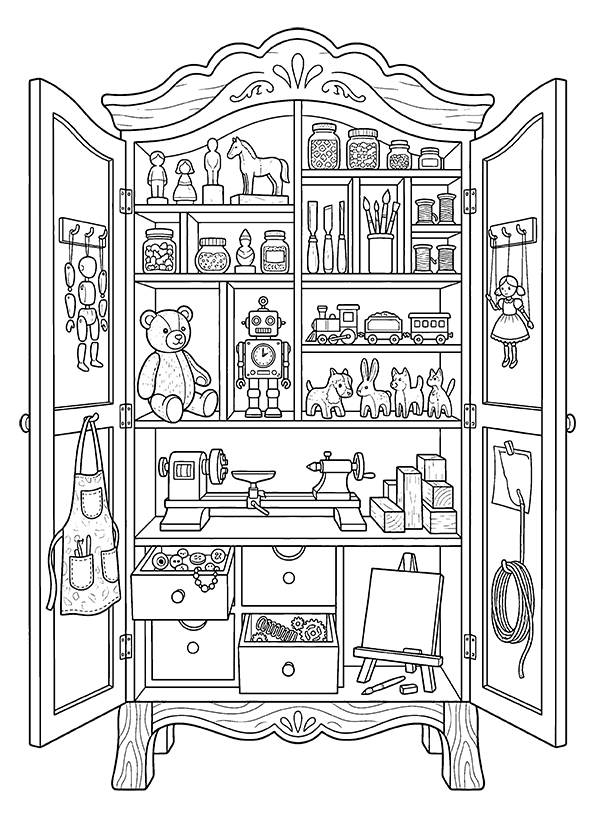
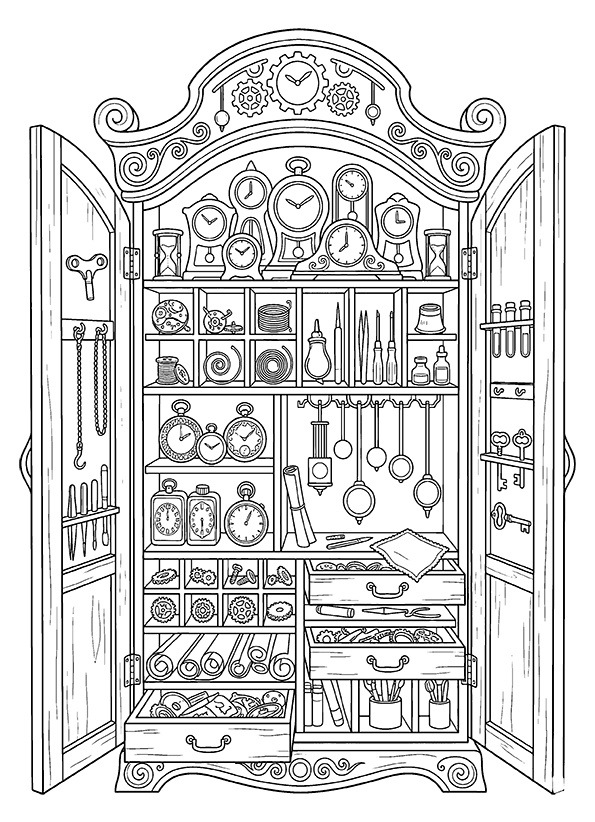
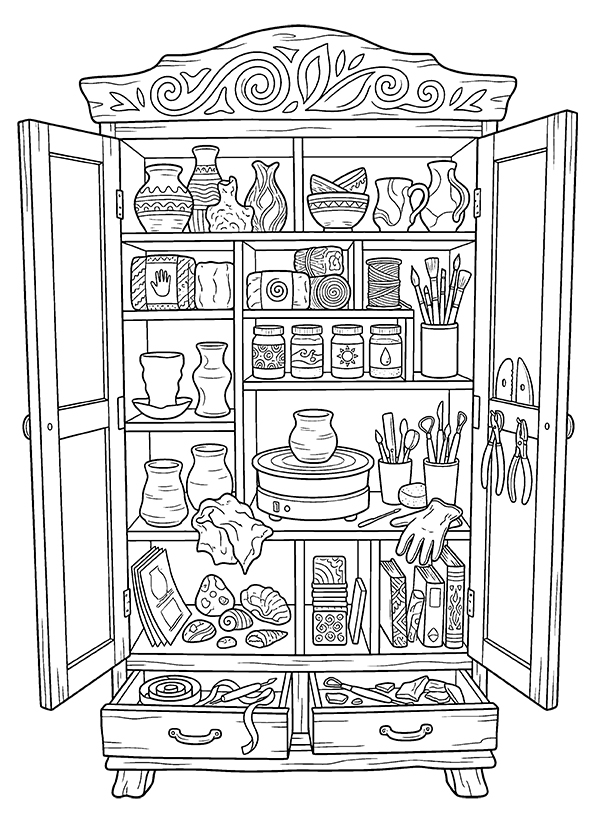
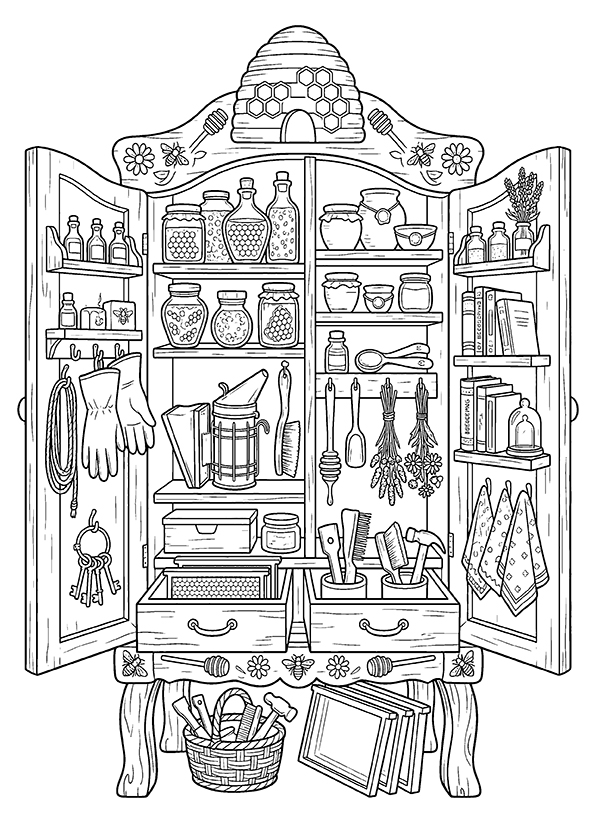
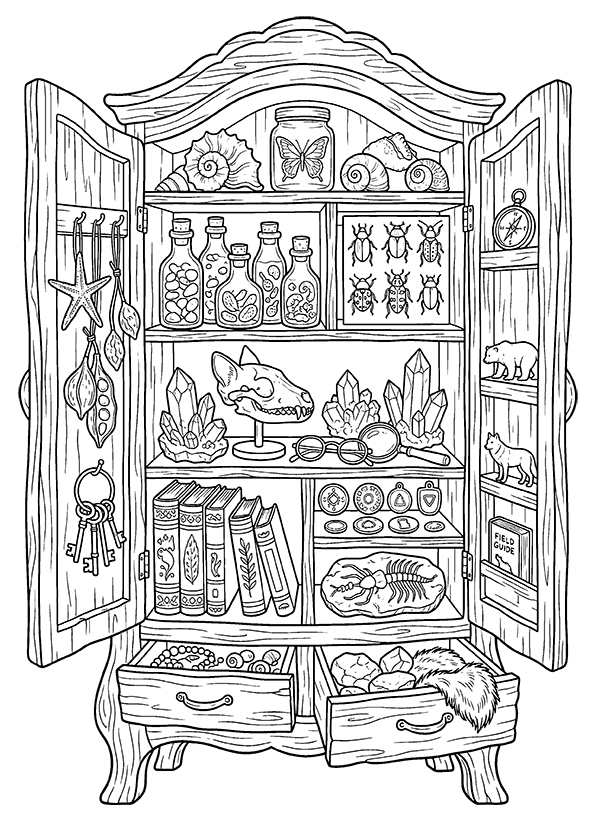
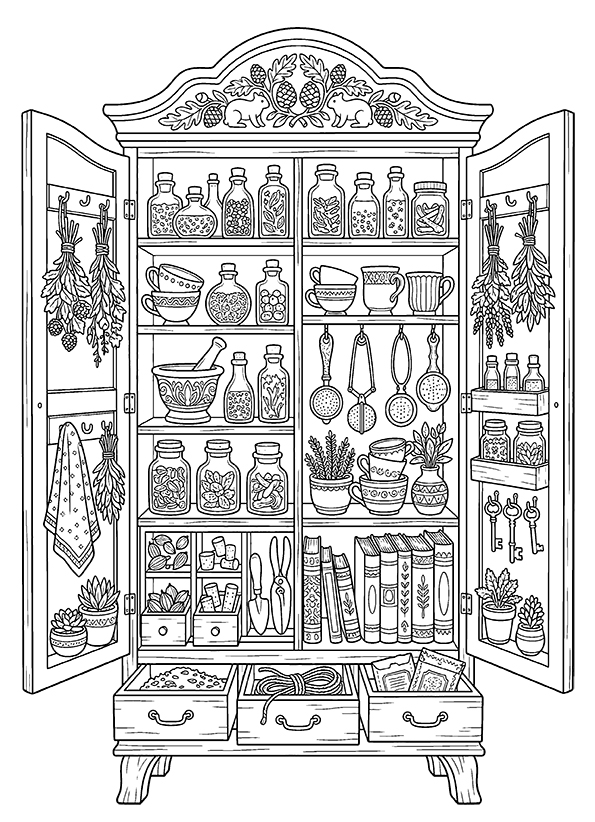
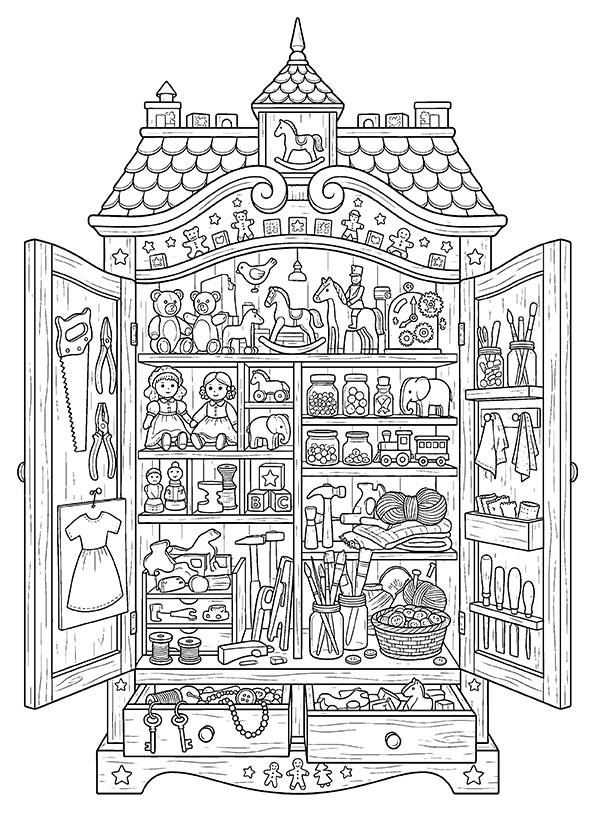
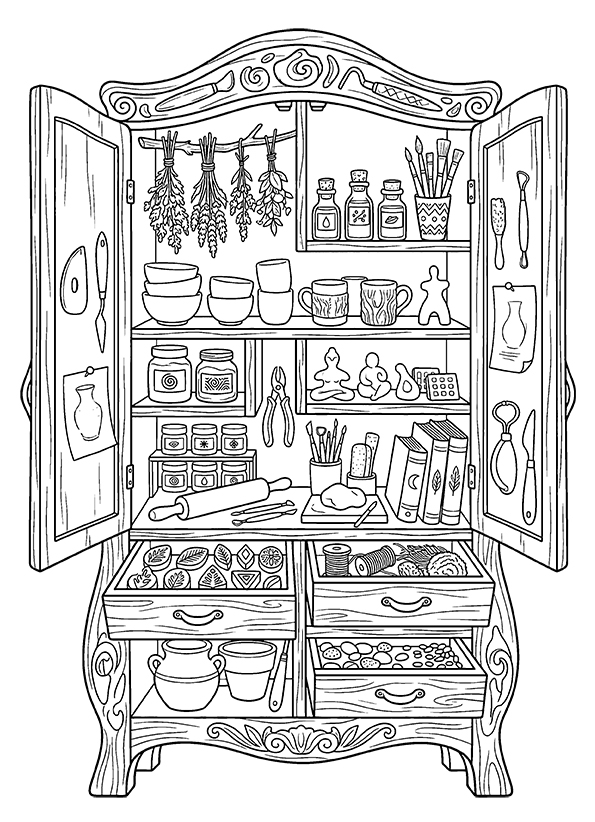
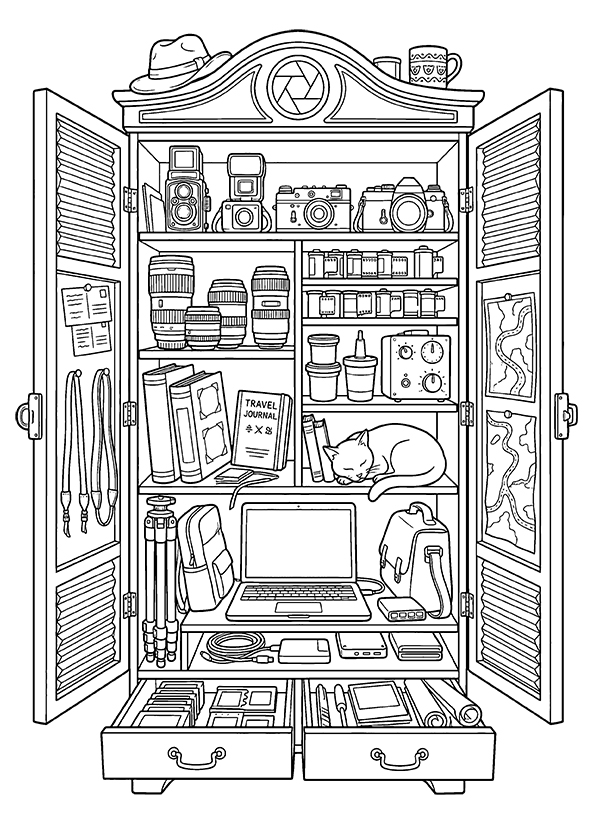
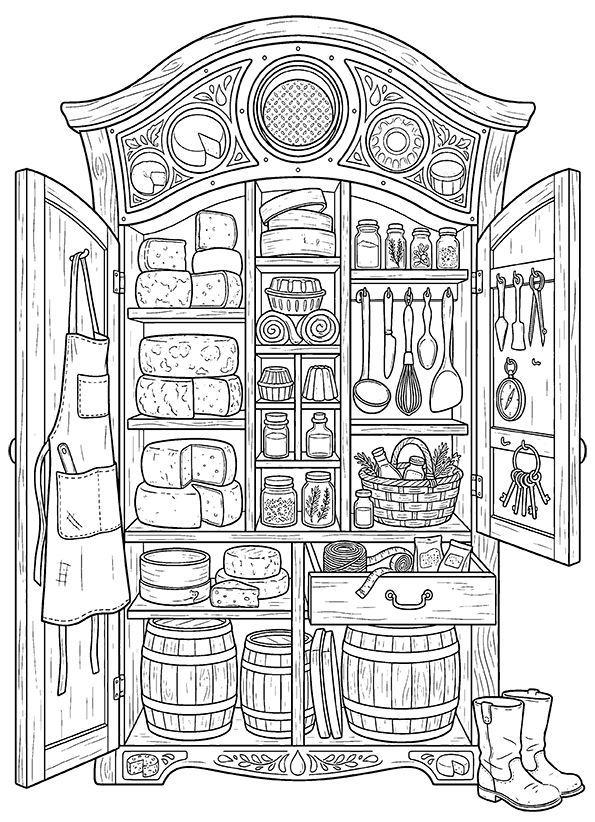
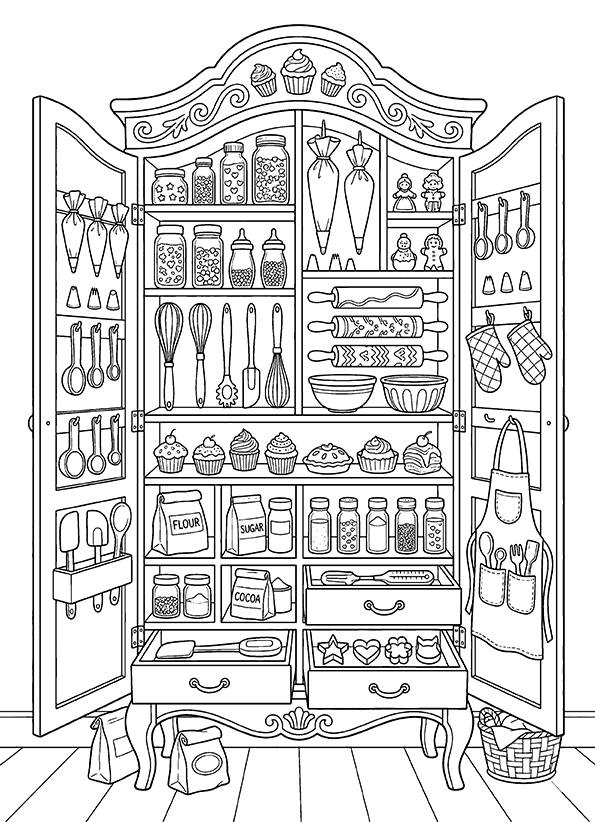
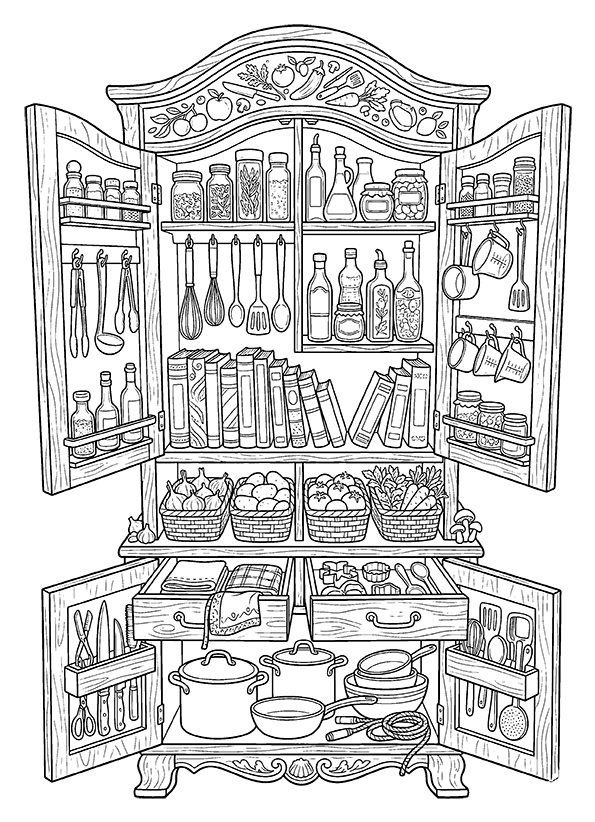
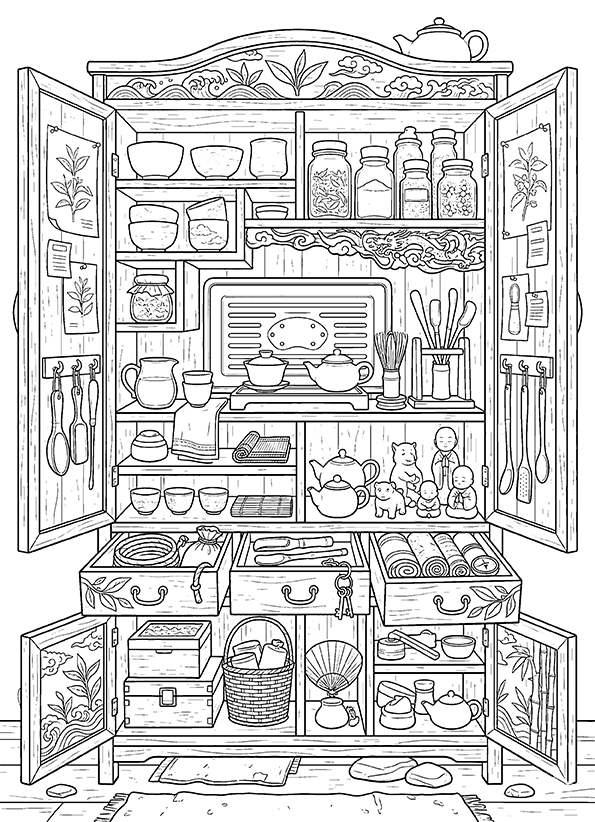
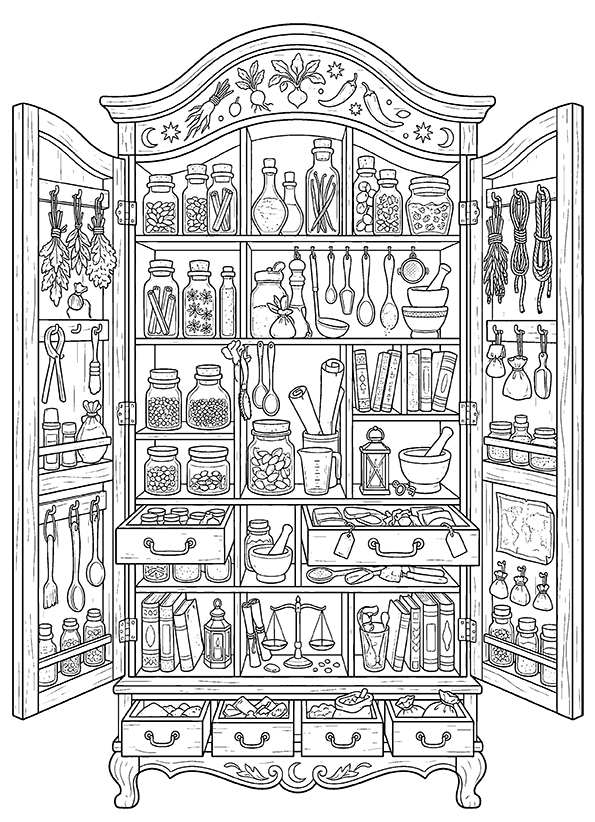
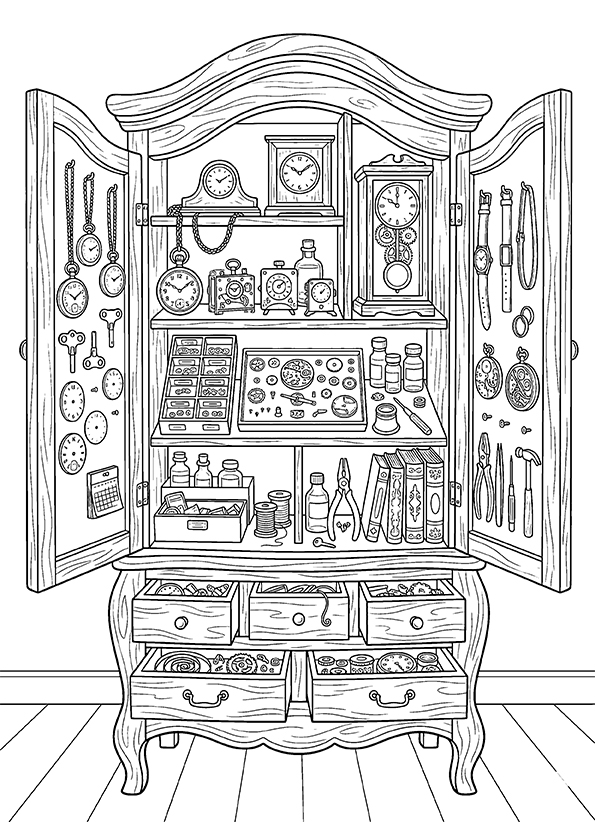
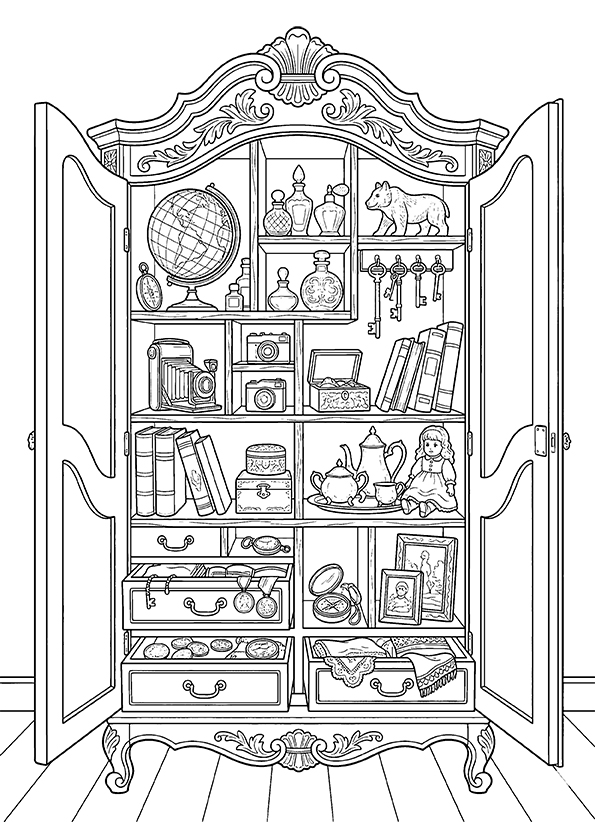
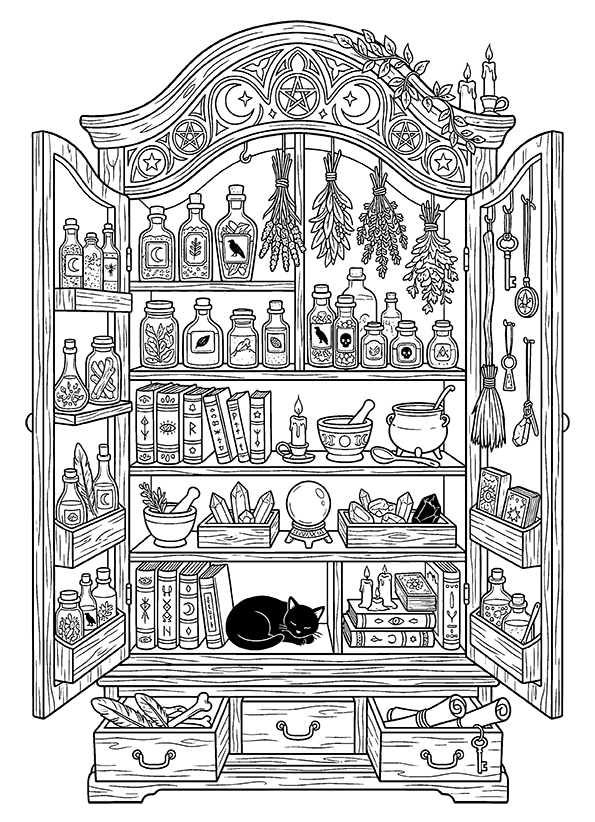
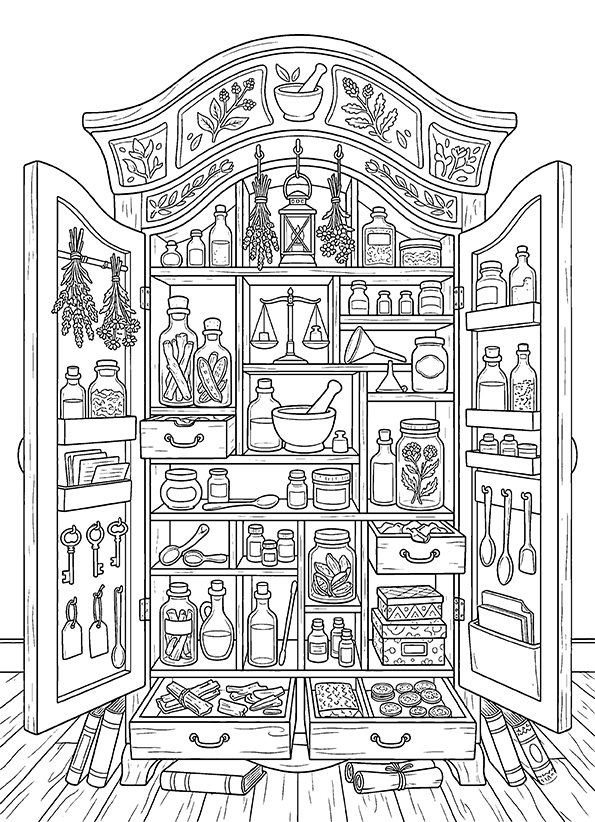
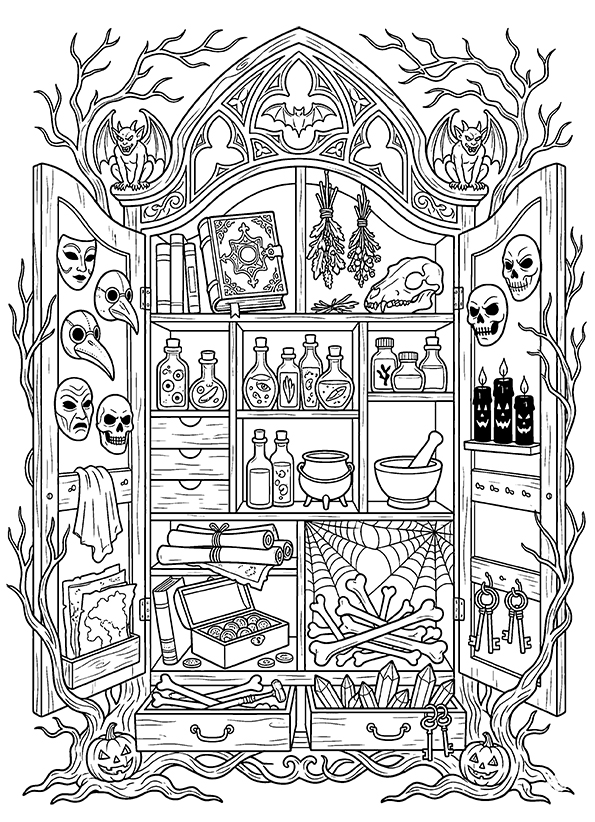
These free printable magical cabinets coloring pages feature whimsical cupboards, enchanted wardrobes, and unusual pieces of furniture filled with curious objects. Each illustration is available as an individual A4 PDF. Rather than showing an entire room, the drawings focus on the cabinet itself, with open doors revealing crowded shelves, hidden compartments, miniature tools, bottles, books, and collections of treasures. Some resemble antique wooden furniture, while others grow out of tree trunks or take the shape of mushrooms, flowers, and mechanical inventions.
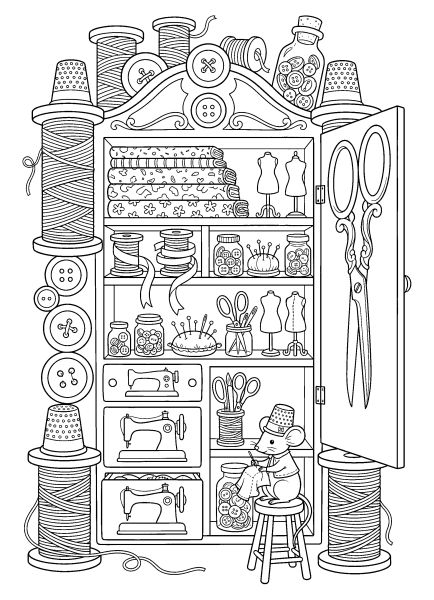
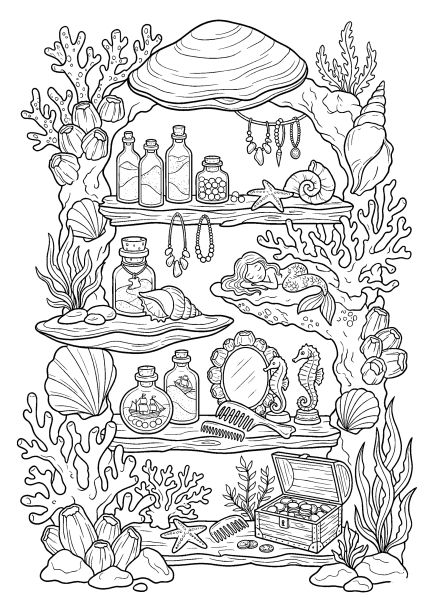
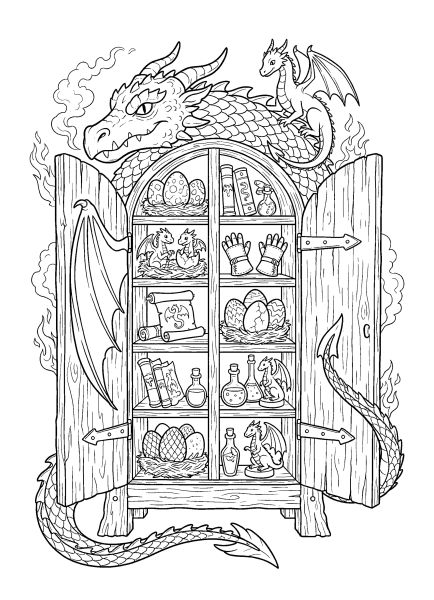
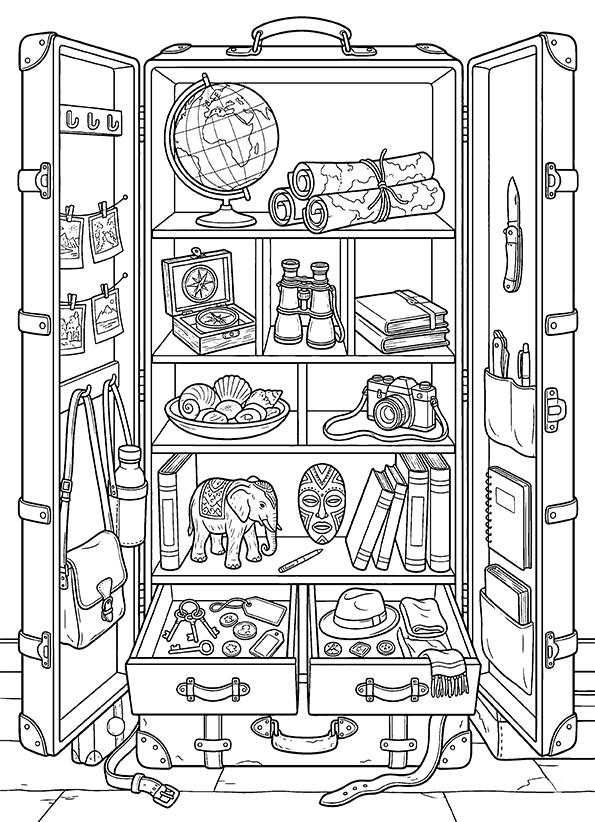
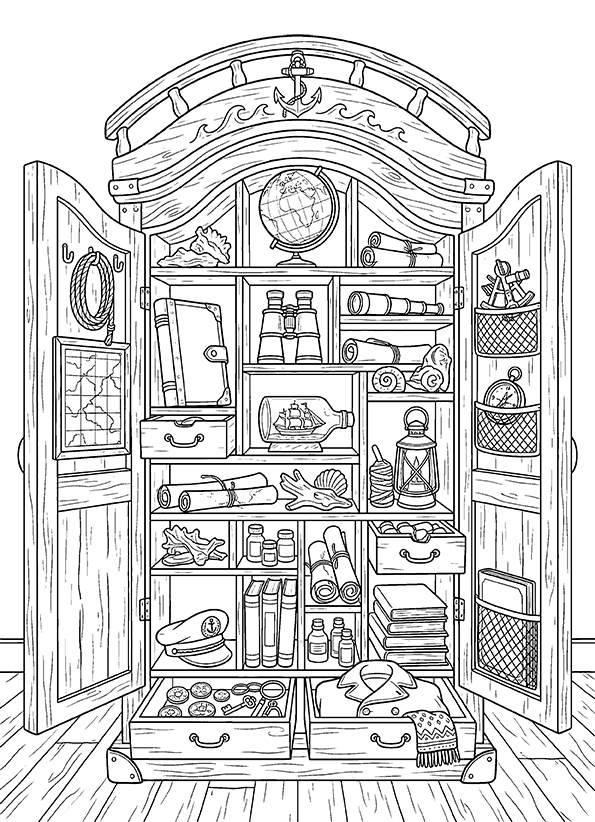
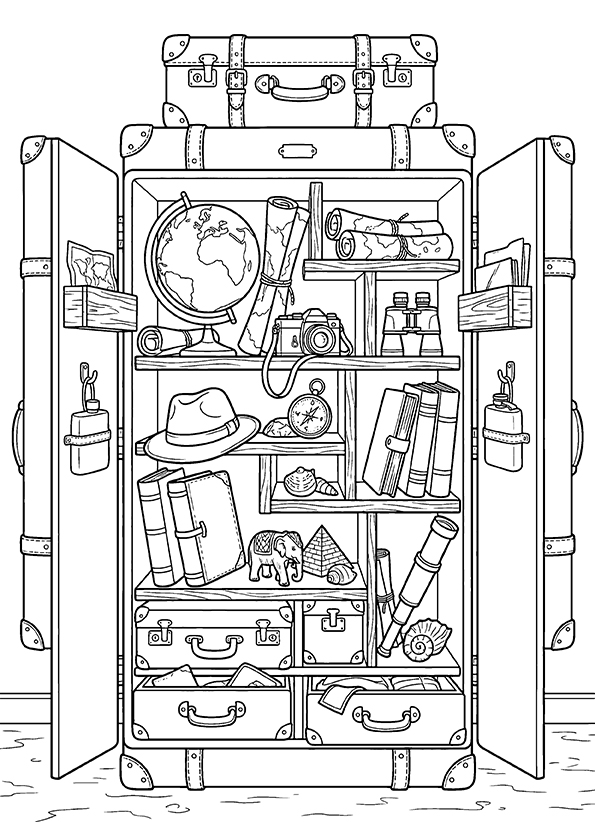
The cabinets belong to different imaginary worlds and occupations. Apothecary cupboards contain herbs, crystals, and potion bottles, while explorers' cabinets hold maps, globes, compasses, and travel equipment. Other designs feature nautical treasures, astronomical instruments, sewing supplies, beekeeping tools, clocks, gears, and miniature kitchens. Dragons curl around magical wardrobes, woodland animals shelter among tree-shaped cupboards, and coral-covered shelves display objects from the sea. Each illustration has its own arrangement of doors, drawers, decorations, and unusual belongings.
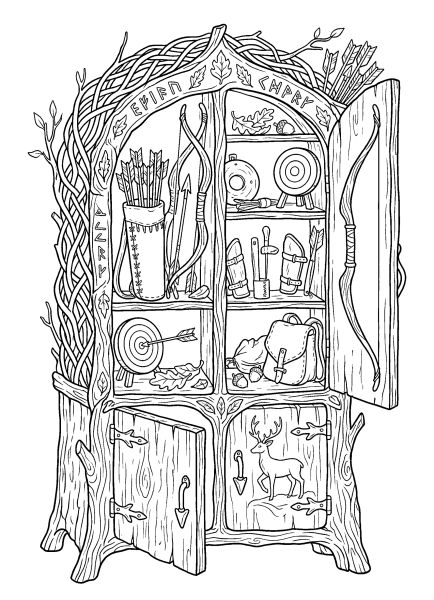
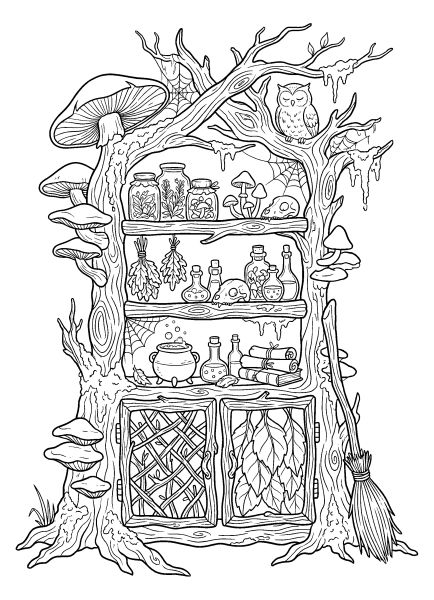
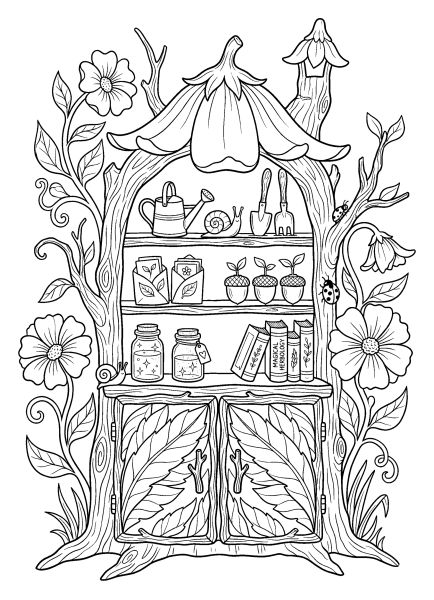
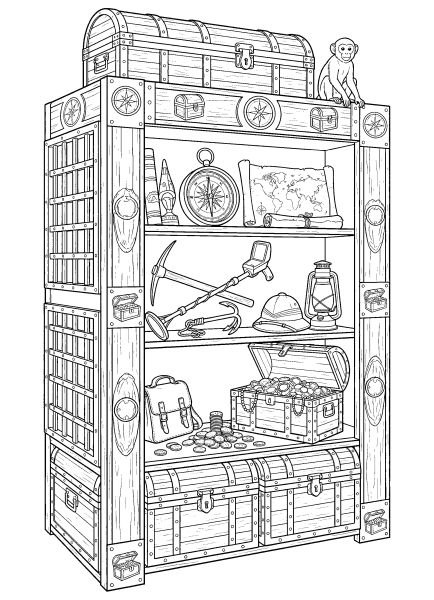
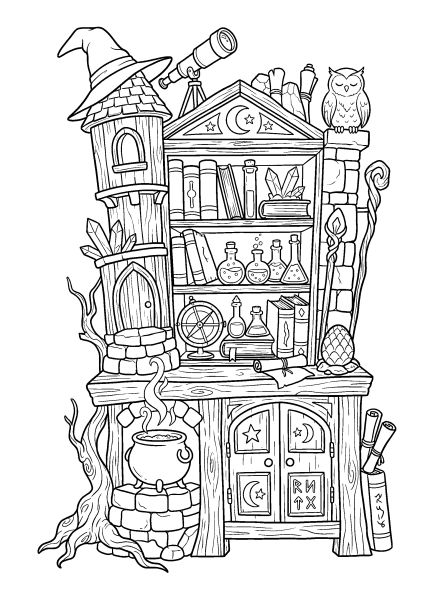
🎨 Coloring Whimsical Cabinets, Potions, and Curious Objects
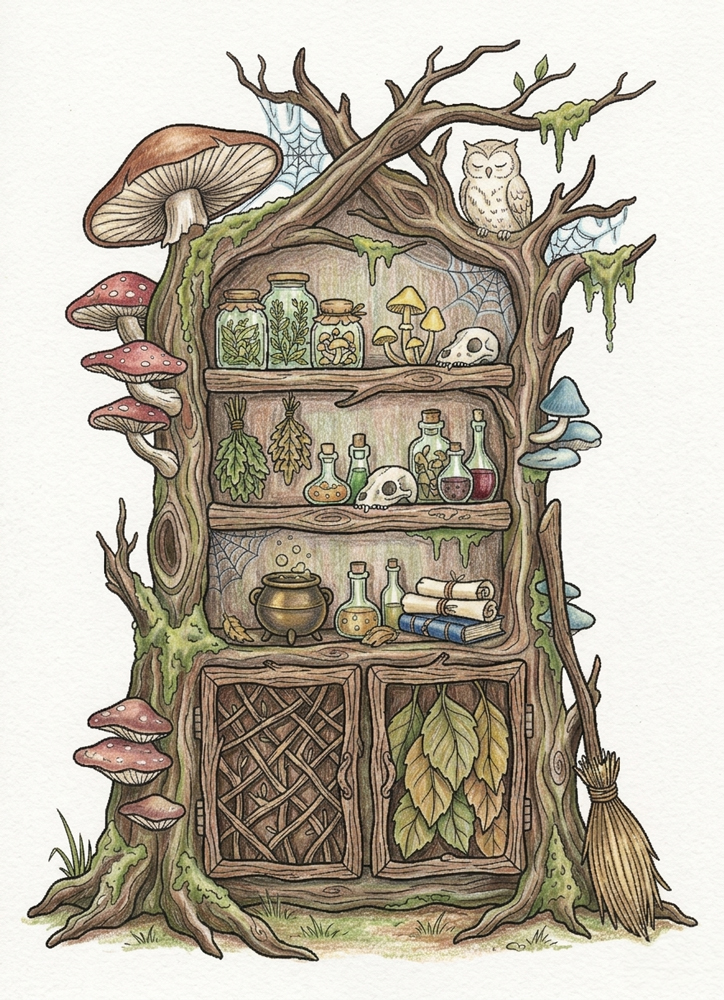
The wooden framework is a useful place to experiment with different finishes. Walnut brown, warm chestnut, and reddish mahogany can give an ornate cabinet an antique appearance, while weathered gray, olive green, or faded blue create a more unusual look. A woodland cupboard might combine natural browns with mossy greens, whereas a witch's cabinet could use deep purple, charcoal, and copper. For elaborate carvings, a slightly darker shade along the grooves can distinguish vines, decorative panels, and curved wooden edges.
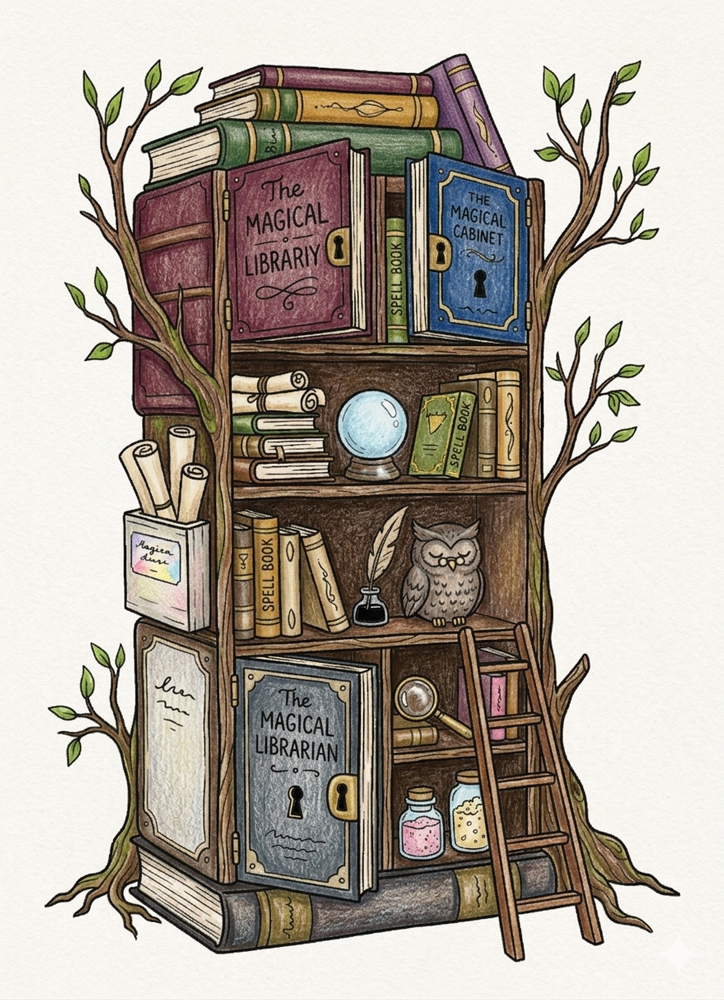
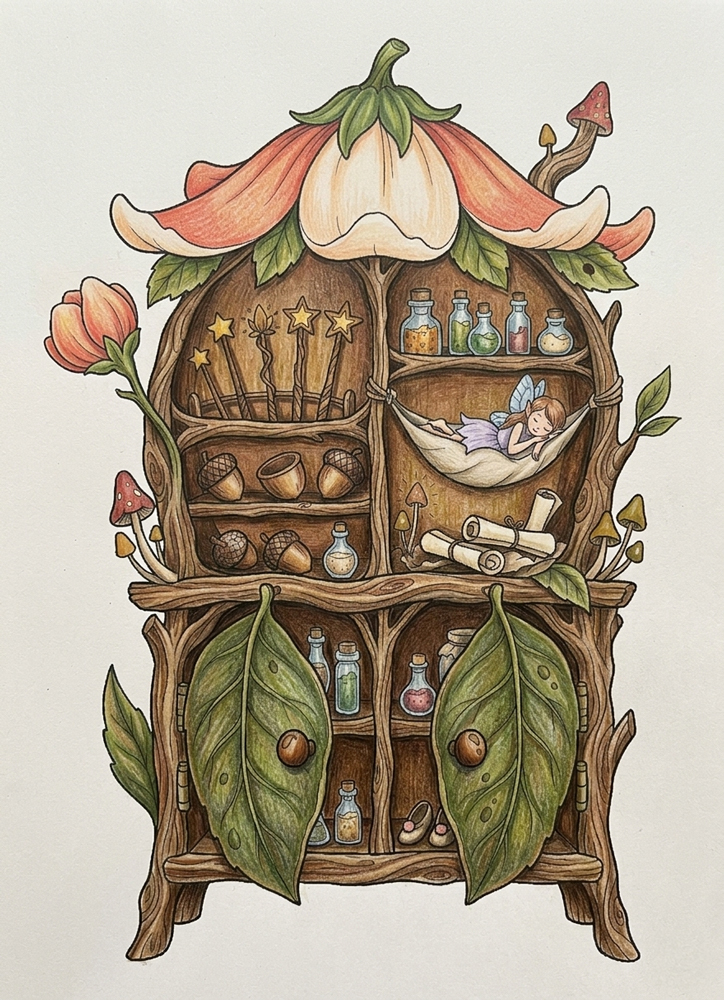
The collections inside the cabinets allow for a much wider palette. Potion bottles might contain emerald, ruby, or violet liquids, while crystals can use pale blue and lavender. Brass and copper suit locks, gears, and clock mechanisms; silver and blue work well for nautical and astronomical instruments. Glass containers can remain partly white to suggest transparency, especially when their contents are brightly colored. These combinations are suggestions rather than rules, and you can choose completely different colors for your own designs. Click on any image to enlarge and explore the details up close.
🎨 Easy Step-by-Step Coloring
This page is designed to be colored step by step, in a simple and comfortable way. You don’t need any special skills — just your pencils and a little bit of time.
We’ll start with a light base and slowly add more details. Each step focuses on one small part, so it never feels overwhelming.
Just follow along at your own pace and enjoy the process — the picture will come together naturally.
🪵 Step 1 — Start with the Cabinet
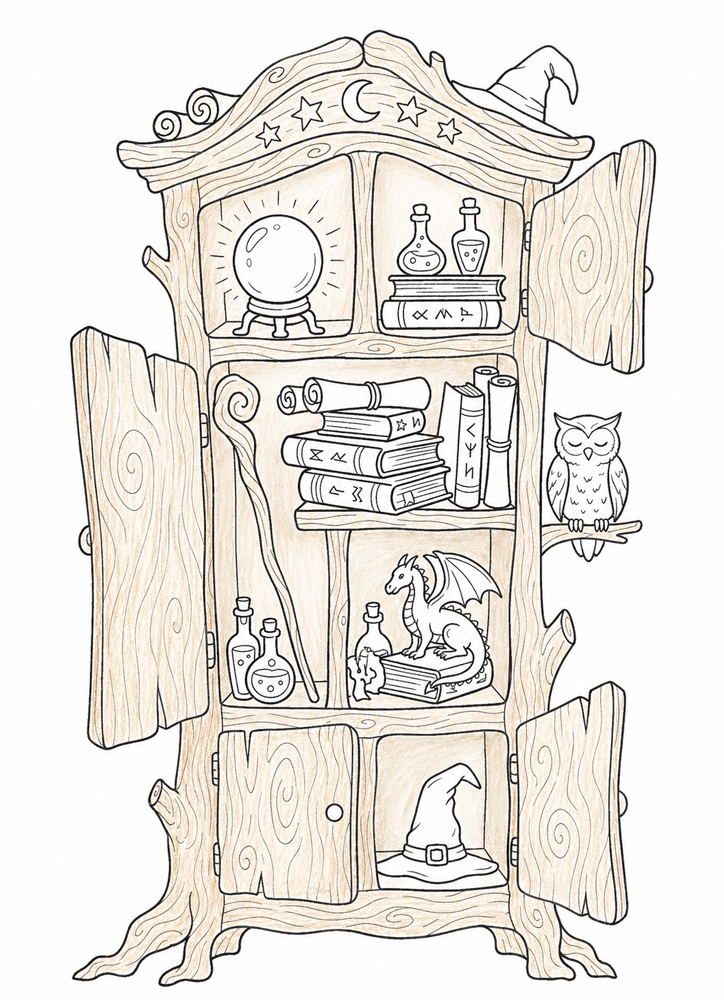
Let’s begin by softly coloring the cabinet.
Take a very light warm beige or light brown pencil. Gently go over all parts of the cabinet — the outside, the inside, the doors, the frame, and the sides.
Use very light pressure so the paper still shows through a little. It’s okay if you see the pencil strokes — that makes it feel more natural.
For now, don’t try to add shadows or make it look detailed. Just give the whole cabinet a soft, even base color.
Tip: Leave all the objects inside completely untouched — we’ll color them in the next step.
🧪 Step 2 — Color the Objects
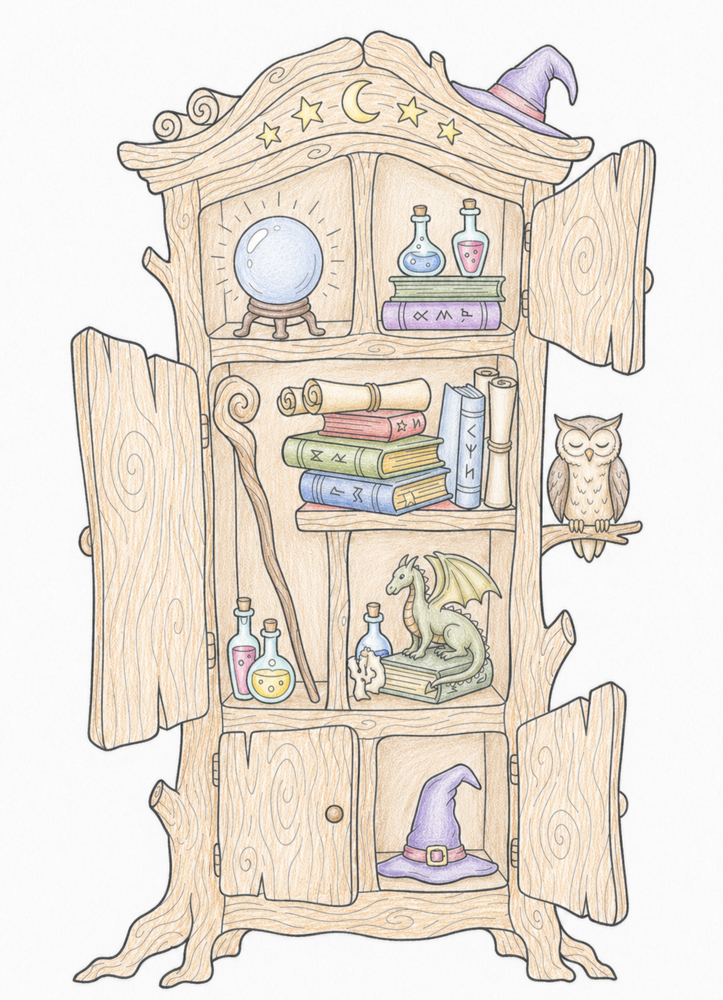
Now let’s bring the objects to life with soft colors.
Take light, calm colors and start filling them in one by one. The books can be different shades — soft red, green, blue, or anything you like, just keep them a bit muted.
For the potion bottles, use light прозрачные colors like blue, pink, or yellow. The crystal ball can be a very light cool shade.
Color the owl and the dragon in soft, natural tones, and pick a gentle, muted color for the hat.
Keep everything light and simple — no shadows yet, just a smooth base.
Tip: Don’t worry about making it perfect. Slightly uneven coloring makes it feel more natural and relaxed.
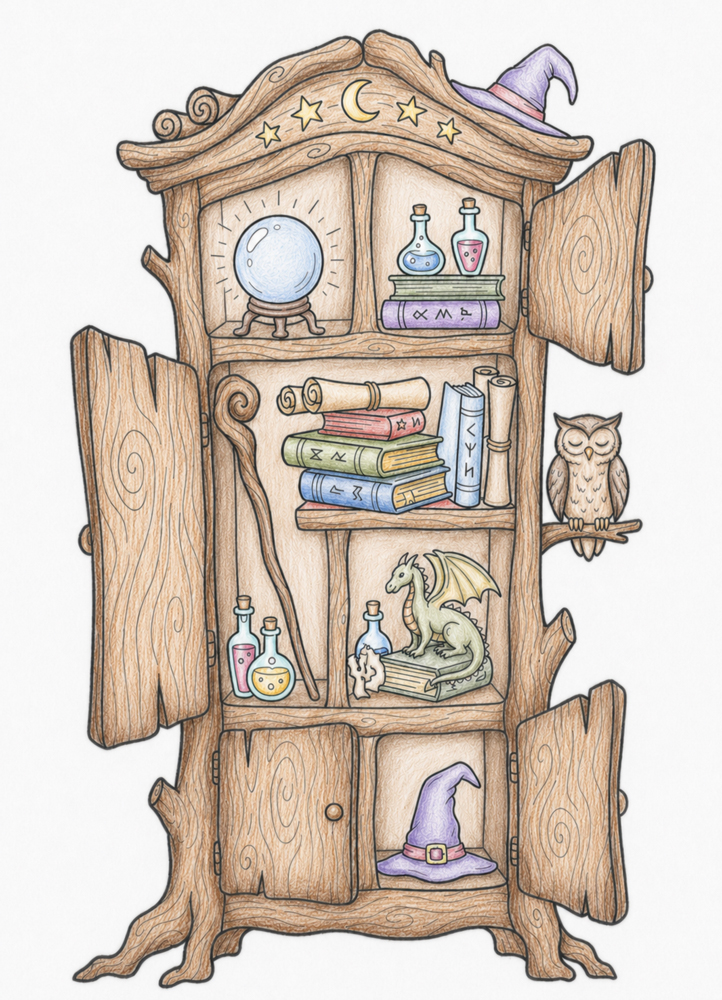
🪵 Step 3 — Shape the Cabinet
Now let’s give the outside of the cabinet a bit more shape.
Take a slightly darker brown pencil and gently go over the edges, corners, and around the doors. Use small strokes that follow the direction of the wood.
Don’t try to make it perfectly smooth — a few natural, slightly uneven strokes will actually look more like real wood.
Keep the color light so the base layer still shows through.
Tip: Focus only on the outer parts of the cabinet — leave the inside shelves just as they are for now.
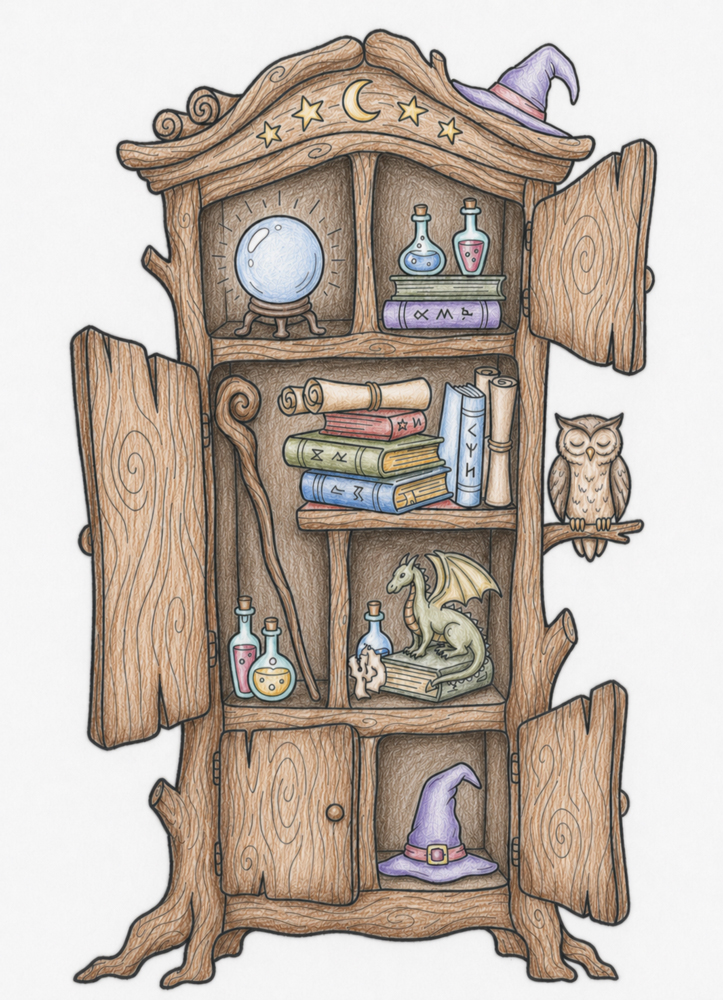
📚 Step 4 — Add Depth to the Shelves
Now let’s make the inside of the cabinet feel a bit deeper.
Take the same colors you used before and gently go over the back walls of the shelves. Press just a little more to make them slightly darker than the front parts.
Add a soft shadow under the objects sitting on the shelves. Just a light touch is enough — don’t press too hard.
Try to keep everything soft and natural, without strong contrast.
Tip: Think of it like a gentle shade in the background — it helps everything stand out without making it look heavy.
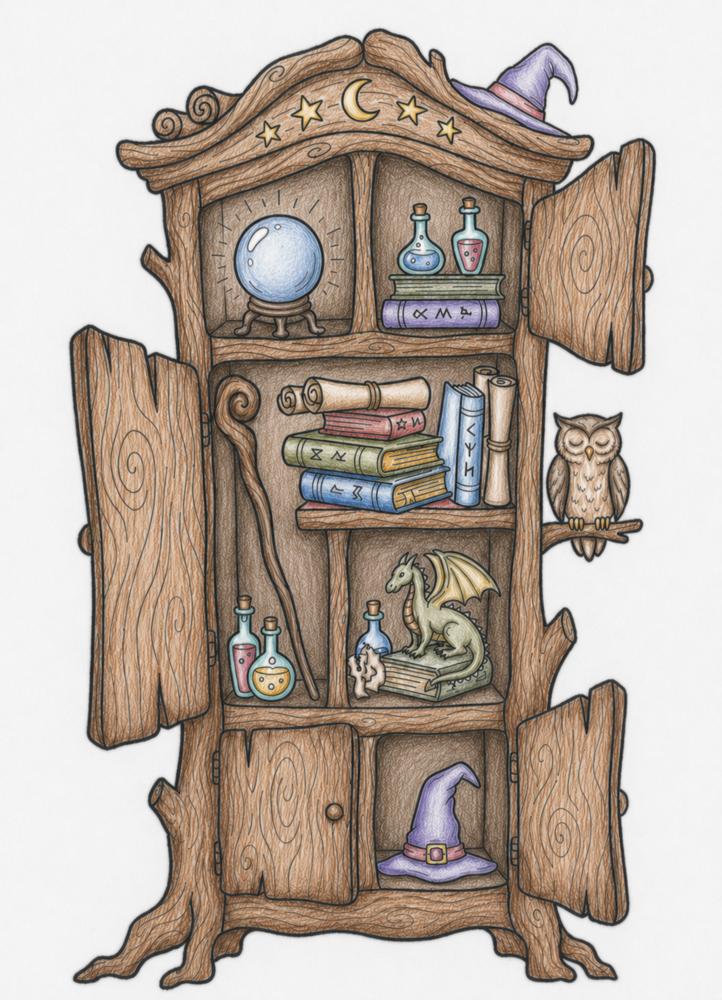
🪄 Step 5 — Add a Bit of Depth to the Objects
Now let’s give the objects a little more shape.
Take the same colors you already used, but press just a tiny bit harder. Gently darken the undersides of things — like the bottom of the books, bottles, the owl, the dragon, the crystal ball, and the hat.
You can also add a bit more color where objects overlap, for example where one thing touches another. This helps them stand out slightly.
Keep everything soft and light. We’re not trying to make strong shadows — just a small hint of depth.
Tip: If you’re not sure, add less. A very small change is enough to make the objects look more real.
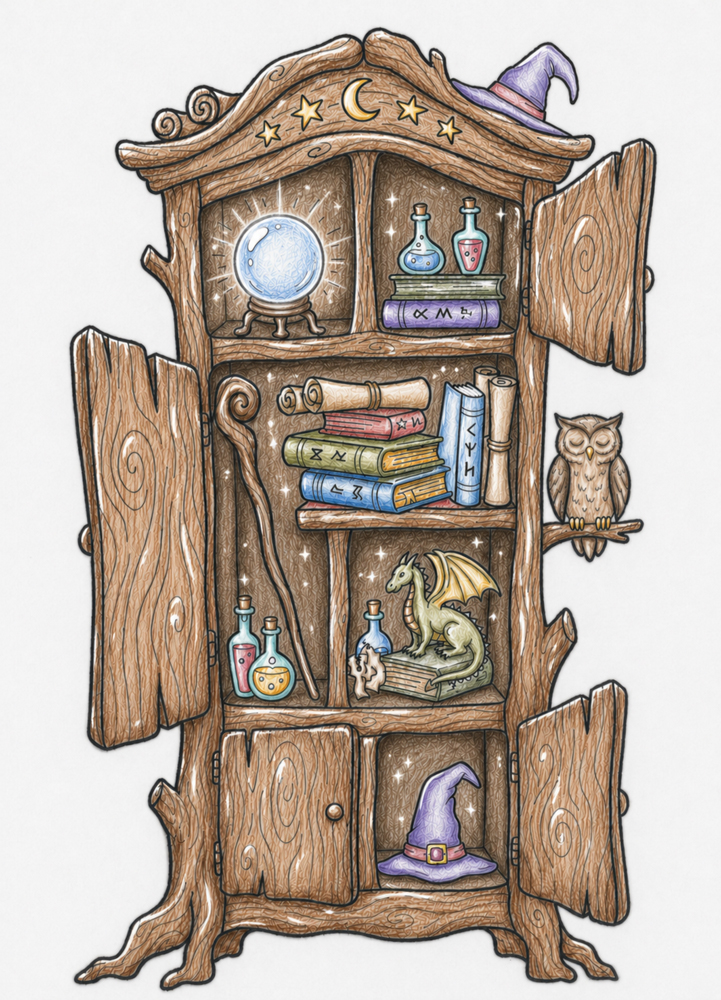
✨ Step 6 — Add Magic Highlights
Now comes the fun part — let’s add a little sparkle.
Take a white gel pen and start adding bright highlights. On the crystal ball, draw a few clear white spots or soft lines to make it look like it’s glowing.
Add small white reflections on the potion bottles, and draw a few light lines along the edges of the cabinet where light would naturally hit.
You can also sprinkle tiny white dots around magical objects — like little sparkles in the air.
Tip: Don’t be too shy here — a few extra highlights will make the whole picture feel more magical and alive.
More Cabinet Coloring Pages to Explore
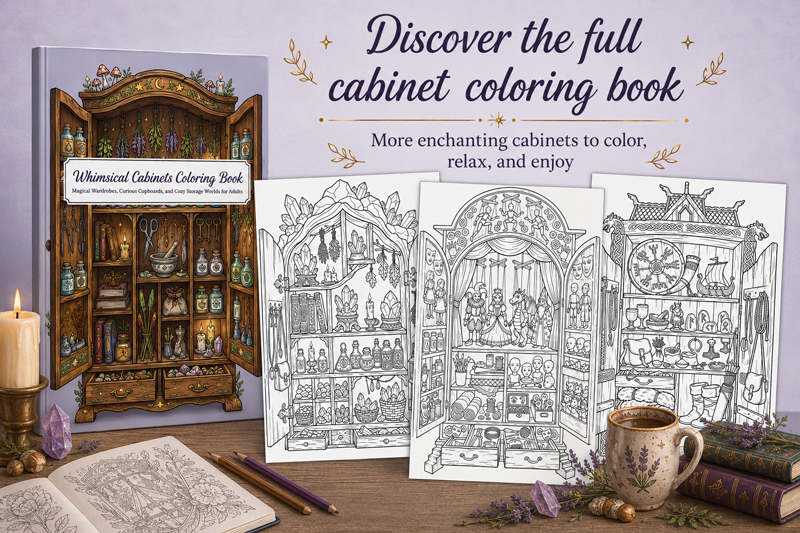
If you enjoyed these cabinet coloring pages, I also created a full paperback coloring book with 50 detailed cabinet illustrations. The book includes more curious cupboards, cozy storage worlds, and decorative cabinet designs made for slow, relaxing coloring.
Each illustration is designed as a complete little cabinet world, with shelves, drawers, tiny objects, and imaginative details to color at your own pace.
The button below will take you to Amazon, where you can see more details about the book and decide if you would like to add it to your coloring collection.
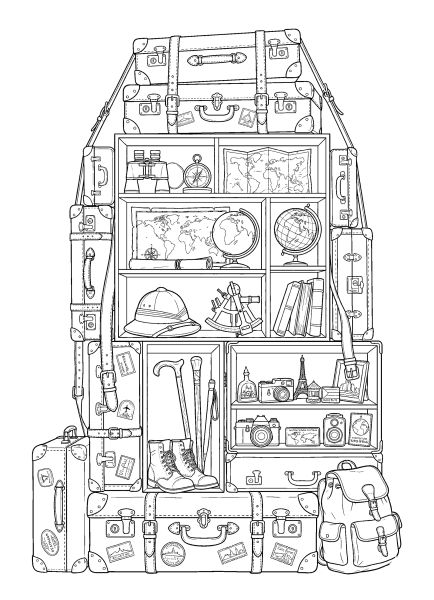
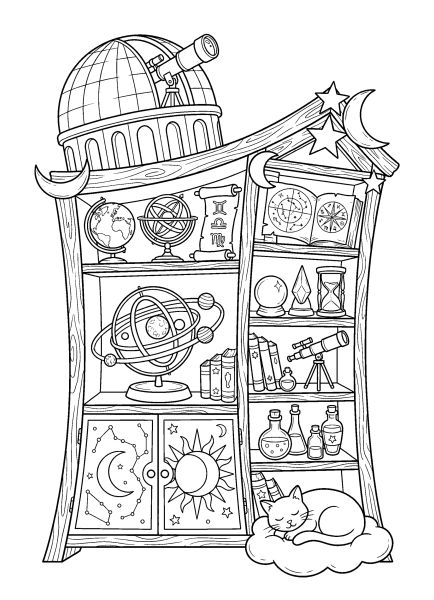
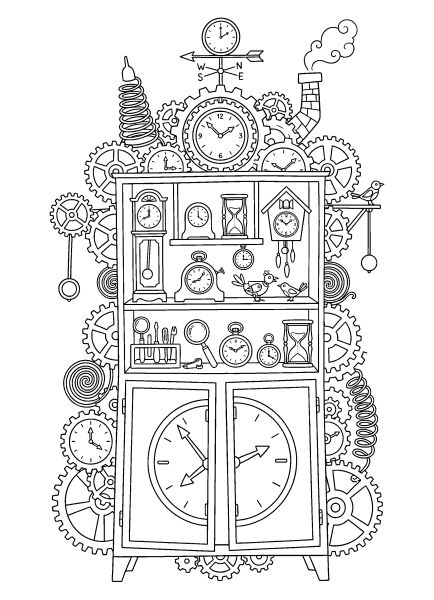
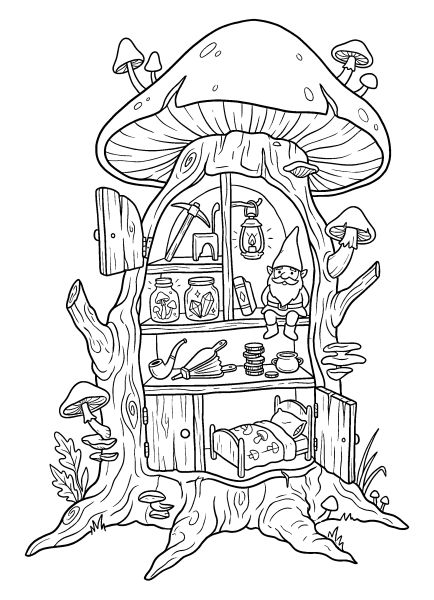
Example Coloring
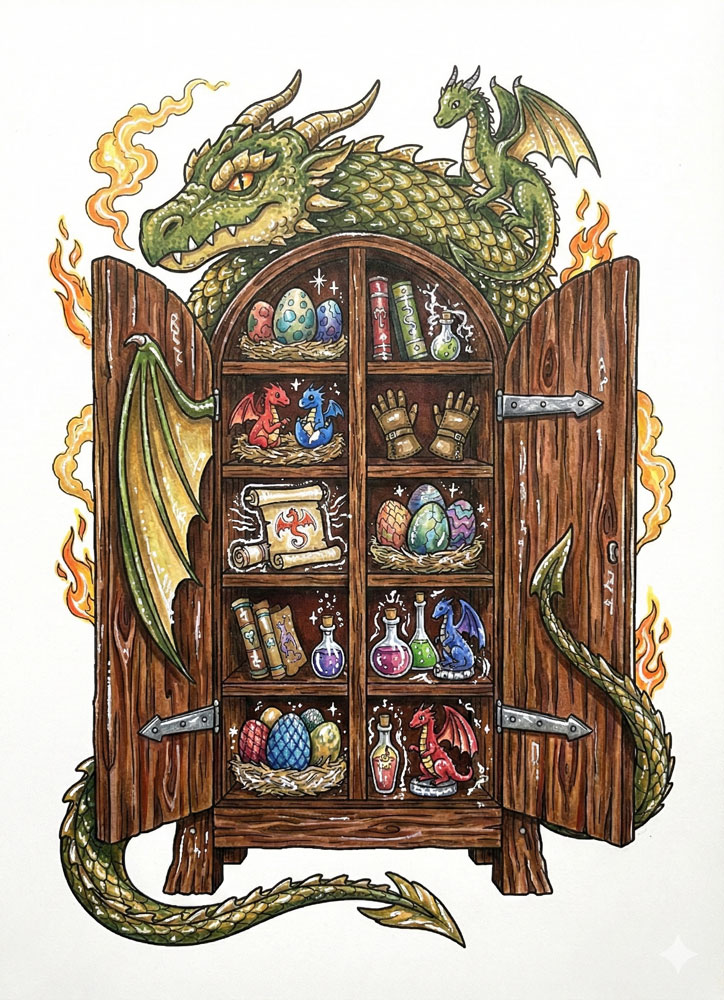
In this example, alcohol markers are used to establish the cabinet’s wooden structure first. Each shelf and panel is colored with slight tonal variation to suggest wood grain without heavy contrast. After the main structure is complete, light highlight accents are added selectively to magical objects inside the cabinet. This keeps the focus on the cabinet’s form while allowing individual items to feel special and enchanted.
🔍 Hidden Compartments, Tiny Treasures, and Cabinet Details
One of the most interesting features of these illustrations is how much information fits inside a single piece of furniture. The shelves resemble miniature collections, with each object contributing something to the cabinet's character. A neatly arranged set of measuring instruments suggests a different owner from a cupboard containing candles, spellbooks, and mysterious ingredients. Some designs are organized like workshops, while others resemble private museums or collections accumulated over many years. Looking at the objects individually can reveal details that are easy to miss when viewing the entire cabinet.
The furniture itself varies considerably in construction. Some cabinets have straight shelves, traditional doors, and rows of drawers. Others are deliberately irregular, with twisted branches replacing wooden supports or roots forming the legs. Elaborate hinges, oversized keyholes, carved symbols, and unusual handles are often important parts of the design. The open doors sometimes contain additional shelves or hanging objects, creating smaller areas within the larger illustration. These structural differences make the cabinet frames just as interesting to color as their contents.
Different materials provide opportunities to work with texture. Wooden doors can have visible grain, metal tools often have narrow highlights, and glass bottles may contain curved reflections. Books introduce paper edges and decorative covers, while baskets, ropes, and hanging herbs have their own recognizable surfaces. You do not need elaborate shading to distinguish them. Leaving a small uncolored highlight on a bottle or using short pencil strokes along a wooden panel can suggest the material without obscuring the fine outlines.
The level of detail changes from one cabinet to another. Some have broad doors and clearly separated objects, while others are packed with tiny bottles, tools, clocks, and decorative patterns. The more intricate designs are particularly suitable for older children, teens, and adults who enjoy careful coloring. Repeating related colors across a collection of bottles or books can make a crowded shelf easier to read. A contrasting color on one unusual object, such as a crystal ball or an ornate clock, can create a focal point without requiring every item to have a different shade.
The illustrations are available as individual printable A4 PDFs, allowing you to choose a particular cabinet and its collection of objects. Print at 100% scale to preserve the original proportions and fine details, especially around keys, bottle labels, mechanical parts, and intricate carvings. Colored pencils are useful for narrow spaces between objects, while fine-tip markers can help with small decorations. For broad wooden panels, crayons or larger pencil strokes are often more convenient. If using markers, place a spare sheet beneath the print to protect the surface below.