Jar Coloring Pages
🫙 Free Printable Jar Coloring Pages
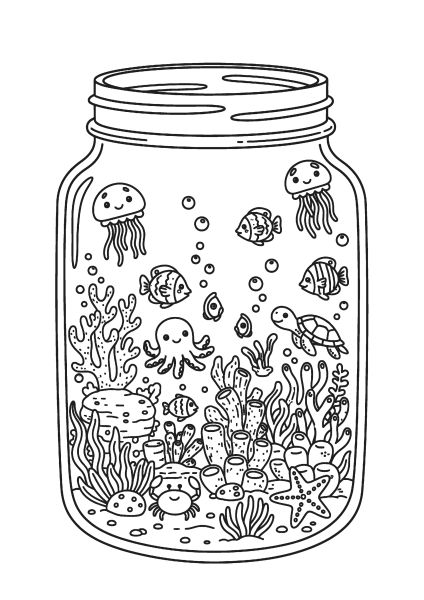
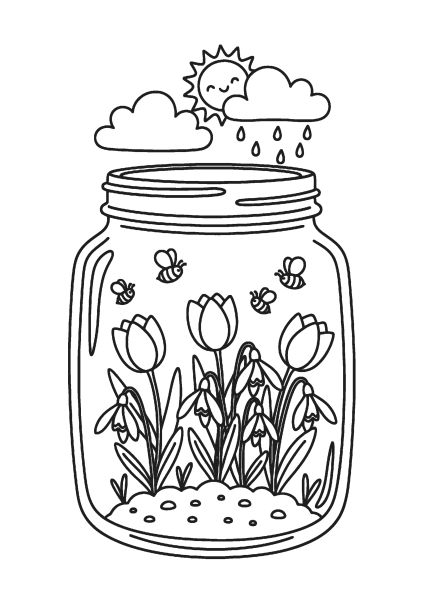
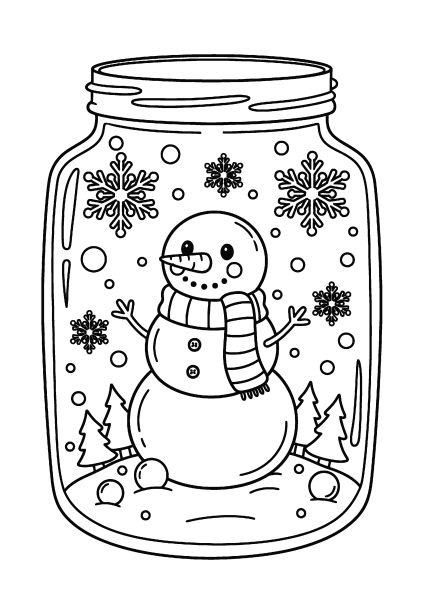
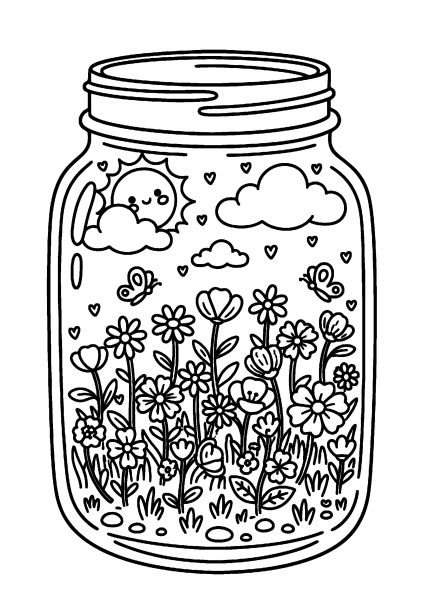
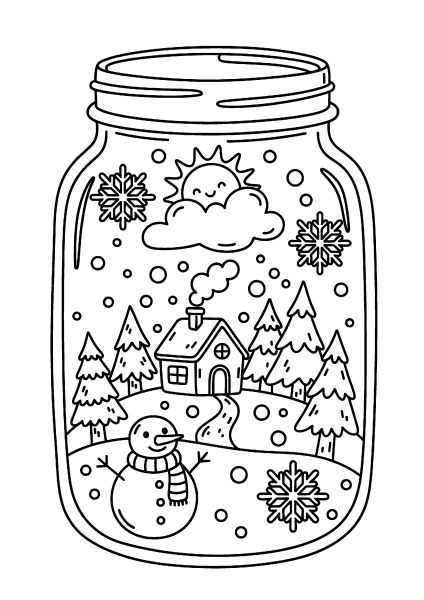
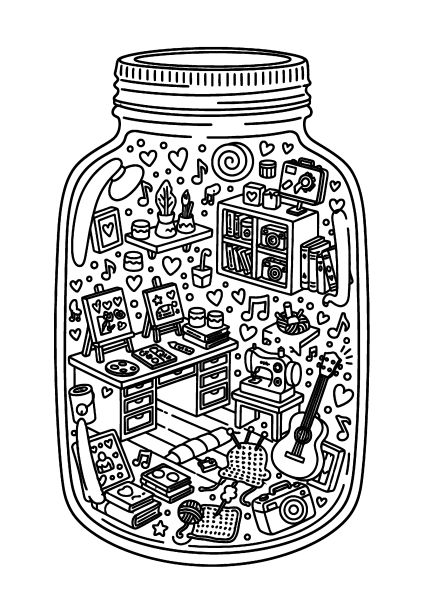
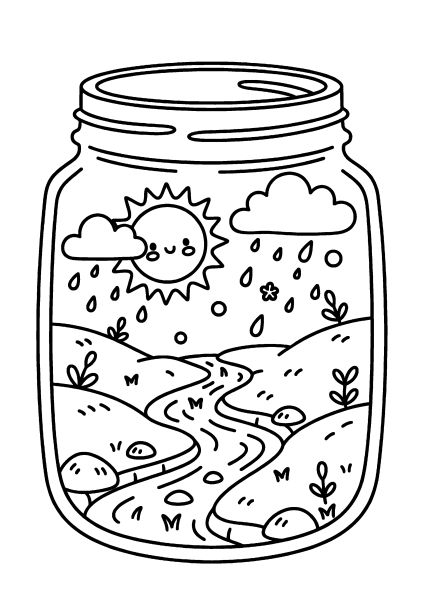
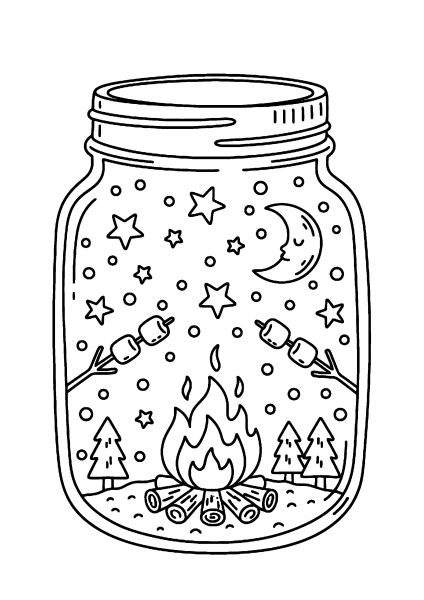
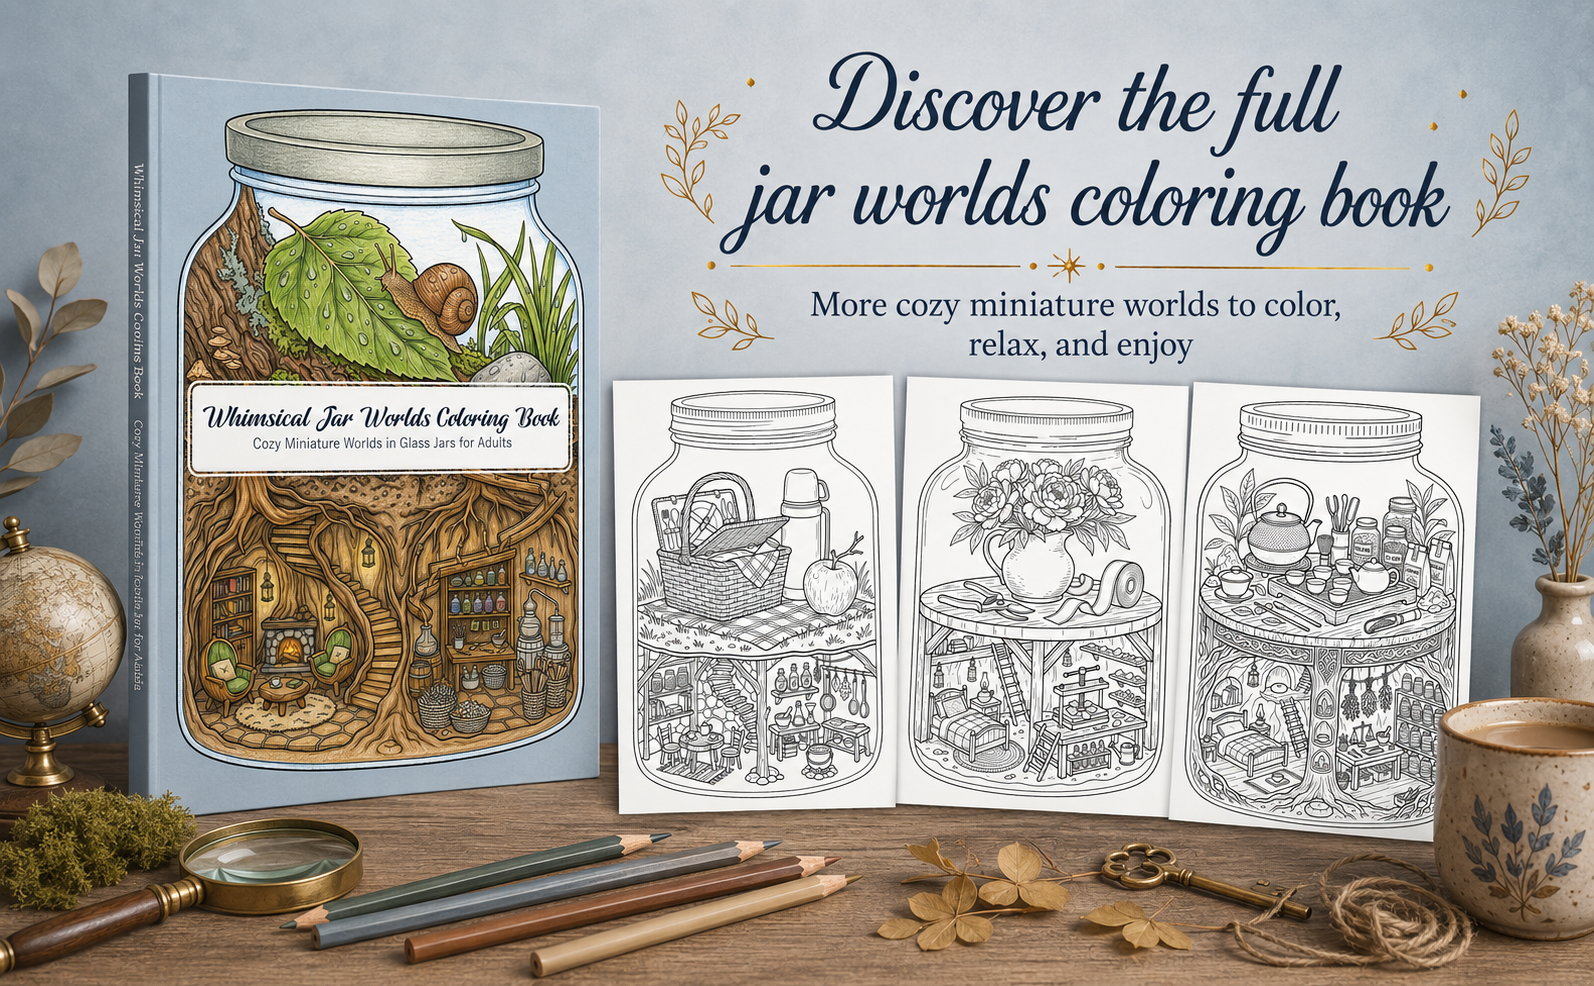
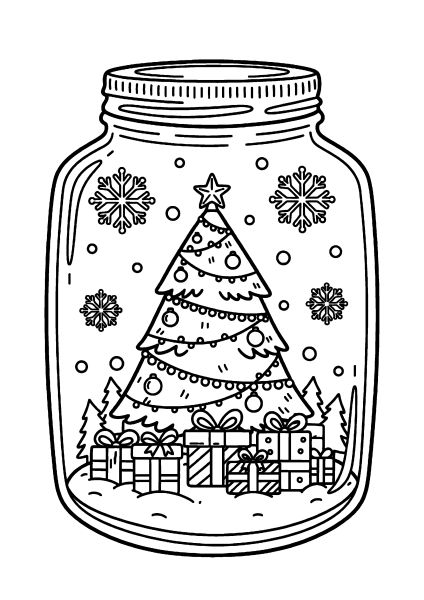
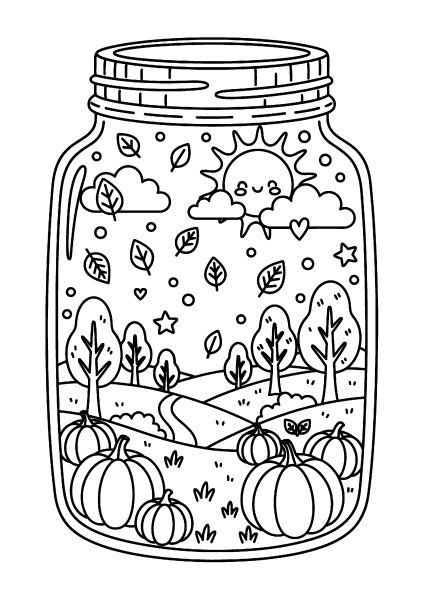
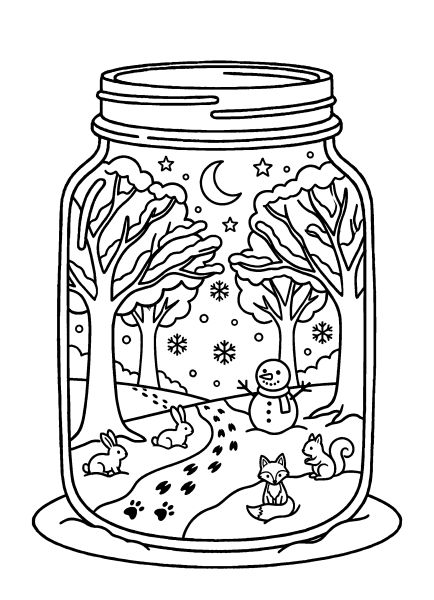
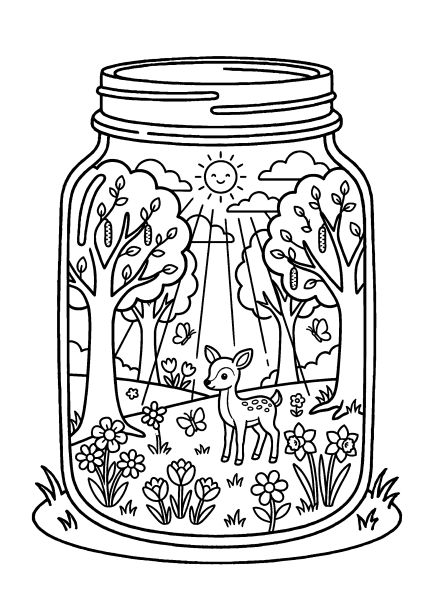
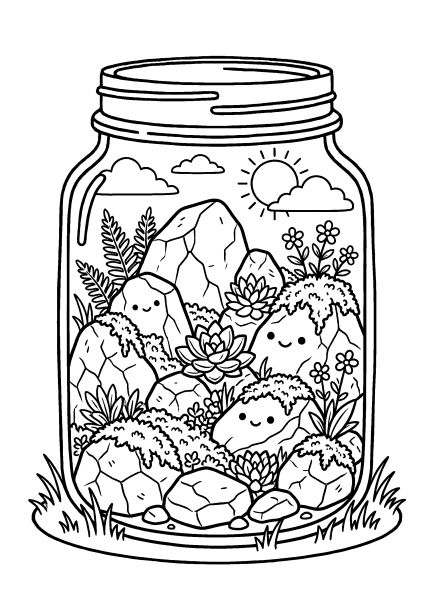
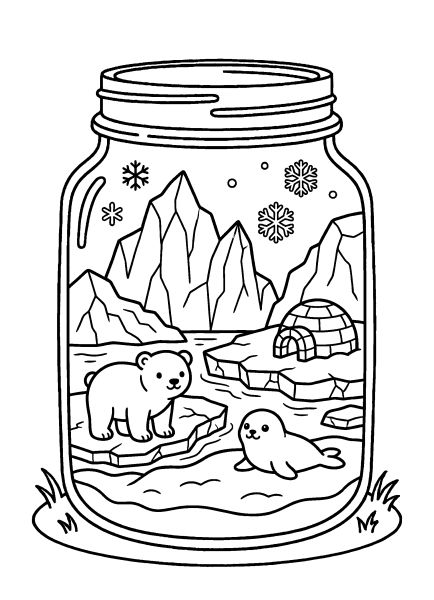
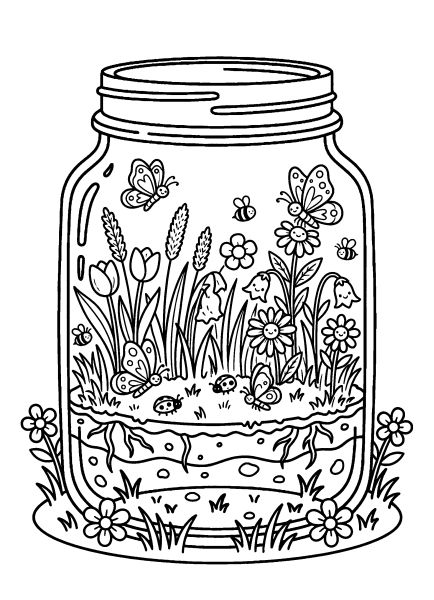
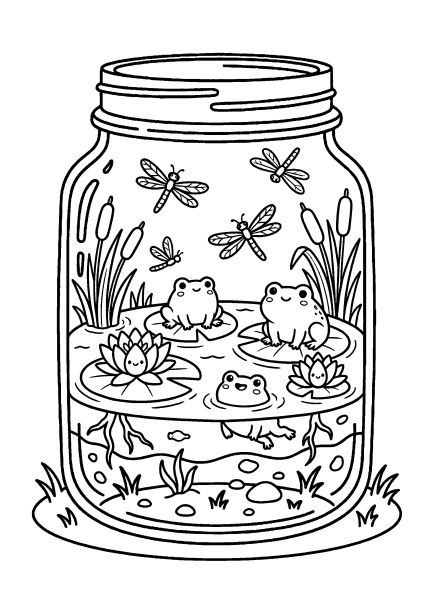
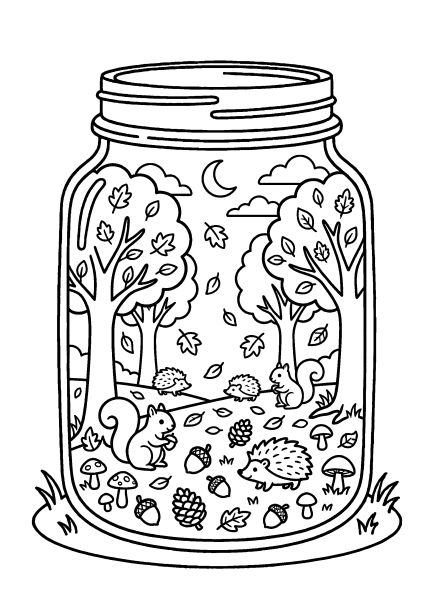
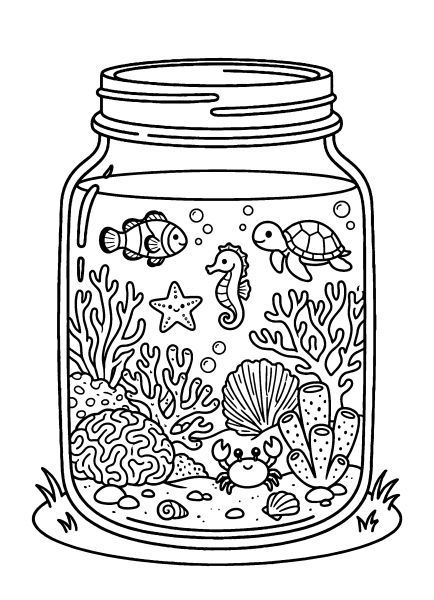
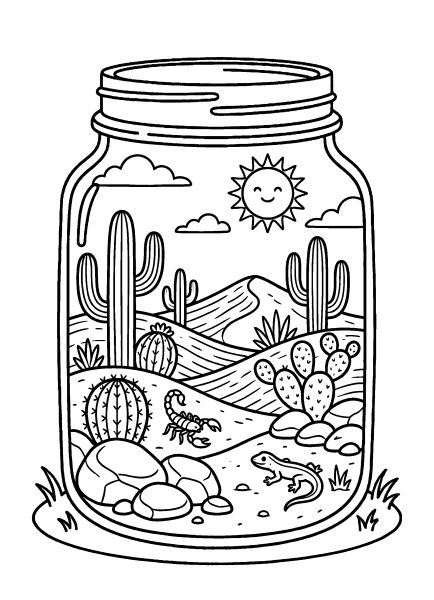
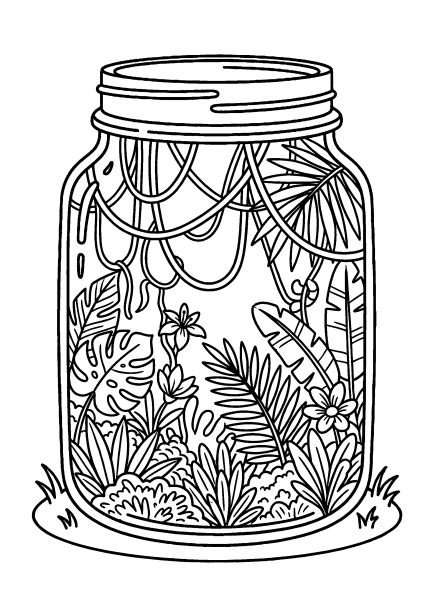
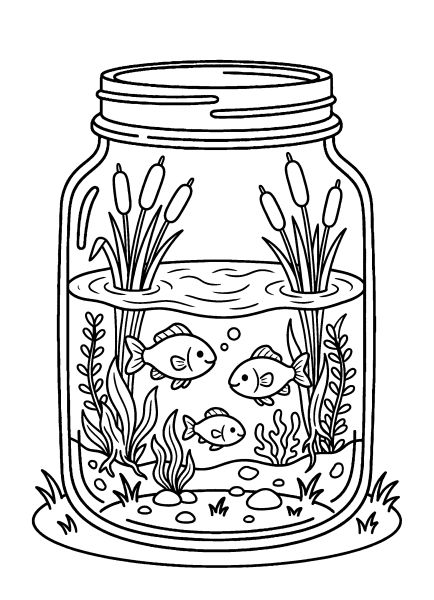
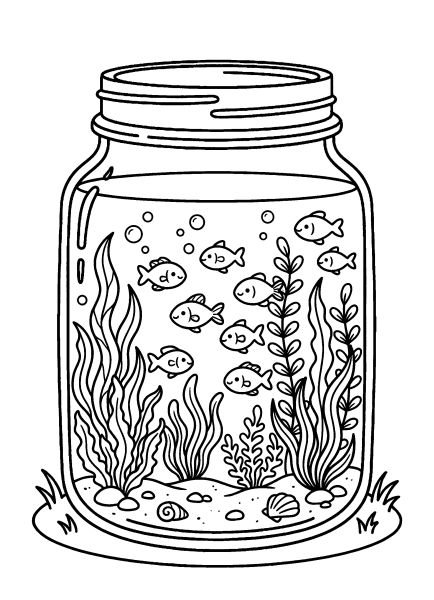
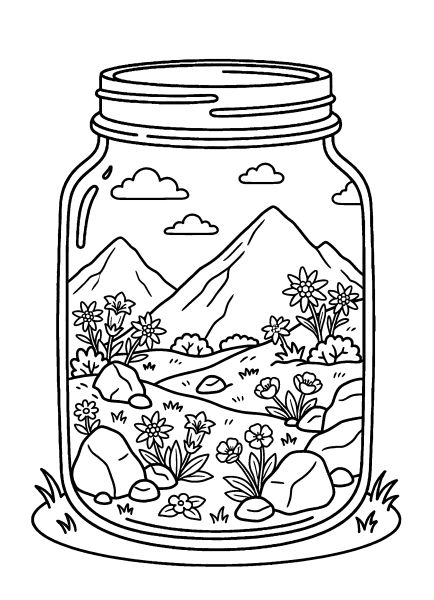
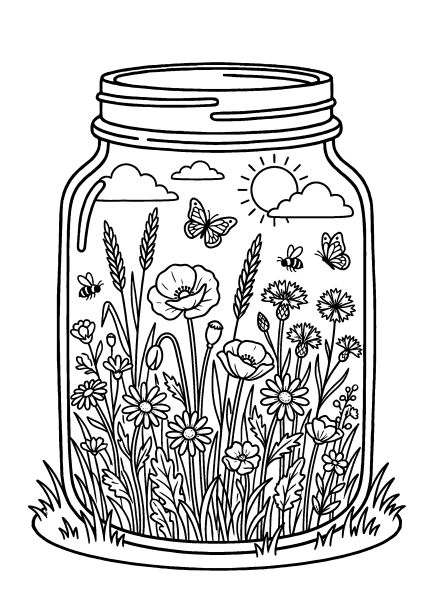
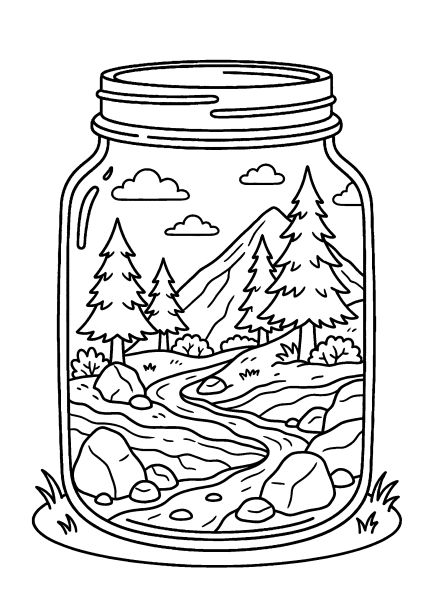
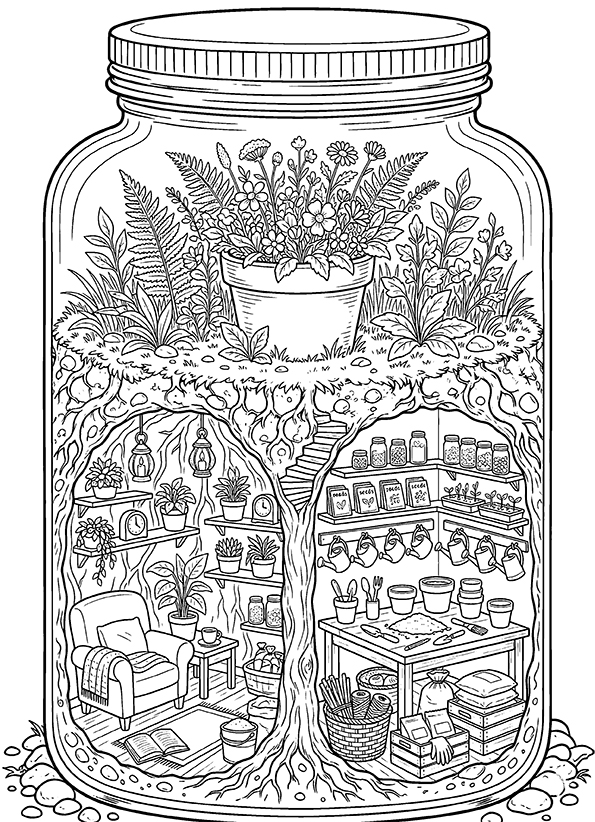
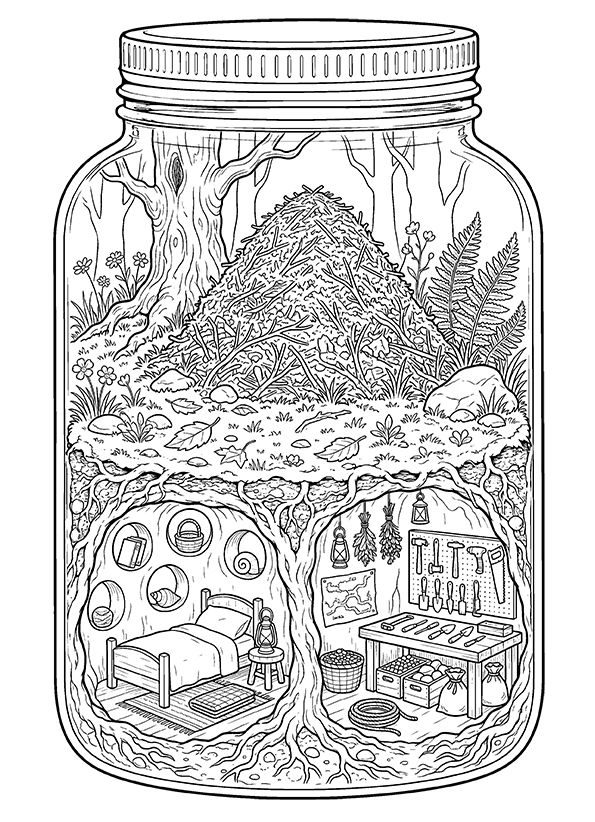
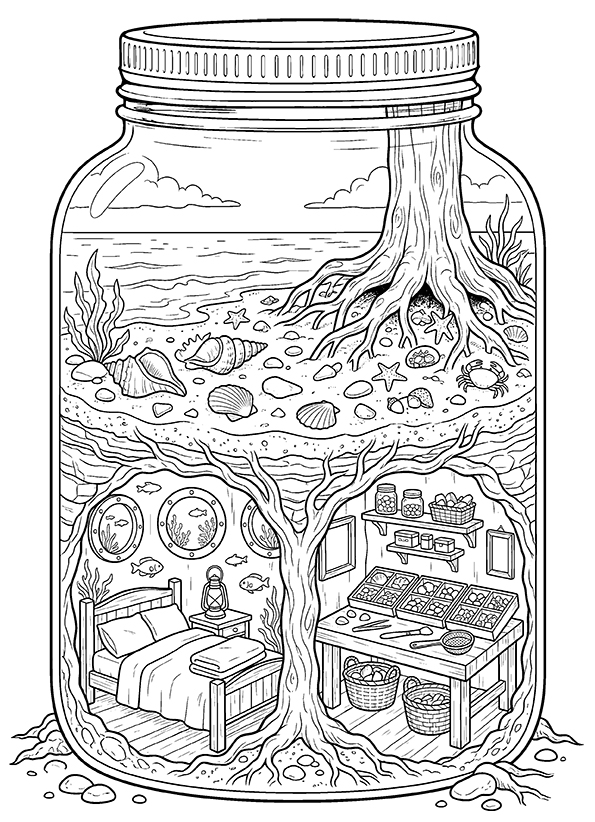
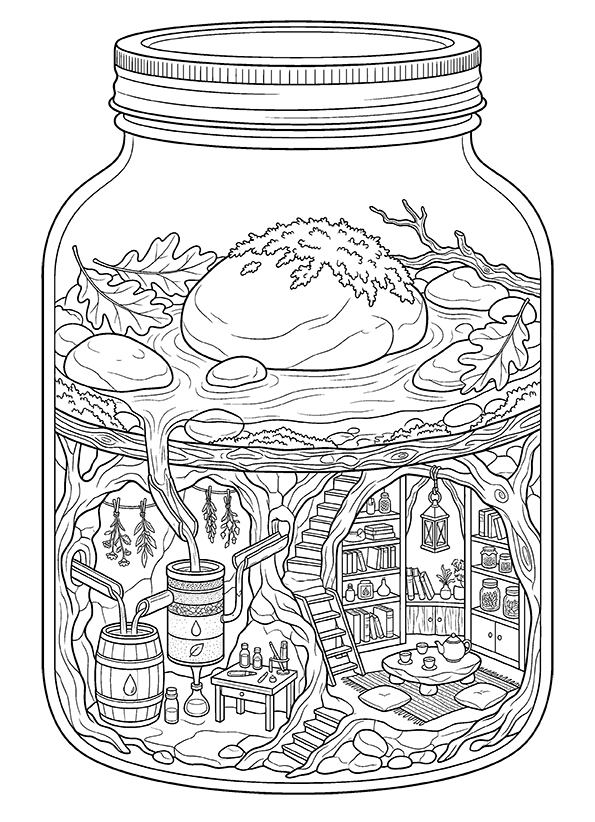
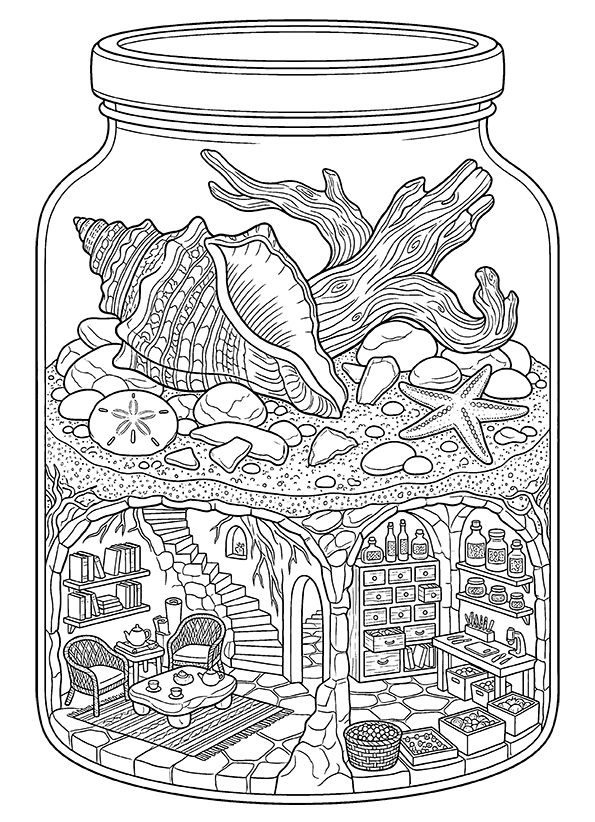
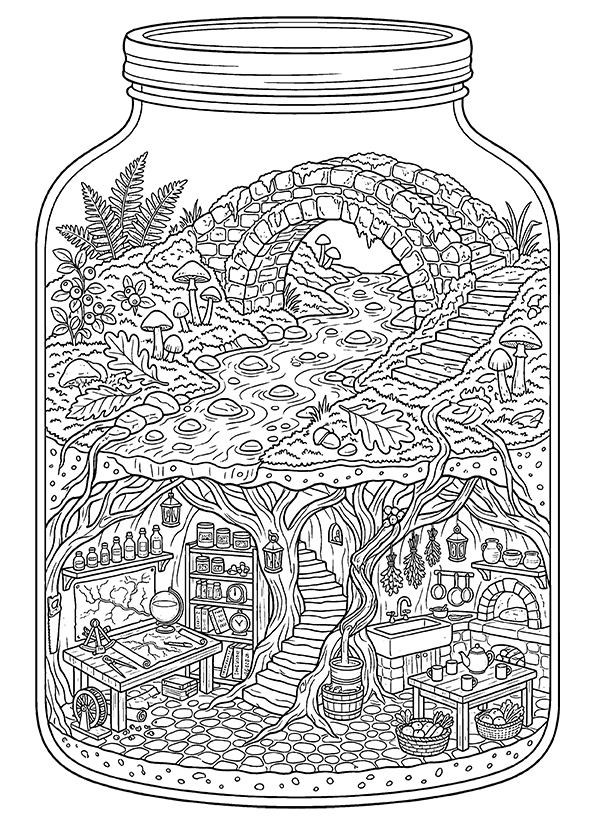
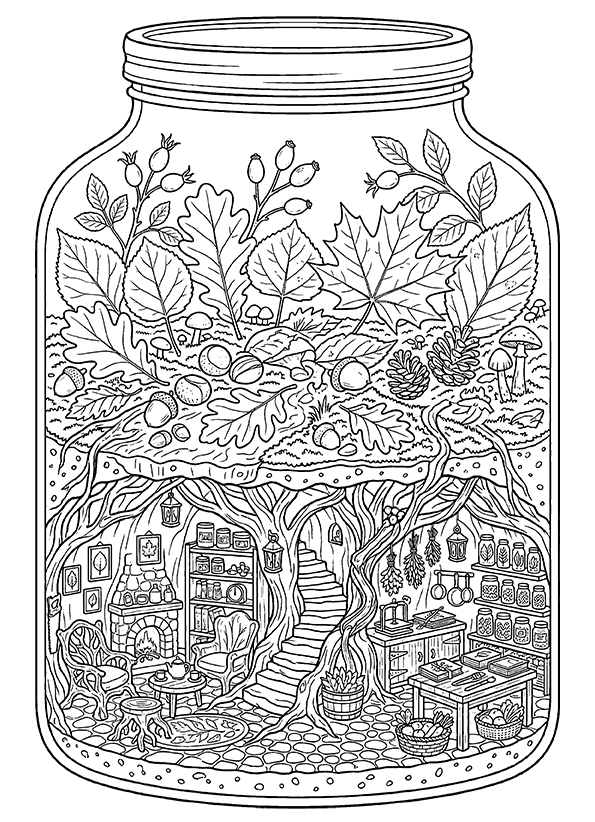
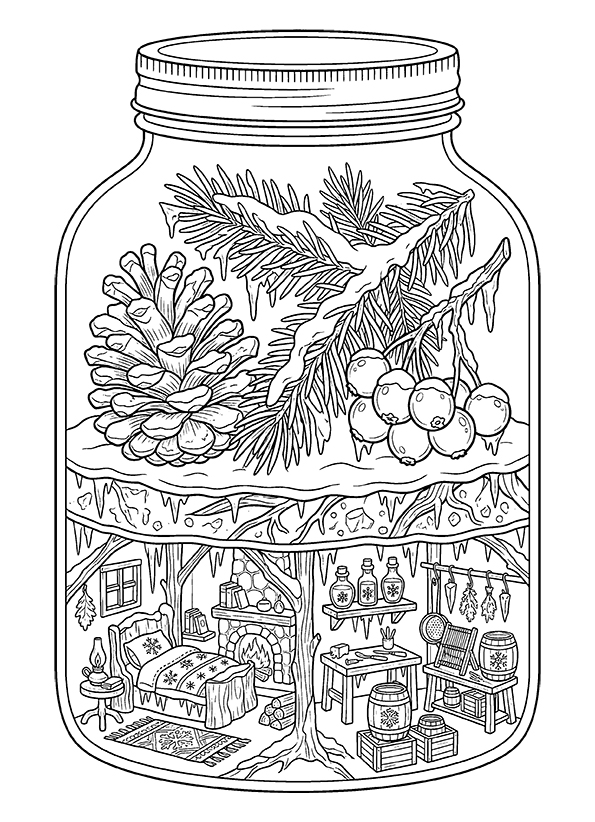
These free printable jar coloring pages turn ordinary glass containers into miniature landscapes, magical gardens, and tiny imaginary homes. Each design is available as an individual A4 PDF. Some mason jar coloring pictures feature a single scene, such as a flower garden, an underwater world, or a snowy village. Others contain intricate miniature worlds with tree roots, underground rooms, winding staircases, and detailed furnishings hidden beneath the landscape. The illustrations range from simple cartoon scenes to elaborate fantasy designs with plenty of small details to color.
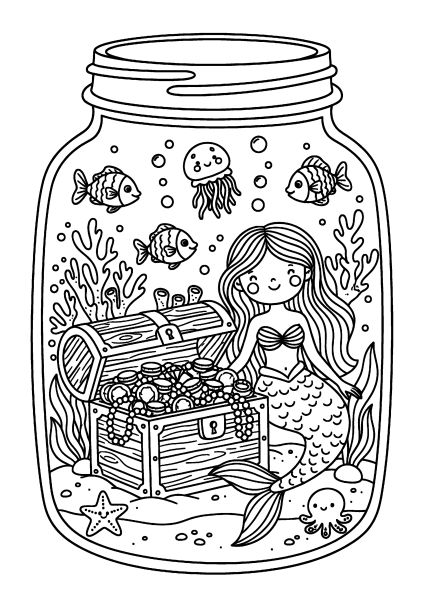
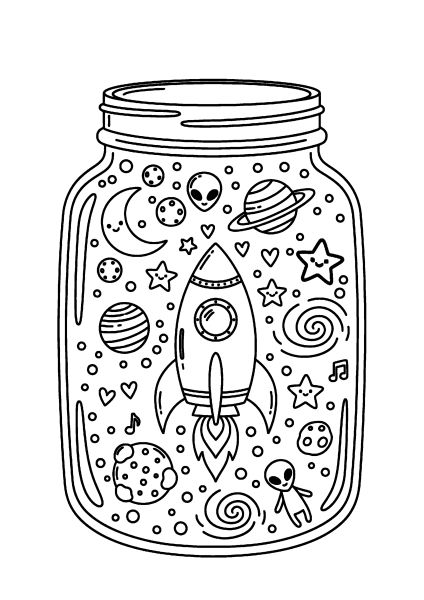
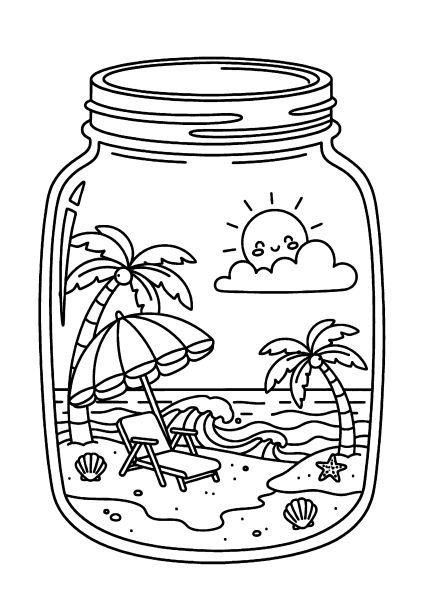
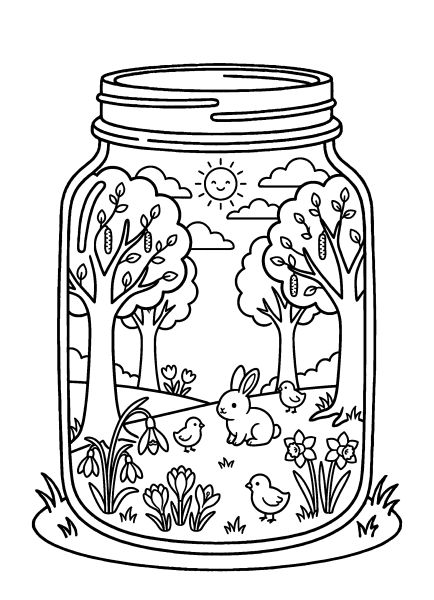
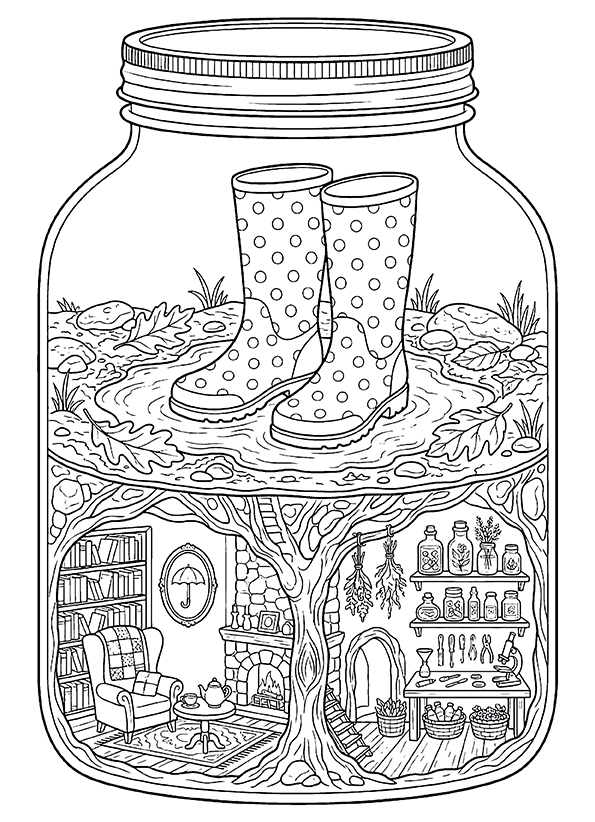
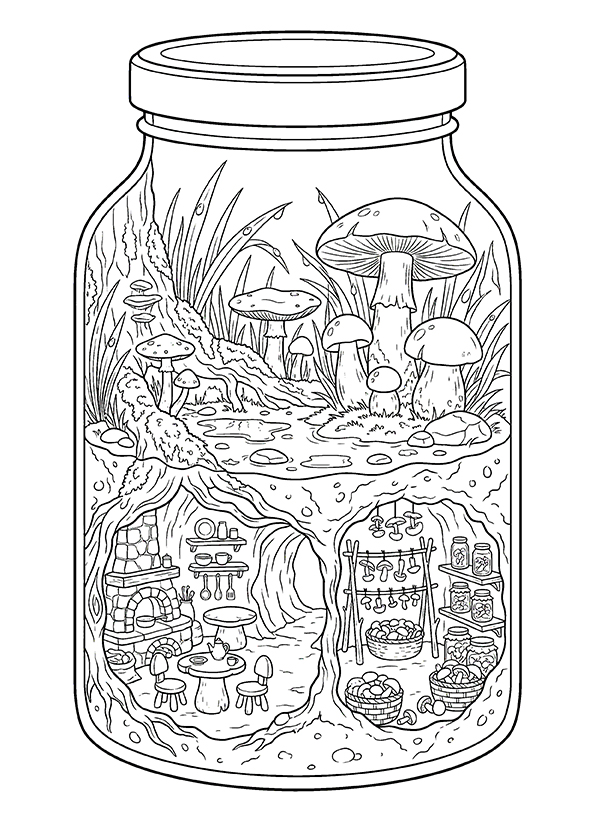
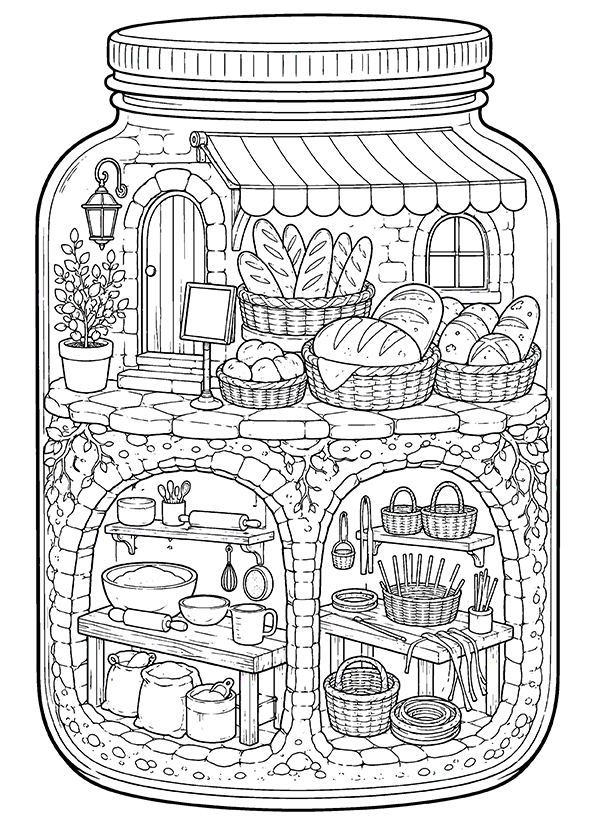
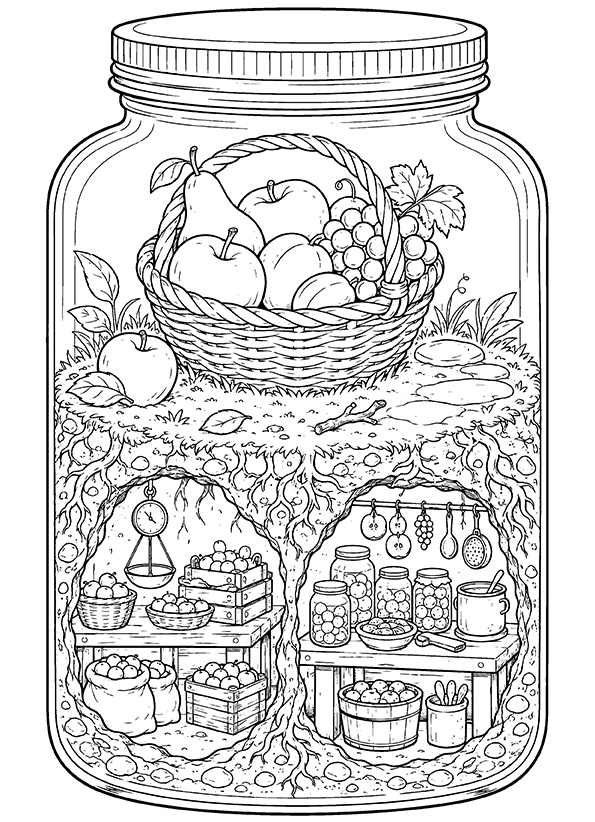
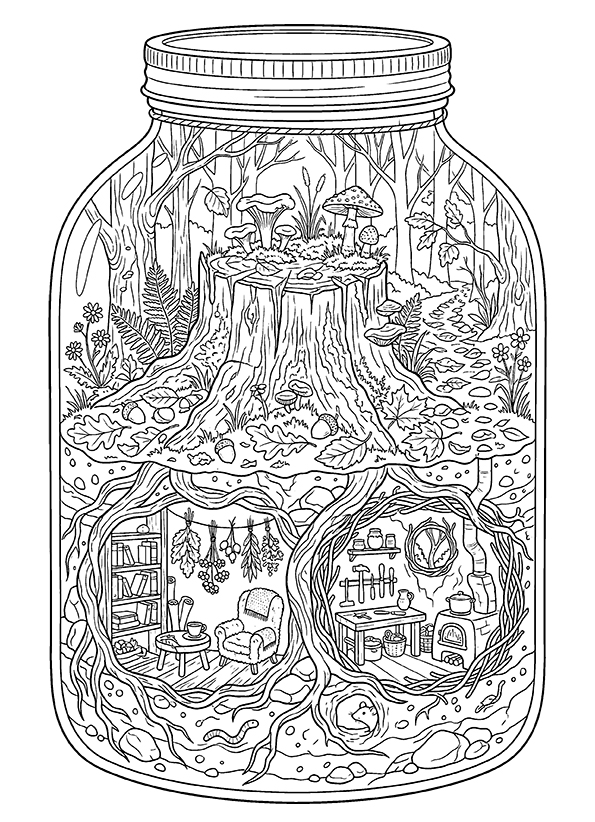
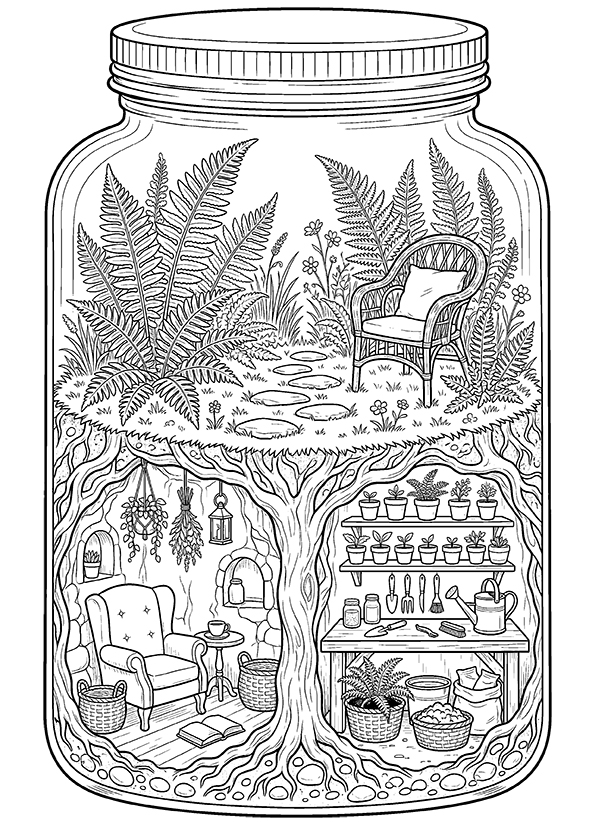
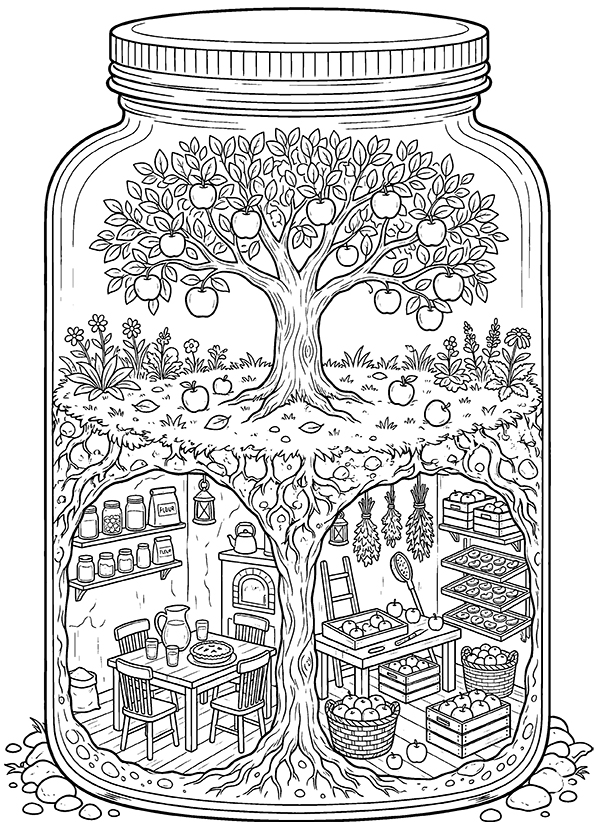
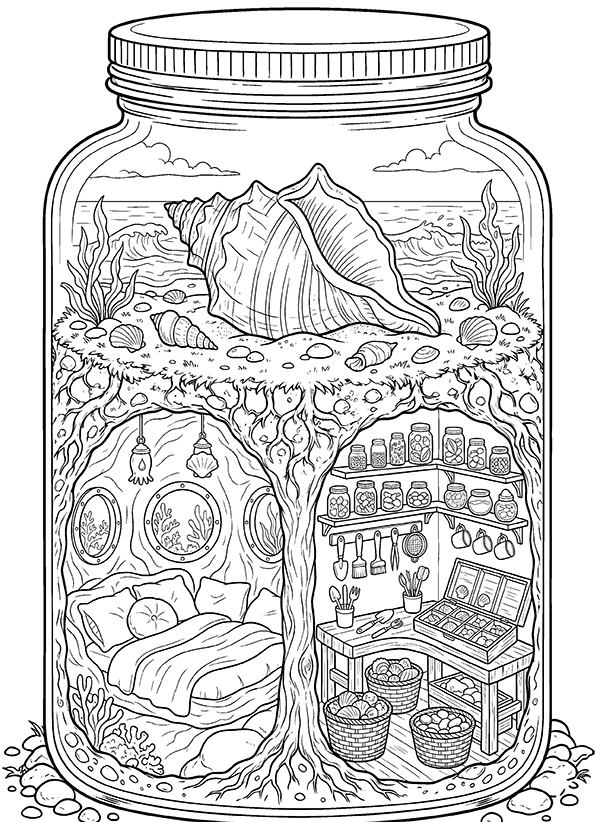
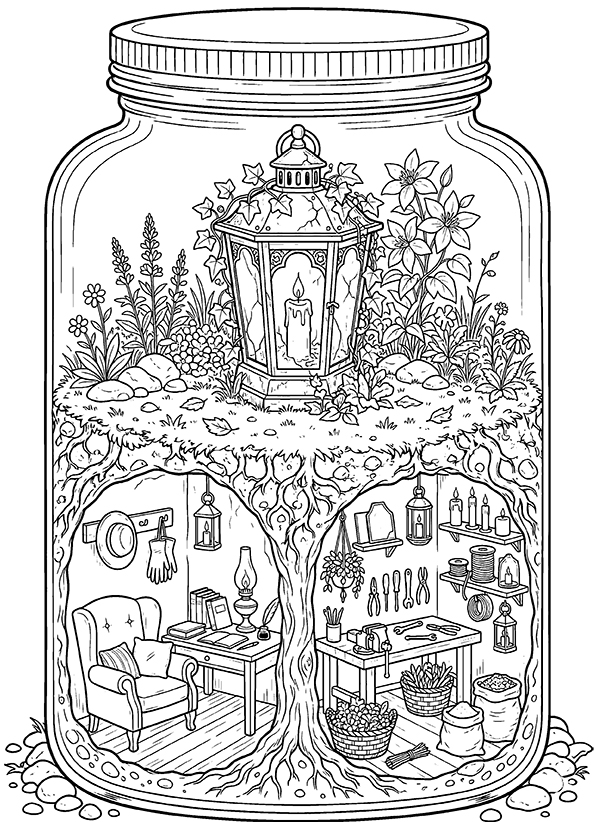
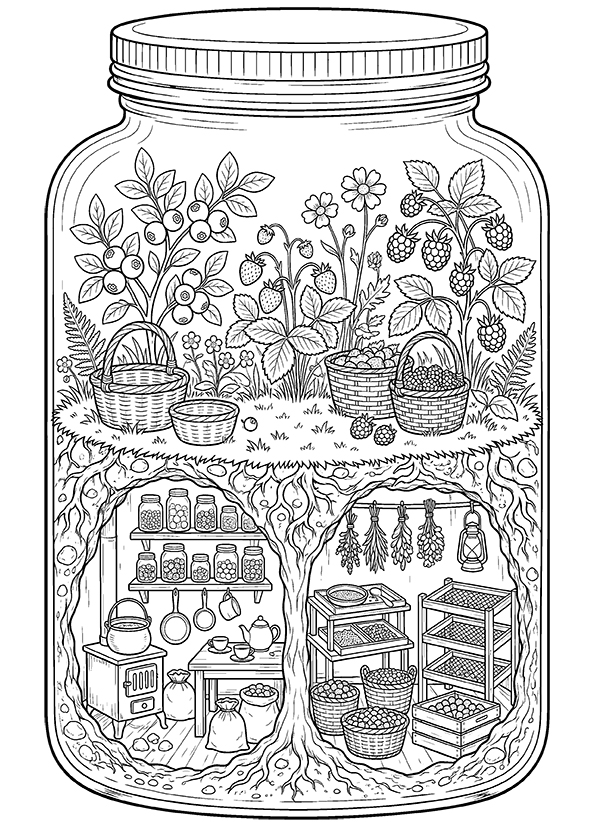
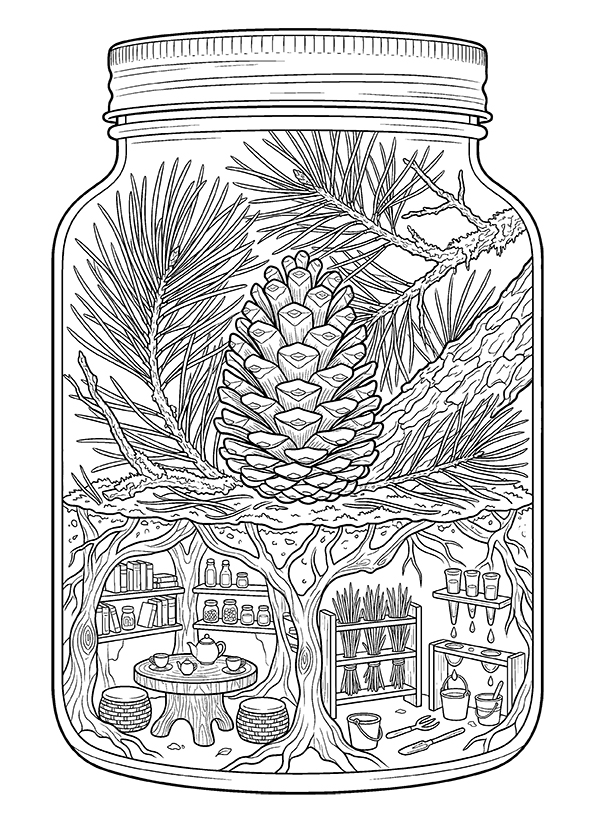
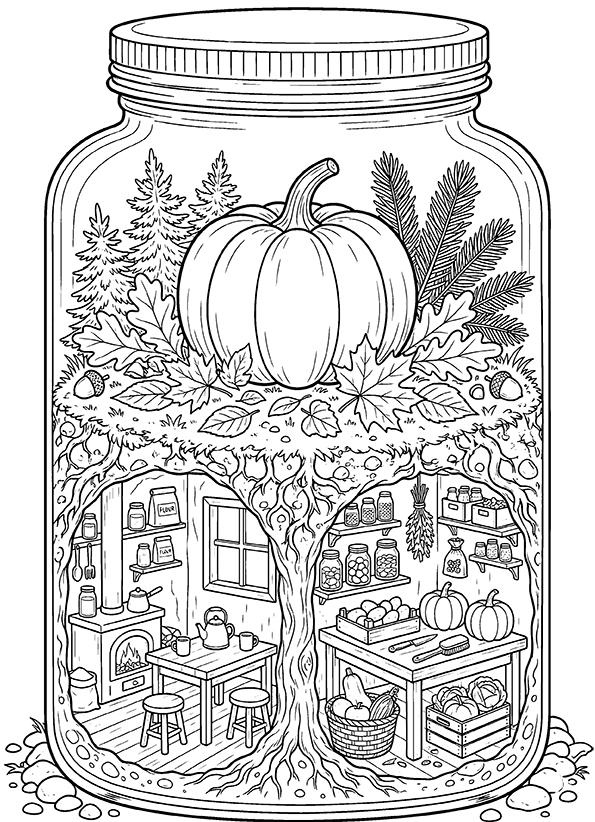
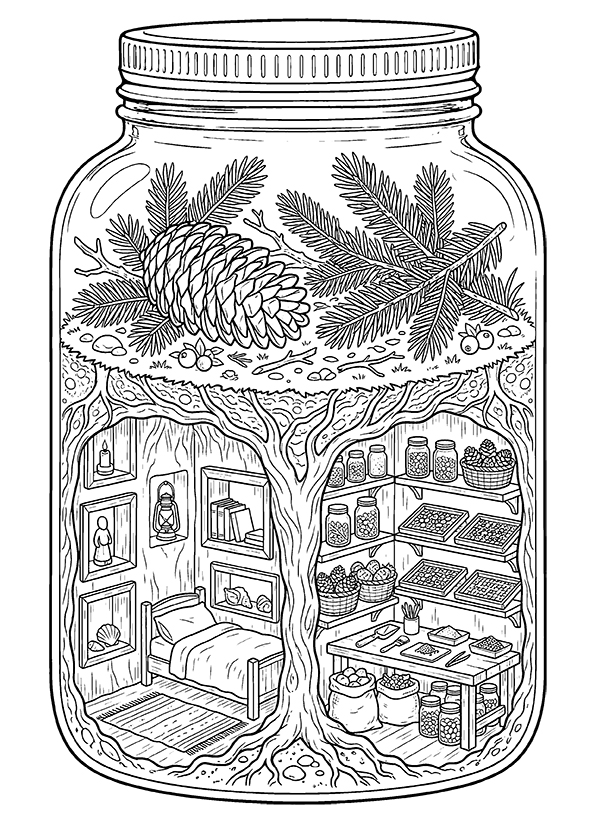
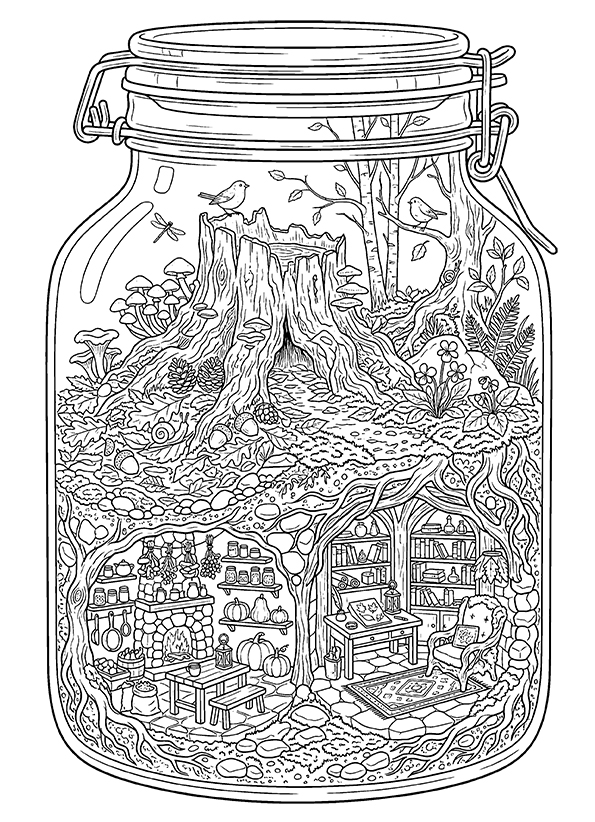
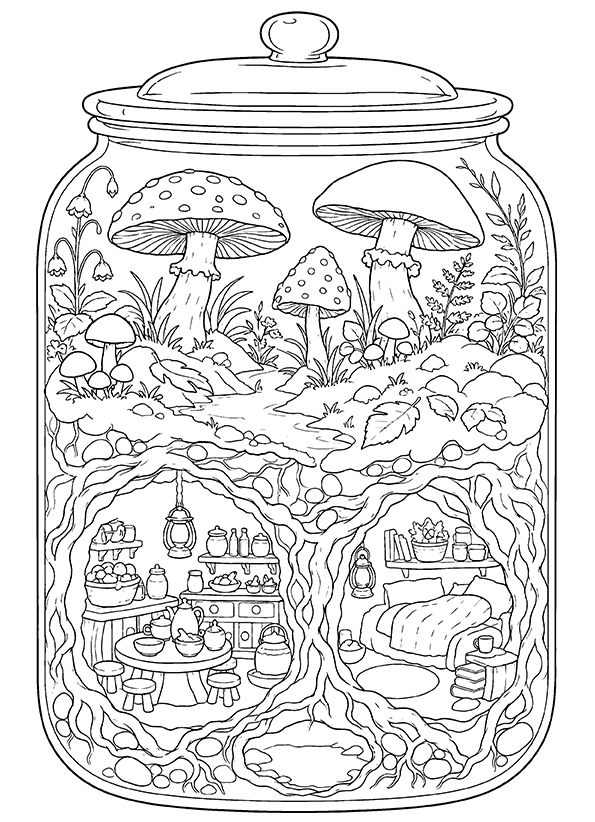
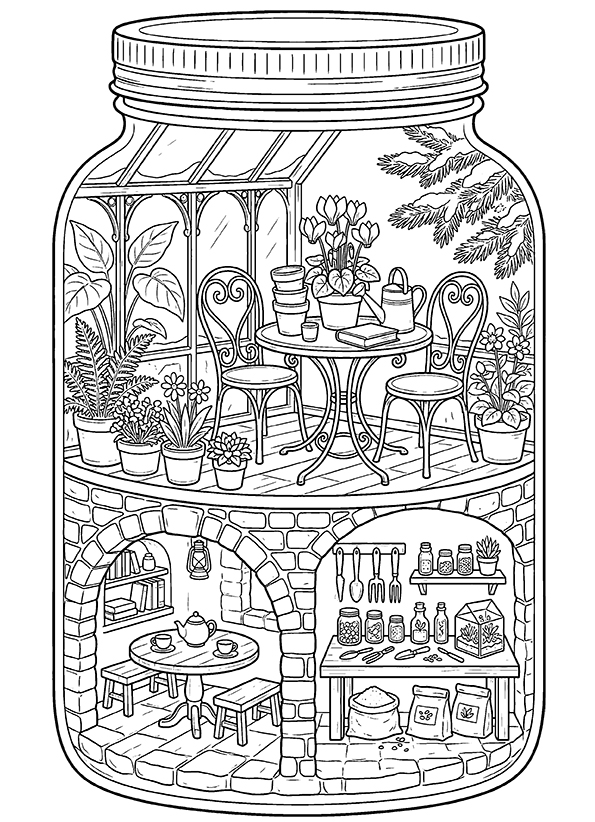
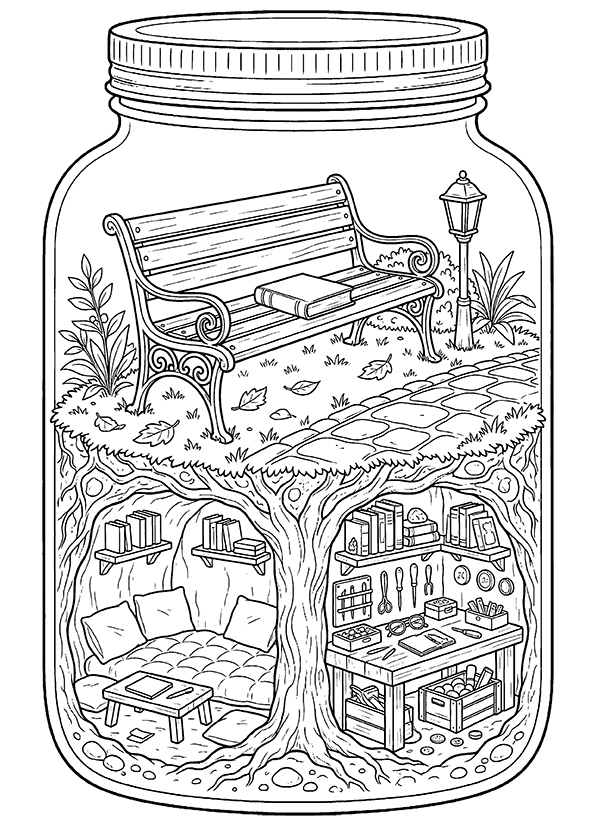
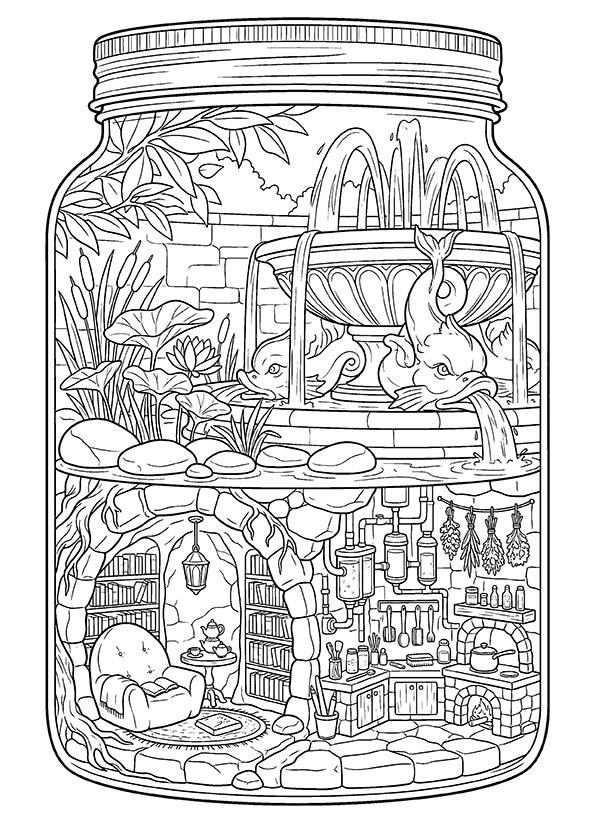
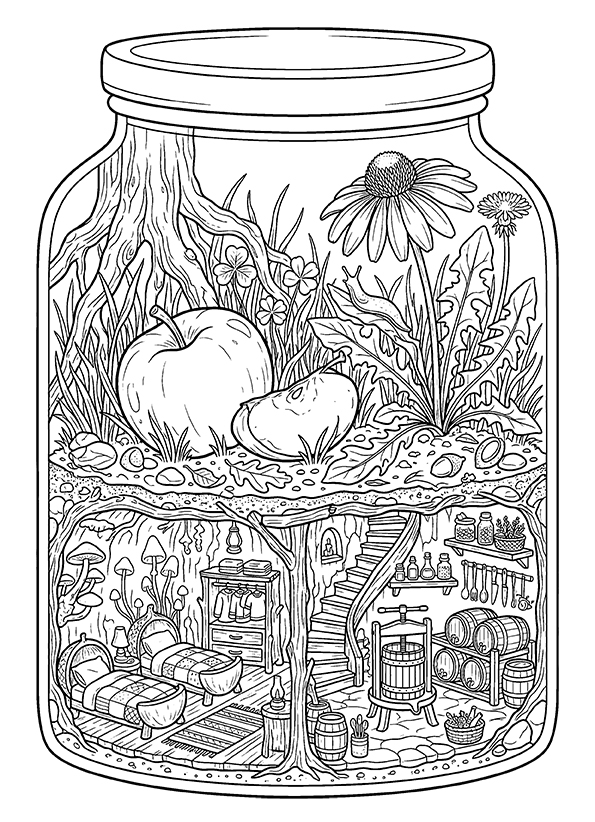
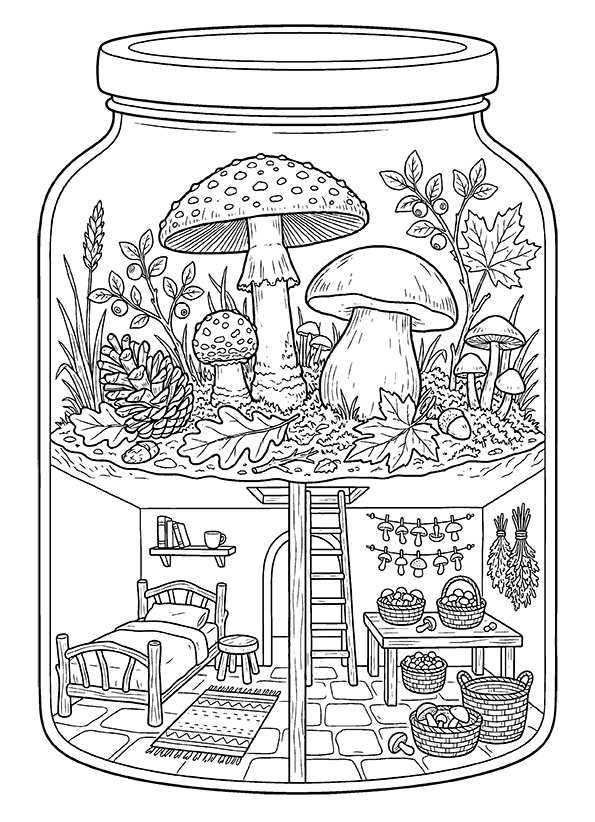
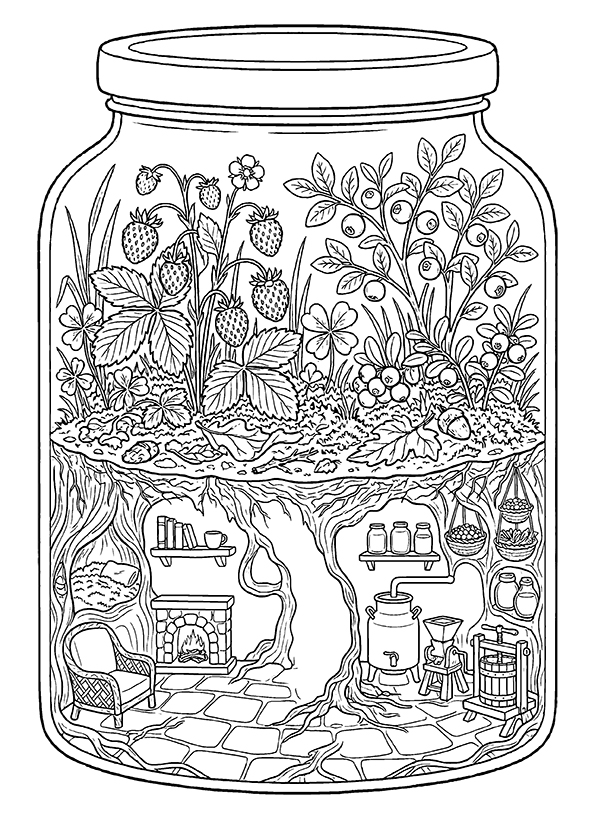
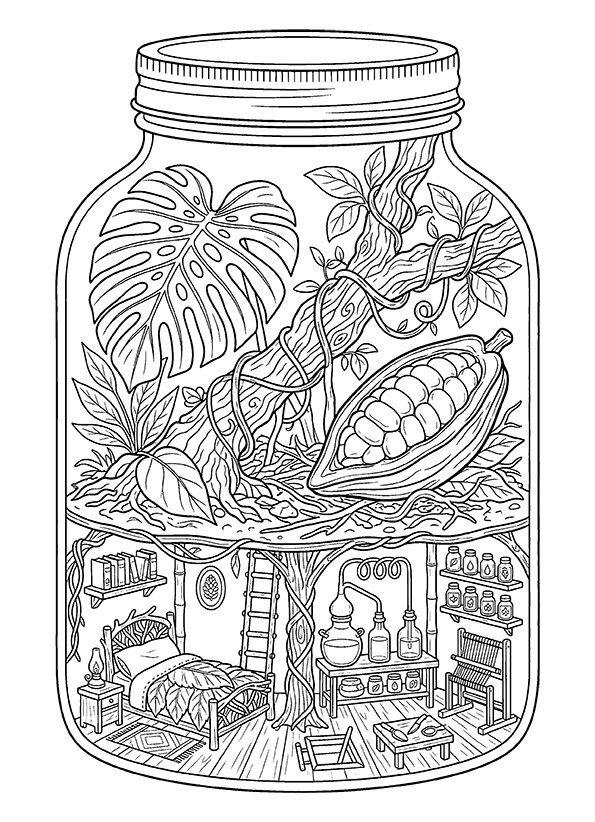
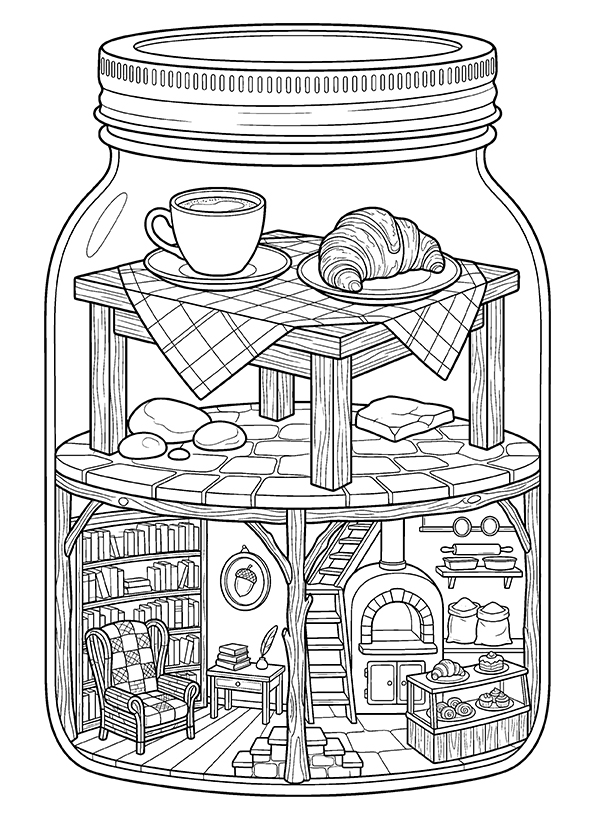
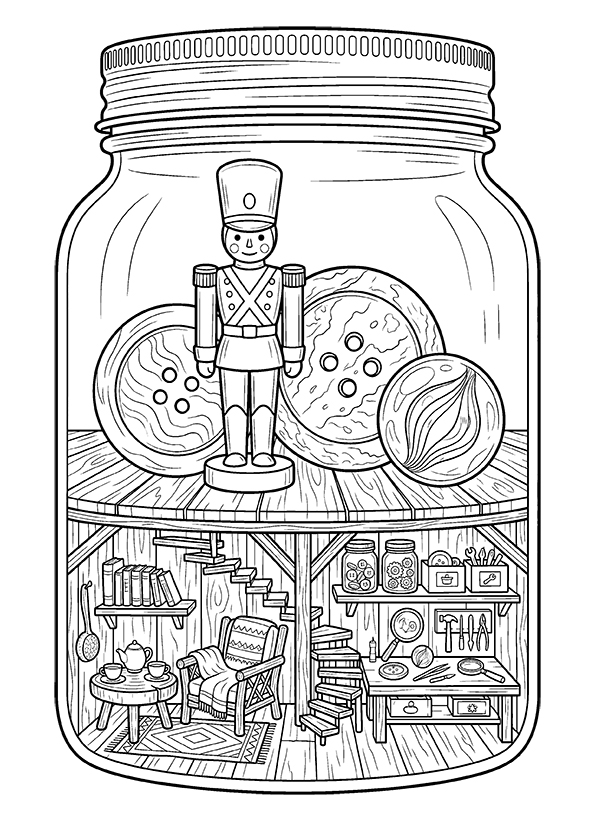
The jars contain remarkably different places. A rocket travels through space, a mermaid rests beside a treasure chest, and a tropical beach fits beneath a glass lid. Woodland scenes feature deer, hedgehogs, rabbits, and flowering meadows, while plant-filled designs resemble miniature terrariums. The more elaborate pictures reveal an imaginary world beneath the surface: mushrooms grow above cozy bedrooms, fruit trees shade underground kitchens, and a tiny bakery has its own hidden workrooms. These cutaway illustrations combine familiar household objects with unusual landscapes and miniature architecture.
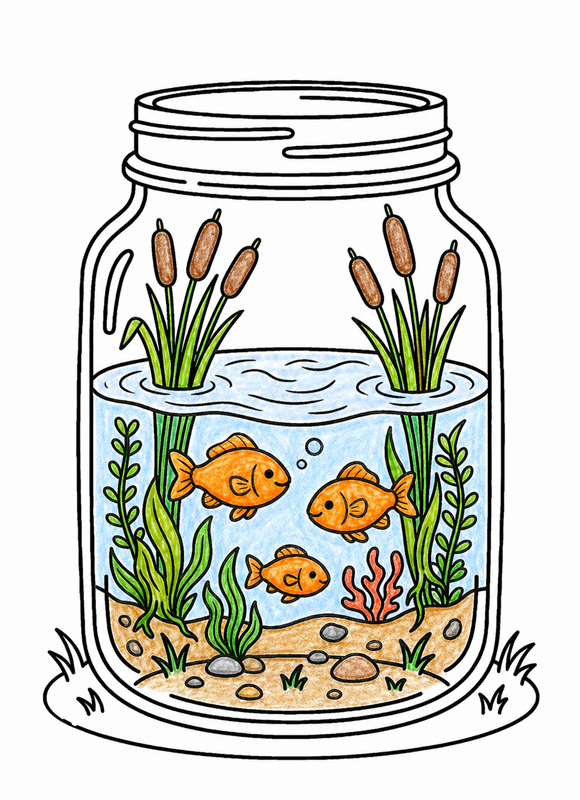
💧 Step 1 — Color the Water
Let’s start with the water inside the jar.
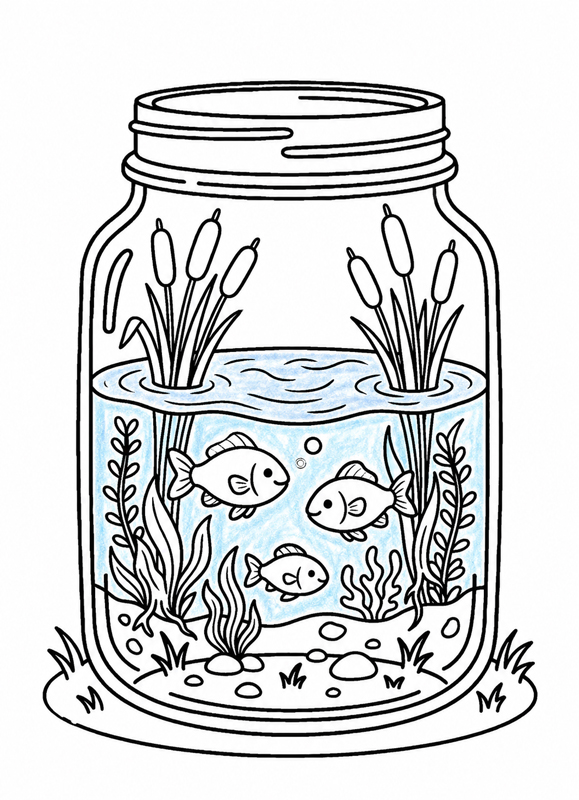
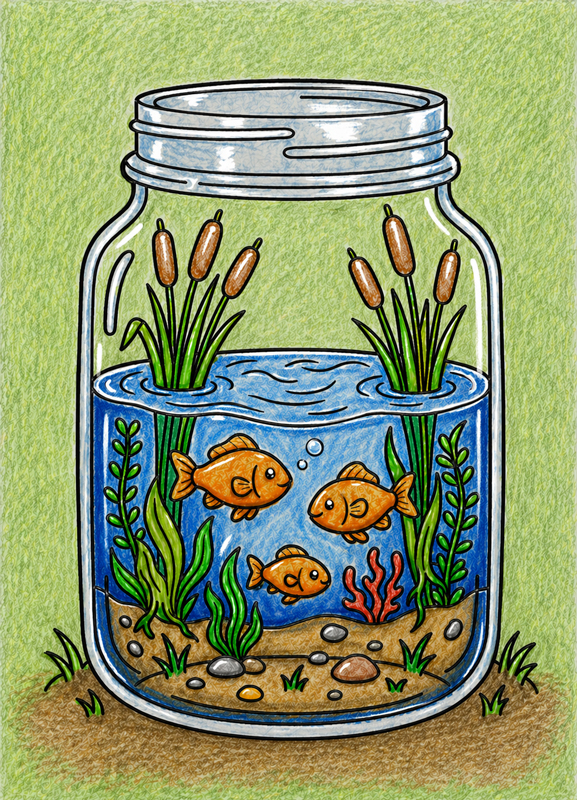
Take a light blue pencil and slowly fill in all the water up to the wavy line at the top. Try to keep your hand relaxed — no need to press hard.
It’s okay if you can see the pencil strokes. That’s exactly what makes it feel real and hand-colored.
Tip: For now, just focus on the water. Leave the fish, plants, stones, and the glass parts untouched.
🐠 Step 2 — Color the Life Inside
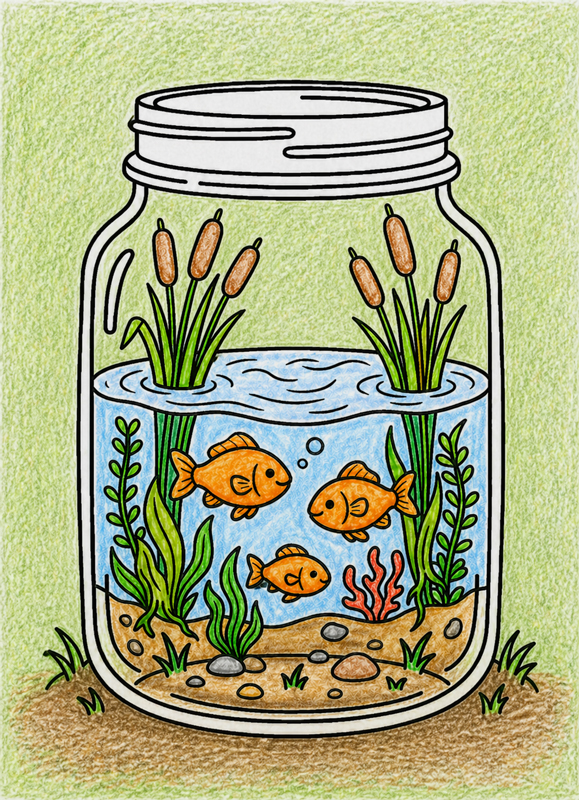
Now let’s bring the little world inside the jar to life.
Take a few different colors — orange for the fish, green for the plants, and brown for the stones. Start filling them in one by one.
Go slowly and try to cover each shape fully, so there are no white spots left inside the objects. It’s okay if you can see the pencil strokes — that makes it feel natural.
Just focus on what’s inside the jar for now.
Tip: Leave the water, the glass, and everything outside exactly as they are.
🌿 Step 3 — Color the Background
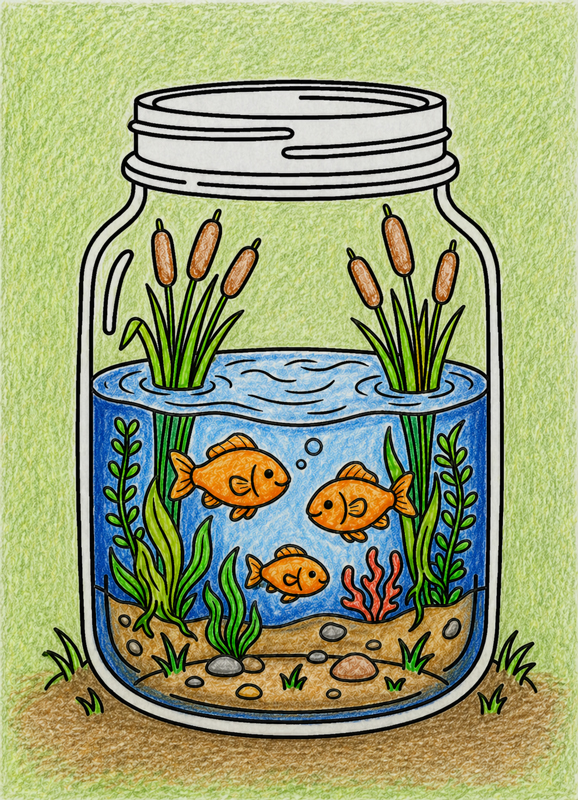
Now let’s finish everything outside the jar.
Take green and brown pencils and start filling in the reeds, grass, ground, and the wall behind. Work your way around the jar and cover all the white areas.
Use short, simple strokes instead of trying to make it perfectly smooth. That slightly uneven look makes it feel more natural and hand-colored.
Keep going until the whole background is filled in and nothing is left blank.
Tip: Be careful around the edges of the jar — leave the glass and everything inside it just as they are.
🌊 Step 4 — Add Depth to the Water
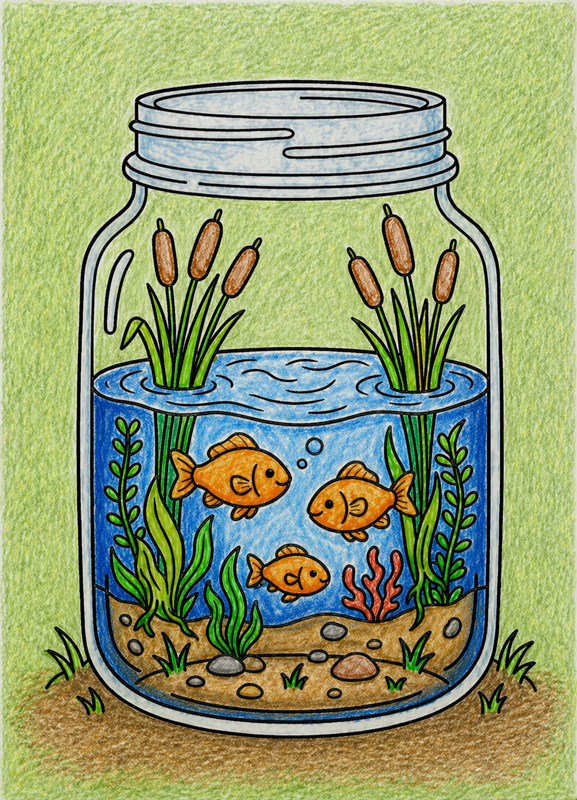
Now let’s give the water and everything inside a bit more depth.
Take a darker blue pencil and gently go over the edges of the water near the glass and along the bottom. This will make the jar feel deeper.
Then use a slightly darker orange on the lower parts of the fish and a bit on the plants. Just add a few clear strokes — no need to blend or smooth them out.
Let your strokes stay visible — that’s what gives it a natural, hand-colored look.
Tip: Focus only on the inside of the jar. Leave the glass rim and everything outside just as they are.
🫙 Step 5 — Color the Glass Rim
Now let’s take care of the top of the jar.
Pick a very light blue or a cool gray pencil and gently go over the glass rim. Use light, broken strokes instead of filling it in completely.
Leave some small white areas here and there — that’s what makes it look like clear glass.
Follow the shape of the rim so it feels round and slightly shiny.
Tip: Keep your touch very light and don’t go over the inside of the jar or the background.
✨ Step 6 — Add Final Highlights
Now let’s add the final touches that make everything come alive.
Take a white gel pen or marker and add bright highlights on the curved parts of the glass. These little marks will make it look shiny right away.
You can also add tiny white dots for air bubbles and small bright spots in the fish’s eyes.
Don’t be too shy here — the highlights should be clearly visible and stand out.
Tip: A few bold white touches can completely change the look and give the jar that glassy shine.
🏡 A Closer Look at the Tiny Worlds Inside These Jars
The shape of the jar changes the way an ordinary landscape is presented. A river, mountain range, or forest must fit within the curved glass walls, making familiar scenery appear surprisingly small. The rounded shoulders and narrow neck create a natural frame around the picture. In the simpler illustrations, the main subject is easy to recognize at a glance. The detailed jar scenes invite a slower look, revealing tiny objects and architectural features that might be overlooked in a larger landscape.
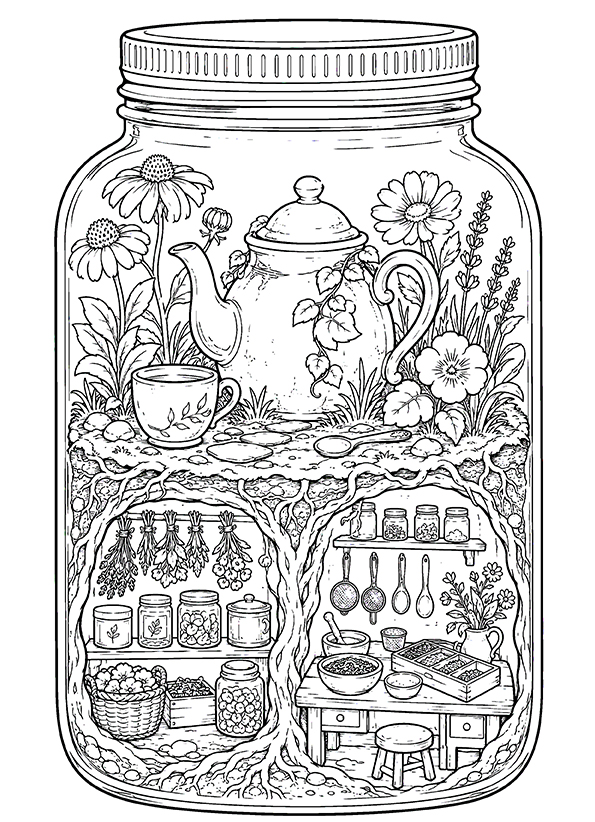
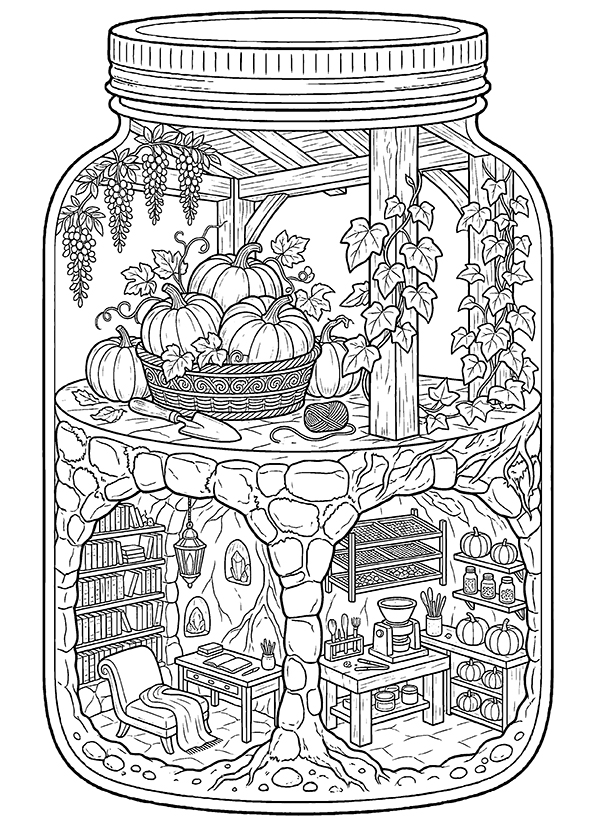
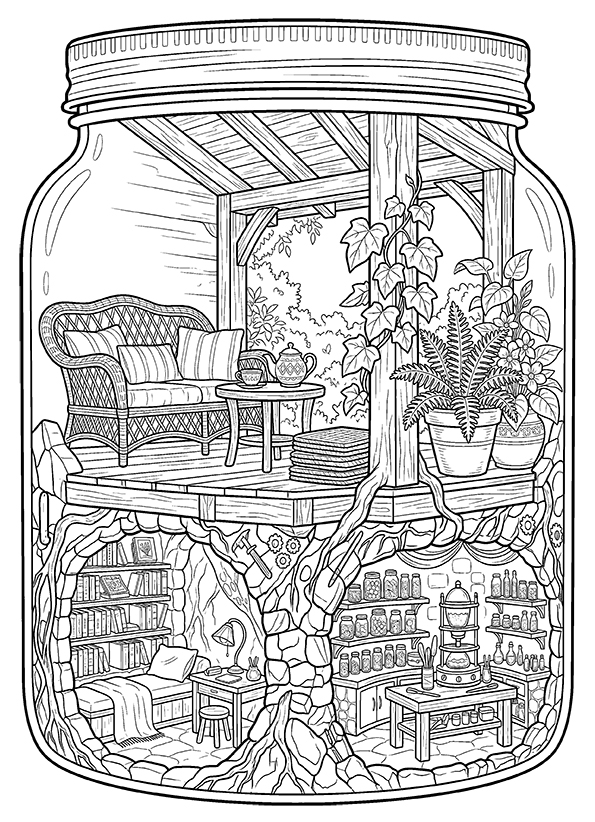
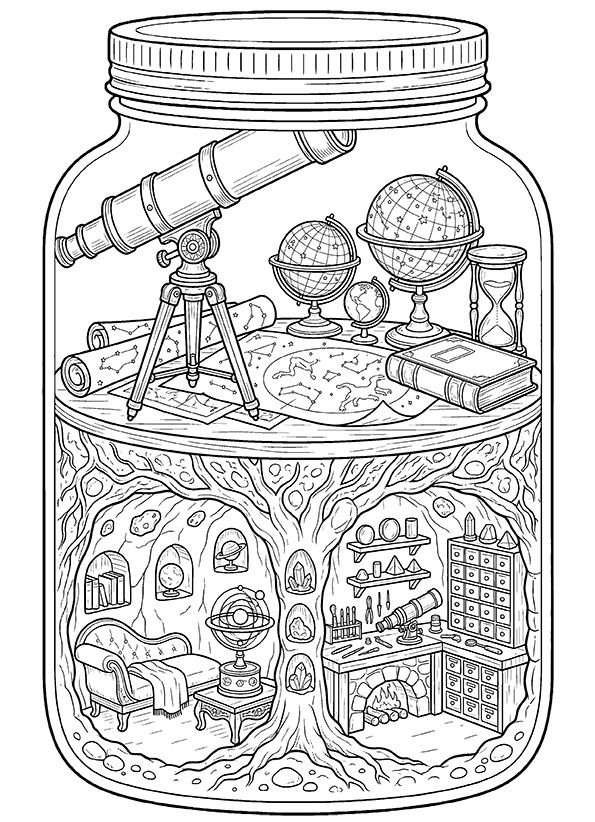
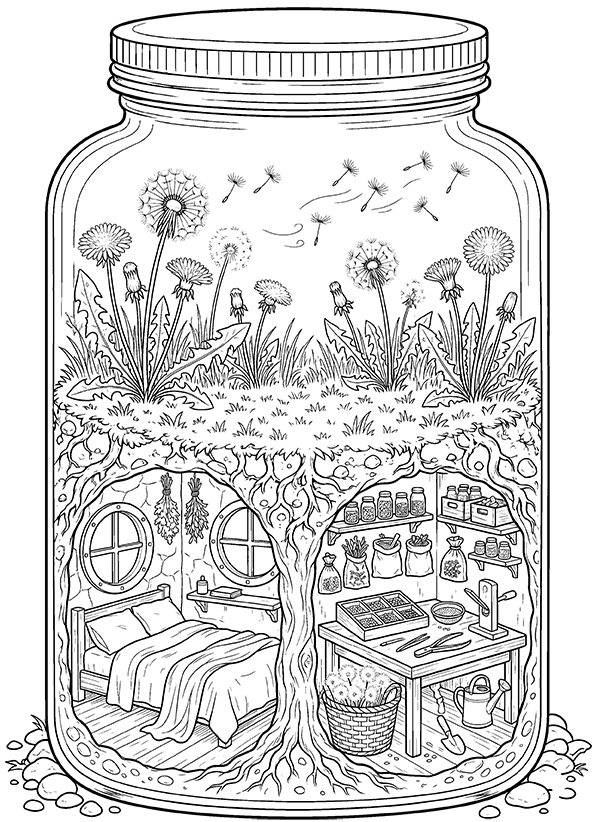
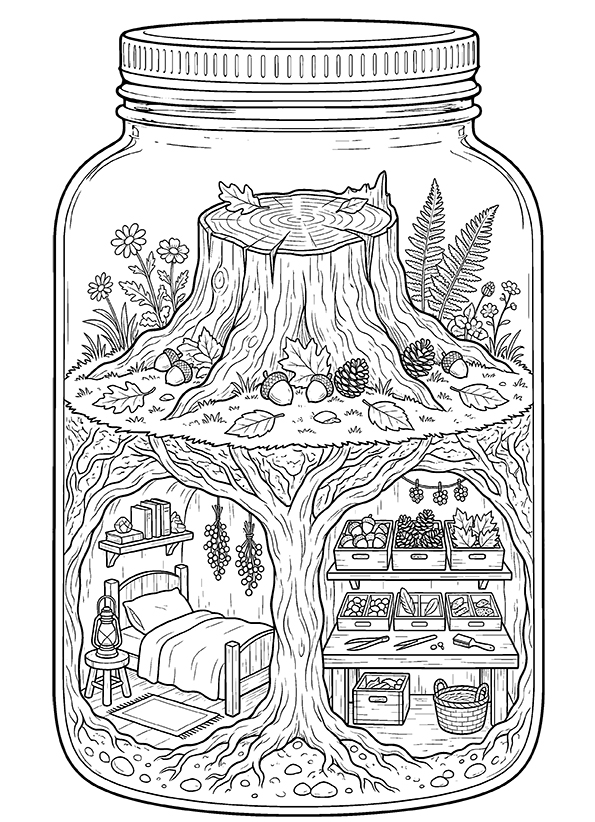
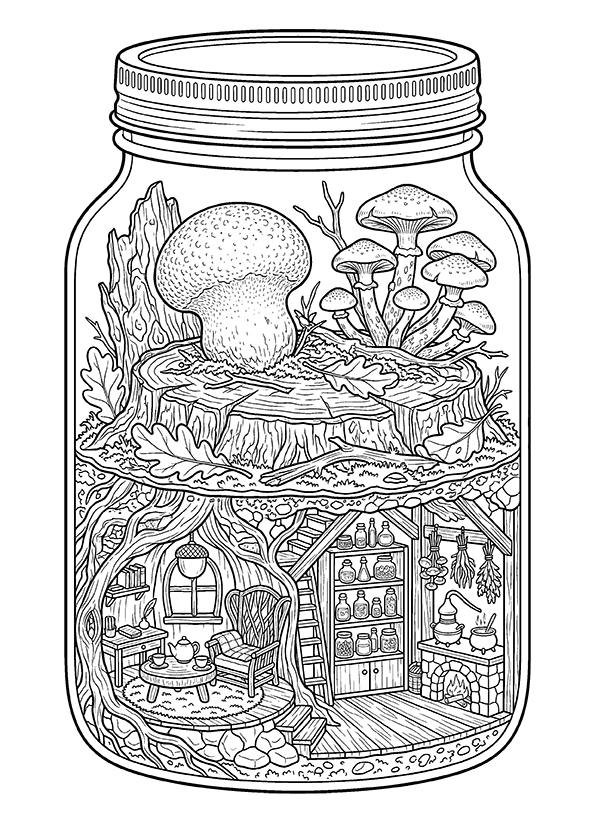
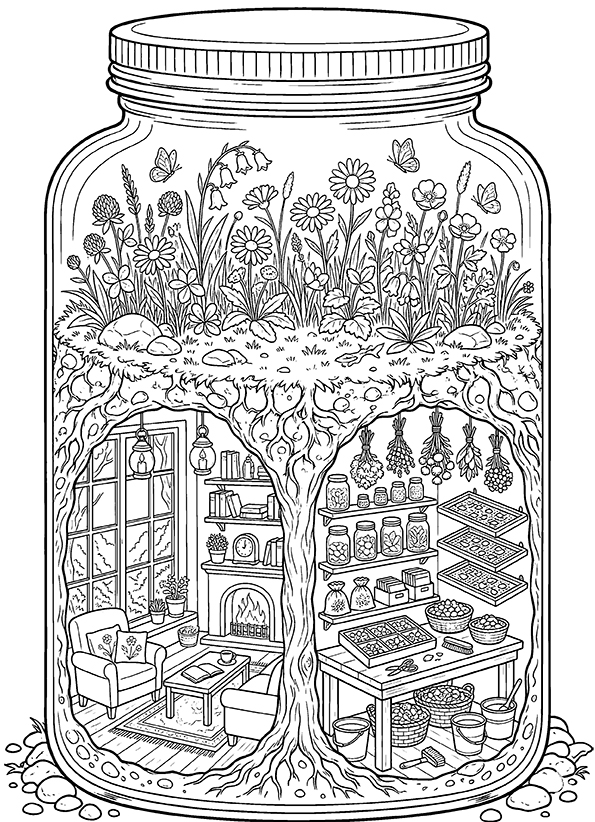
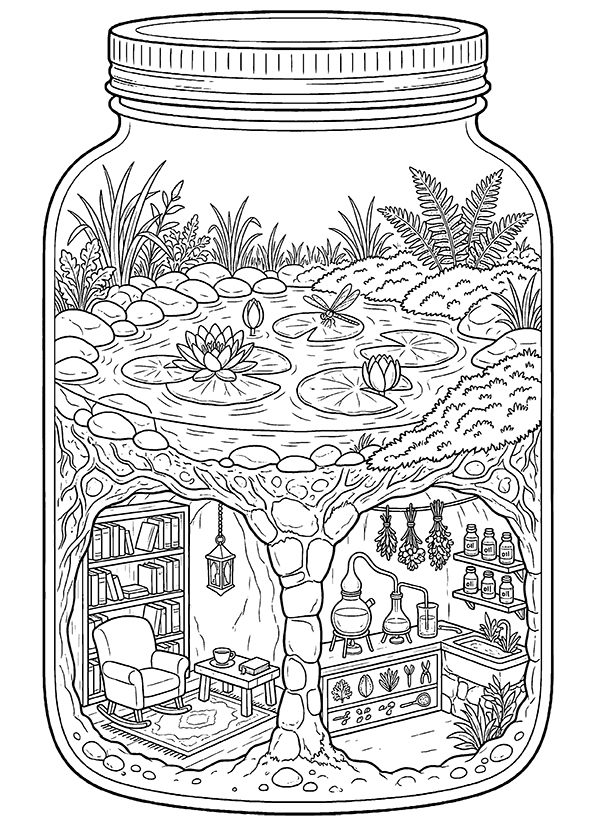
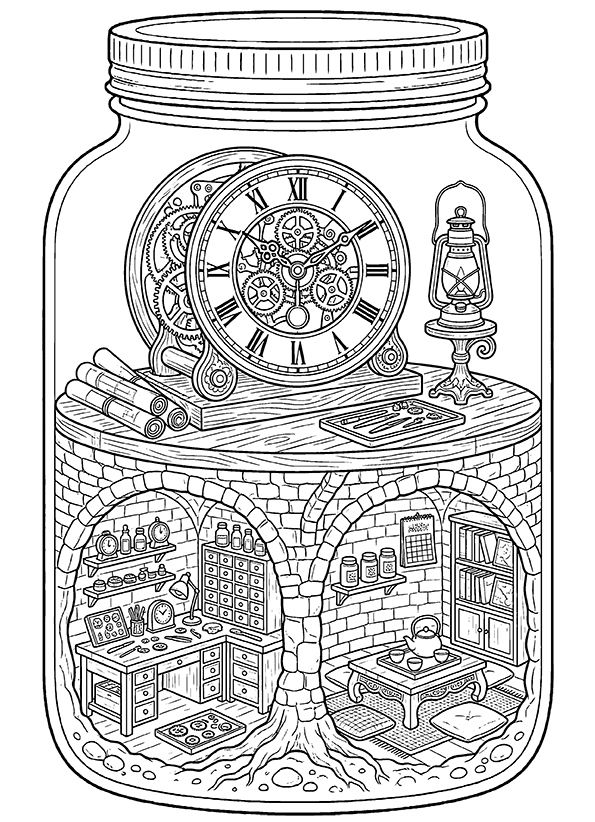
The underground homes are especially unusual because they show both the surface of the landscape and the spaces hidden beneath it. Roots and soil form natural partitions between rooms, while arches, ladders, and staircases connect the miniature interiors. A tree trunk may become the central support of a house, and a layer of earth can serve as its roof. These are cutaway illustrations, similar to looking inside a dollhouse, except that the entire structure is enclosed in a glass jar. The combination makes it possible to see outdoor and indoor spaces in the same picture.
Some designs are closer to traditional terrariums, with plants and natural habitats taking up most of the container. Cacti and stones create a miniature desert, tall ferns fill a tropical jungle, and reeds surround little ponds. Other jars contain coral reefs, mountain streams, or snowy forests that would not exist inside a real terrarium. This contrast between recognizable natural environments and impossible miniature worlds is part of the collection's character. The plants, rocks, water, and soil also provide different textures to color.
In many of the more intricate pictures, the objects above the ground connect visually with the rooms below. A basket of apples sits over a pantry, a teapot and flowers appear above a tiny kitchen, and a telescope stands over a miniature study. Mushrooms, pinecones, seashells, and pumpkins create other distinctive settings for the hidden homes. Looking for these connections can make the detailed illustrations especially interesting. When coloring them, you can use related shades in the upper and lower sections to connect the two parts of the scene, or contrasting palettes to make the difference between indoors and outdoors more noticeable.
Each illustration is available as an individual printable A4 PDF, allowing you to choose between a simple mason jar scene and a more detailed miniature world. Print at 100% scale to preserve the original proportions and fine outlines, particularly around tiny furniture, tree roots, windows, and decorative objects. Colored pencils are useful for narrow spaces and intricate interiors, while crayons work well for larger areas in the simpler coloring sheets. If you use markers, place an extra sheet of paper beneath the print to protect the surface below.