Cute House Coloring Pages
🏡 Free Printable Cute House Coloring Pages
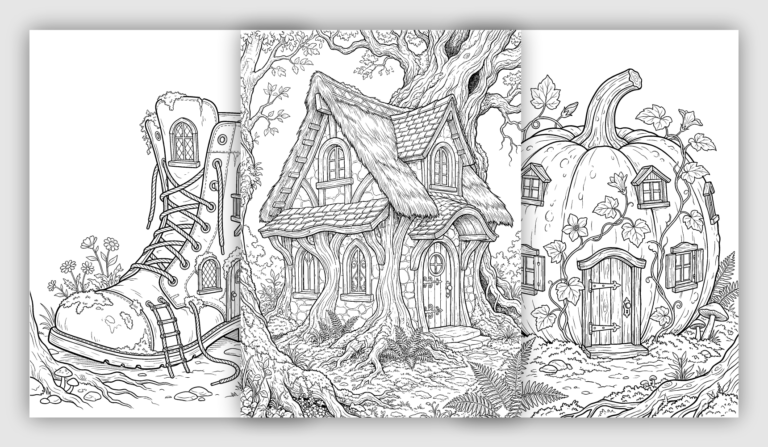
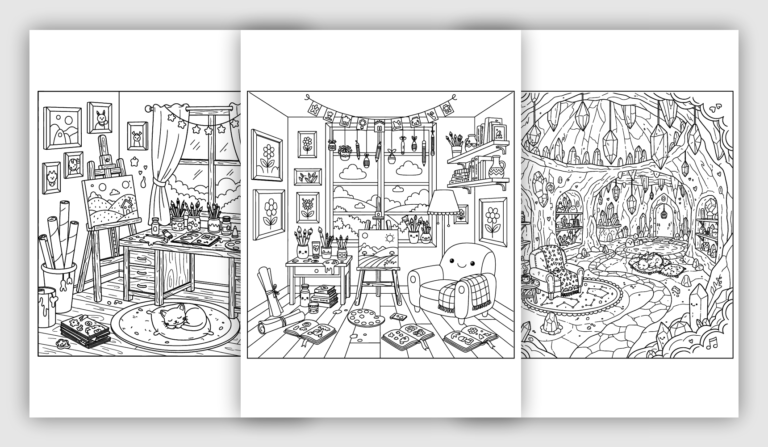
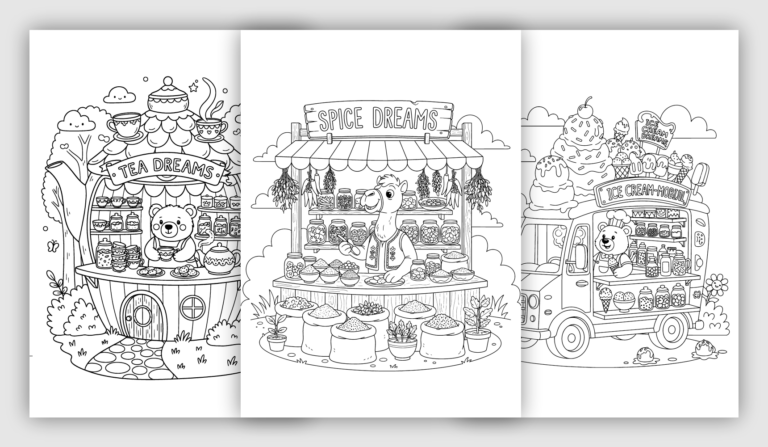
These free printable cute house coloring pages feature little cottages, cheerful village shops, storybook buildings, and imaginative homes with playful shapes. Each picture is available as an individual A4 PDF. The illustrations have clear black outlines, rounded architectural details, and charming features such as heart-shaped doors, flower-filled windows, striped awnings, and tiny gardens. Some houses resemble cozy countryside homes, while others take inspiration from mushrooms, trees, and fantasy castles. The collection also includes colorful village scenes waiting to be imagined, with bakeries, cafés, bookstores, and other small shops designed in a friendly cartoon style.
The houses come in many shapes and settings. A grassy hillside cottage has a round door, a tall mushroom home is connected by a winding staircase, and a tree castle rises above the forest floor. Other pictures show a lighthouse on a tiny island, a house beneath the branches of a giant tree, and a playful building inspired by musical instruments. The village shops have their own recognizable details, from cakes in bakery windows and candy displays to bicycles, flower baskets, and outdoor café tables. Most drawings keep the surrounding scenery relatively open, allowing the houses and their decorative features to remain the main focus.


🎨 Color Ideas for Cute Houses and Storybook Villages
Cute house designs work well with cheerful combinations such as peach walls and blue roofs, pale yellow cottages with mint-green doors, or soft pink buildings with lavender window frames. Keeping the roof, walls, and entrance in separate colors can make a little house easy to recognize. For a storybook village, neighboring shops can have different palettes while sharing a few repeated colors in their awnings, signs, or flower boxes. Warm browns and terracotta suit tiled roofs, while pastel shades can give unusual buildings a playful cartoon appearance.
The fantasy houses offer other possibilities. A mushroom home might have a red cap with white spots or a lavender roof above pale yellow walls. Tree houses can combine several greens and browns, with brighter accents on their doors and balconies. Candy shops invite pinks, reds, and mint greens, while a lighthouse can stand out with alternating stripes. These are simply ideas, not rules; you can choose your own colors for every cottage, shop, and imaginary home. Click on any image to enlarge and explore the details up close.


🏠 Coloring This Cozy Shop Step by Step
This page has a lot of small details, so the easiest way is to take it one step at a time.
We’ll start with the main structure of the house, then slowly add all the little items inside and around it. After that, we’ll finish the background and add a few simple touches to bring everything together.
There’s no need to rush or make it perfect. Just follow along, keep your strokes light, and enjoy watching the whole scene come together.

🏠 Step 1 — Color the House
Let’s start with the outside of the house.
Take your colored pencils and gently fill in the walls, roof, window frames, doors, awning, and the sign. Use light pressure so the color stays soft and even.
Try to keep your strokes smooth, but don’t worry if you can see the pencil texture — that’s perfectly fine.
For now, just focus on the structure of the building. Keep everything simple, with no shadows yet.
Tip: Leave everything inside the windows and all the small objects around the house uncolored — we’ll get to those next.

🛍️ Step 2 — Color the Details
Now let’s move on to everything inside and around the shop.
Take your pencils and start coloring all the items — everything inside the windows, on the shelves, and all the little objects outside.
Use a light touch and give each object its own color. Take your time and try to fill in even the small details.
For now, just keep it simple — no shadows, just smooth base colors.
Tip: Leave the house structure and the background as they are. We’ll come back to them later.

🌤️ Step 3 — Fill in the Background
Now let’s color everything that is still empty in the background.
Choose light, gentle colors and fill in the remaining spaces with soft pencil strokes. Keep your hand relaxed and try not to press too hard.
This step is not about shadows yet — just give the background a clean, simple base color.
Try to cover all the white areas, unless they are meant to stay as small highlights.
Tip: Leave the house, the windows, and the objects exactly as they are. We’re only finishing the background here.

🏠 Step 4 — Add Depth to the House
Now let’s give the house a bit more shape so it doesn’t look flat.
Take the same colors you already used and go over a few areas again, pressing slightly harder. Start under the roof and the awning — add a darker line there to show shadow.
Then lightly darken around the window frames and make the lower part of the walls a bit darker than the top.
Work in small areas and keep your strokes visible — no need to smooth everything out.
Tip: Try to build the shadows step by step, not all at once. Leave the inside of the windows, the objects, and the background just as they are.

🪄 Step 5 — Add Depth to the Objects
Now let’s make the objects feel a bit more real and solid.
Take the same colors you already used and gently go over a few areas again, pressing just a little harder.
On jars and cups, darken the bottom part and a little on one side. On fruits, add a bit of darker color underneath.
For objects on shelves and the table, add a small shadow right where they touch the surface. This helps them feel like they’re really sitting there.
Work in small spots and keep your strokes visible — no need to smooth or blend everything.
Tip: Keep it light and controlled. A little darkening goes a long way.

✨ Step 6 — Add Bright Highlights
Now let’s add those final little touches that make everything pop.
Take a white gel pen and look for the shiny parts — glass jars, cups, and windows. Add a few curved white lines where light would naturally hit.
You can also place small white dots on fruits to make them look a bit glossy.
Don’t make them too tiny — the highlights should be easy to notice, but still light and аккуратные.
Tip: A few bright marks are enough. No need to cover large areas — just small touches to bring the scene to life.


🏘️ Little Houses, Village Shops, and Playful Architecture
Many of these houses use familiar architectural features in slightly unexpected ways. A heart appears in the middle of a front door, windows become unusually round or tall, and roofs curve or stretch into pointed peaks. Small balconies, flower boxes, shutters, and decorative chimneys add personality without making the buildings look complicated. The cartoon proportions are an important part of their appeal: a tiny doorway may sit beneath a very large roof, while a little shop can have display windows almost as wide as its entire front wall. These exaggerated shapes distinguish the cute designs from more realistic architectural illustrations.
The village shops are recognizable through the objects displayed around their entrances. A bakery shows bread and pastries, a candy store has sweets and oversized lollipops, and a florist displays flowers beneath its awning. Other storefronts include a tailor's workshop, a cheese shop, a pet shop, and places selling books or toys. Their signs and window displays provide clues about what happens inside each building. When coloring a shop, you can use its merchandise to guide the overall palette or give every storefront its own distinctive combination of colors.
The fantasy homes introduce a different kind of architecture. The grassy hillside house has a round entrance surrounded by flowers, while the mushroom cottage uses a broad spotted cap as its roof. Tree houses may have ladders, spiral stairs, or small raised platforms, and one elaborate tree castle has turrets extending from its branches. There are also unusual buildings inspired by music, a hanging spherical home, and a little house near a pond. Although these structures are imaginary, their doors, windows, roofs, and pathways make them easy to recognize as places where someone could live.
These cartoon house coloring sheets offer different amounts of detail. Some have broad walls, open skies, and simple paths that are easy to fill with crayons or markers. Others include shop shelves, small window decorations, patterned roof tiles, or clusters of flowers that suit colored pencils. The drawings can also inspire imaginative activities: choosing which shop belongs on a village street, inventing a name for a cottage, or designing a color scheme for a tiny neighborhood. The cheerful outlines make it easy to experiment with unusual colors without needing to reproduce the appearance of real buildings.
The illustrations are available as individual printable A4 PDFs, so you can choose a cozy cottage, a fantasy tree house, or a favorite little shop. Print at 100% scale to preserve the original proportions and details, particularly around small signs, windows, roof patterns, and decorative flowers. Crayons and markers work well for larger areas, while colored pencils help with smaller features such as shop displays and wooden railings. For a simple, coordinated result, choose the main colors for the walls and roof first, then use contrasting shades for doors, awnings, plants, and other details.